Salted Caramel Ice Cream

Salted Caramel Ice Cream. Cooking with Salt. Recipe, styling, food styling & photography by Manja Wachsmuth

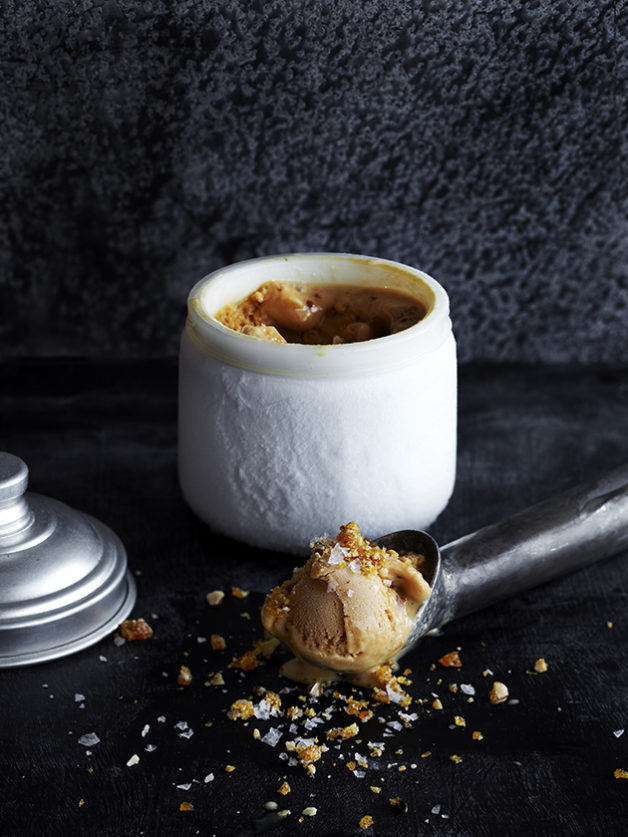
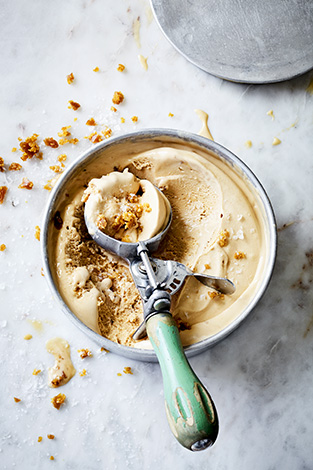
SALTED CARAMEL ICE CREAM
Makes 1 litre

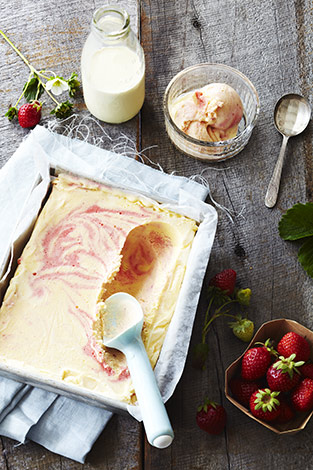
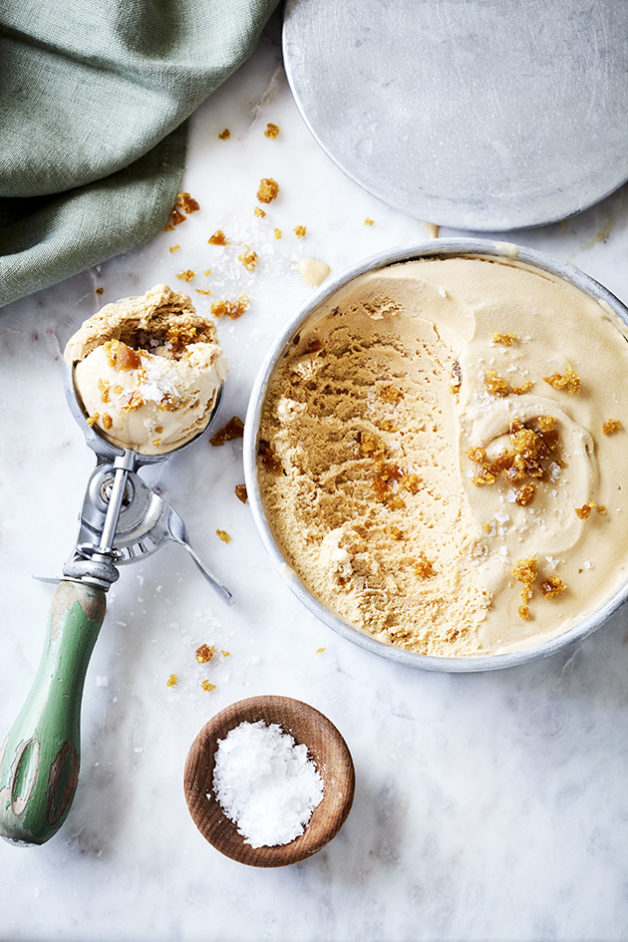
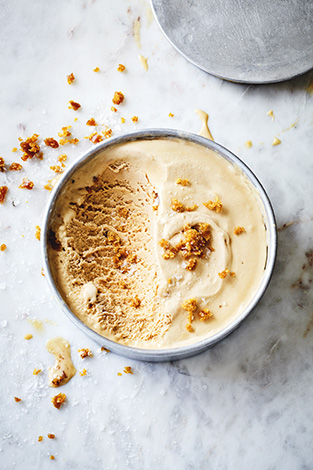
This here, is probably the worlds best salted caramel ice cream! So good infact, I’ll advice you to make a double batch because this one will be gone within a few days, tops!

500 ml cream (single cream)
250 ml whole milk
3 large egg yolks, beaten and set aside
1 jar genuine Dulce de Leche
1½ tsp sea salt flakes
200g sugar
50g butter

Method Ice Cream Mix:

Place a medium size pot on the stove and bring milk and cream to a simmer stirring continuously to avoid burning. Simmer for a couple of minutes, then set aside to cool slightly for 10-15 min.

Once cooled, pour the warm milk mixture, in a slow stream, into a bowl with the beaten egg yolks, whisking constantly. Pour custard back into the pot and heat over medium heat, stirring constantly with a wooden spoon, until custard coats back of spoon and registers 85ºC on an instant-read thermometer (do not let boil). Set aside until caramel is prepared.

Pour dulce de leche into a pot and heat over low heat until smooth and liquid. Stir continuously to avoid burning. Add sea salt flakes to taste. Add caramel mixture to ice cream mixture and combine well. Cool over ice bath, then refrigerate for 12-24 hours.

Method crunchy caramel:

Heat sugar over medium heat in a pan until edges begin to melt. Gently push melting sugar with a heatproof spatula from edges to center of pan stirring until the sugar has dissolved. Continue cooking swirling pan occasionally so sugar melts evenly. Add butter and combine thoroughly. Remove from heat and pour into a heat proof dish. Set aside to cool. When caramel has cooled, it will be hard. Chop into small pieces and set aside until ice cream mix is ready for churning.

Just before churning, add crunchy caramel to ice cream mix, then churn in ice cream maker according to manufacturer’s instruction. Spoon into an airtight freezer container, cover and freeze until solid.

Serve the salted caramel ice cream in ice cream cones, sprinkle with extra crunchy caramel and sea salt flakes.

This recipe is part of my salt story published in MAD&venner #129 2015 & Matmagasinet Nord #23 2017, focusing on using salt as a main ingredient for cooking or flavouring. Try these recipes from this series too:
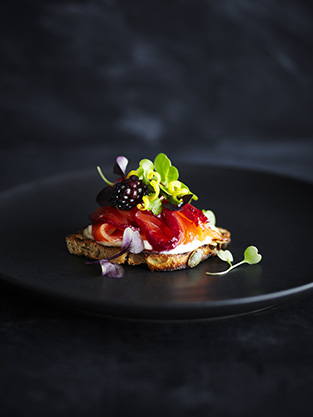
Blackberry Grav Lax
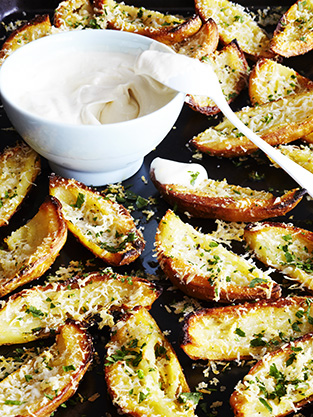
Salt & Vinegar Potato Skins
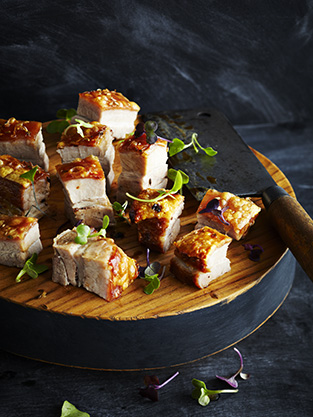
Bork Belly in Brine with Cripsy Crackling
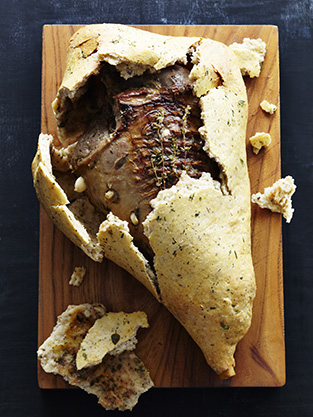
Salt Dough Baked Leg of Lamb
The Perfectly Salty Margaria
Oozy Salted Chocolate Caramel Tart
Golden Pavlova with Summer Berries and Salted Chocolate Sauce

© Manja Wachsmuth 2017. Thanks to Natasha MacAller for helping me shoot the moody shot on this page and for teaching me how to make salted caramel ice cream. This recipe was originally hers, however I have simplified and modified it heavily since then.
Salted Caramel Ice Cream. Cooking with Salt. Recipe, styling, food styling & photography by Manja Wachsmuth Salted Caramel Ice Cream. Cooking with Salt. Recipe, styling, food styling & photography by Manja WachsmuthSalted Caramel Ice Cream. Cooking with Salt. Recipe, styling, food styling & photography by Manja Wachsmuth

The Perfectly Salty Margarita

The Perfectly Salty Margarita. Cooking with Salt. Recipes, foodstyling, styling & photography by Manja WachsmuthThe Perfectly Salty Margarita. Cooking with Salt. Recipes, foodstyling, styling & photography by Manja Wachsmuth The Perfectly Salty Margarita. Cooking with Salt. Recipes, foodstyling, styling & photography by Manja Wachsmuth

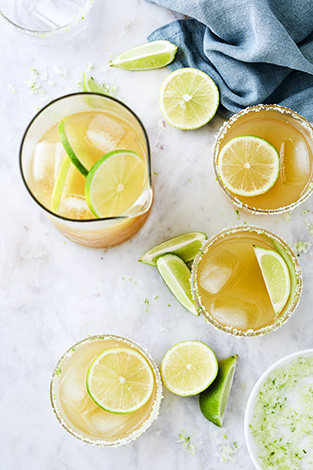
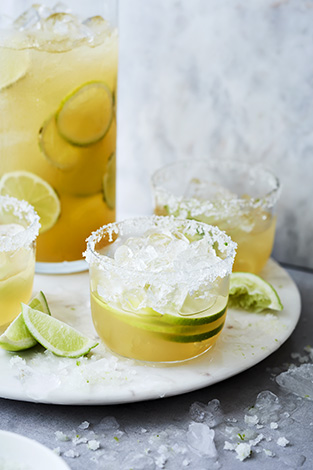
THE PERFECTLY SALTY MARGARITA
Serves 4

The original zingy flavor of summer, this refreshing cocktail is bound to bring a good mood to any summer gathering. The salted rim on the glasses is the perfect flavor combination with the tequila and the zingy lime.

375 ml lime juice (juice of app 15 limes)
175g caster sugar
6 cups of crushed ice
165 ml good quality tequila
2 limes cut into wedges
Soda to serve

Rim glasses:

Cest of 1 lime
2 tbsp of sea salt flakes
1tbsp of sugar

Method Margarita:

Blend lime juice and caster sugar in a blender until sugar has dissolved. Transfer mixture to a large jug. Whizz crushed ice in batches in a food processor until slushy. Add to jug with tequila and stir well.

Method glass rim:

Mix lime zest, sea salt and sugar in a bowl and spread out on a plate in an even, thick layer. Use a wedge of lime to rub around the rim of 4 chilled glasses, and then dip each glass into the salt/ sugar mix to lightly coat the rim. Serve margarita in prepared glasses with extra lime wedges and a dash of soda (if desired).

The Perfectly Salty Margarita & Pink Grapefruit Margarita. Cooking with Salt. Recipes, foodstyling, styling & photography by Manja Wachsmuth Pink Grapefruit Margarita. Cooking with Salt. Recipes, foodstyling, styling & photography by Manja Wachsmuth

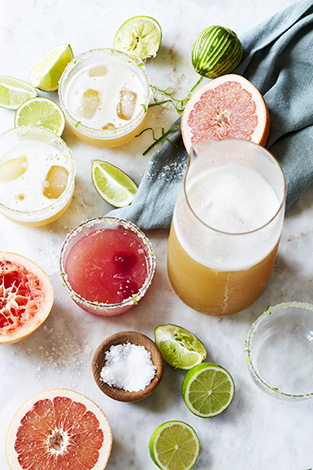
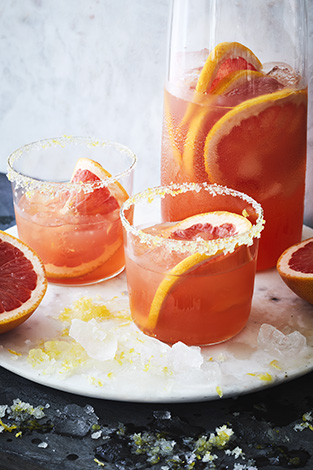
PINK GRAPEFRUIT MARGARITA
Serves 4

For a sweeter version of the classic margarita, the pink grapefruit is a festive colour and less sour than the the lime version. Still the salt cuts the sweet, tangy taste of the grapefruit.

325 ml pink grapefruit juice (juice of 4-5 grapes)
50 ml lemon juice (juice of 2 lemons)
100g caster sugar
6 cups of crushed ice
165 ml good quality tequila
1 grapefruit cut into slices
Soda to serve

Rim glasses:

Cest of 1 lemon
2 tbsp of sea salt flakes
1tbsp of sugar

Method Margarita:

Blend grapefruit juice, lemon juice and caster sugar in a blender until sugar has dissolved. Transfer mixture to a large jug. Whizz crushed ice in batches in a food processor until slushy. Add to jug with tequila and stir well.

Method glass rim:

Mix lemon zest, sea salt and sugar in a bowl and spread out on a plate in an even, thick layer. Use a wedge of lemon to rub around the rim of 4 chilled glasses, and then dip each glass into the salt/ sugar mix to lightly coat the rim. Serve margarita in prepared glasses with slices of grapefruit and a dash of soda (if desired).

Drink responsibly!

This recipe is part of my salt story published in MAD&venner #129 2015 & Matmagasinet Nord #23 2017, focusing on using salt as a main ingredient for cooking or flavouring. Try these recipes from this series too:
Blackberry Grav Lax
Salt & Vinegar Potato Skins
Bork Belly in Brine with Cripsy Crackling
Salt Dough Baked Leg of Lamb
Oozy Salted Chocolate Caramel Tart
Salted Caramel Ice Cream
Golden Pavlova with Summer Berries and Salted Chocolate Sauce

© Manja Wachsmuth 2017

Bork Belly in Brine with Cripsy Crackling

Cooking with Salt. Pork Belly in Brine with Crispy Crackling. Recipes, foodstyling, styling & photography by Manja Wachsmuth

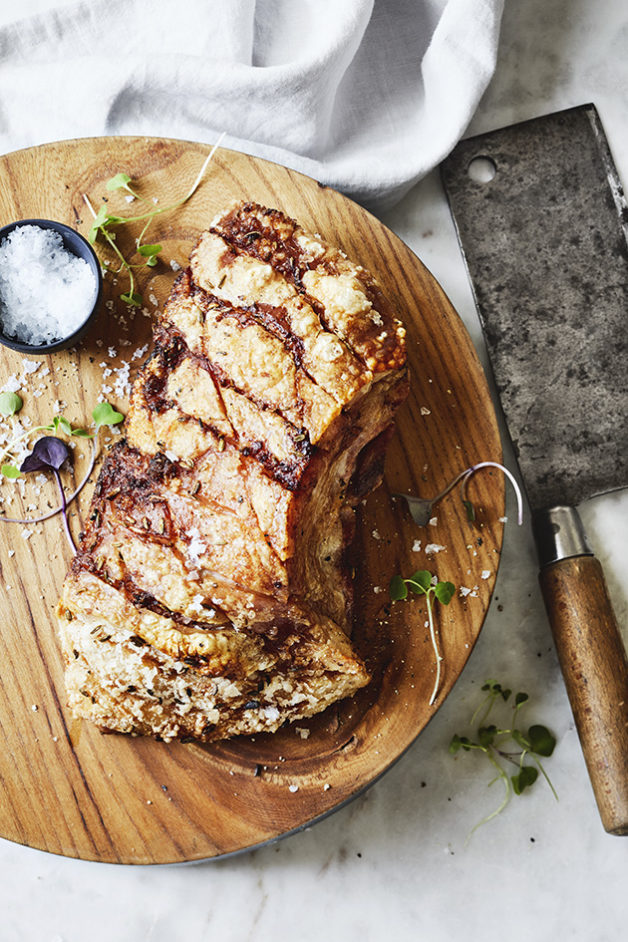
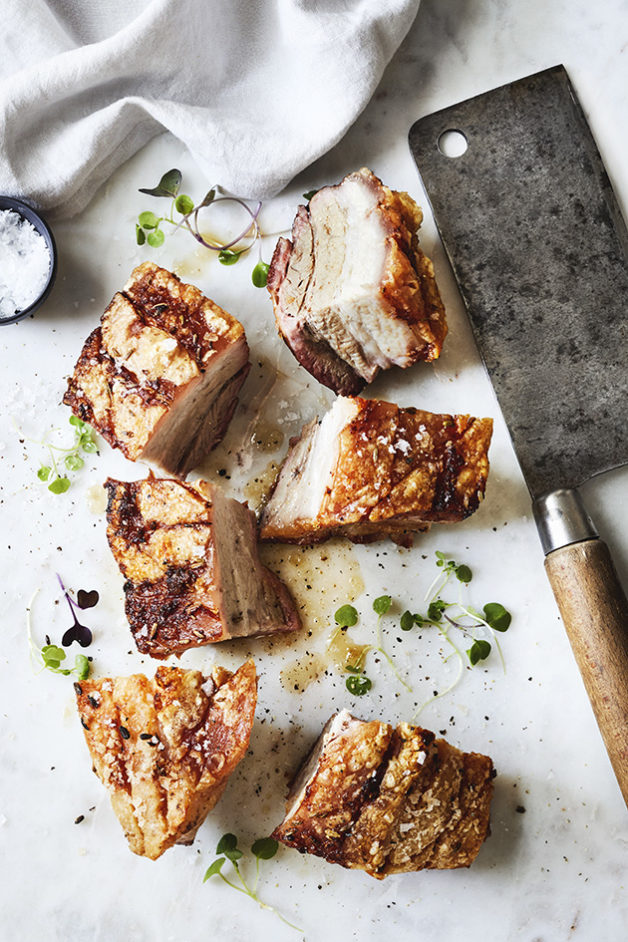
PORK BELLY IN BRINE WITH CRISPY CRACKLING
Serves 4, as part of a main course

Nothing beats a properly done pork belly. This recipe brines the meat, ensuring a really nice flavour and crispy crackling. You can either do this in the oven or try it on the BBQ for a delicious meal on those long, bright summer nights.

1 kg Pork Belly, skin on
30 g Sea Salt Flakes
1 tsp Fennel Seeds
250 ml Water

Method Oven:
Score the skin of the pork belly in slices or squares. Be careful not to cut into the meat.
Place the pork belly in a non-reactive, deep-sided roasting dish. Rub the salt into the meat on both sides and leave for 30 minutes. Turn the belly so the skin is facing down, and then cover in enough cold water to submerge the meat. Cover tightly and place in the fridge for 24-48 hours.

Preheat the oven to 250º C.

Drain the brine from the pork belly and pat it dry all over with a paper towel. Make sure that the skin is completely dry, otherwise it won’t crackle. Rub the skin with a little olive oil and sprinkle with flaky sea salt and fennel seeds. Place the pork skin side up on a rack that fits in a roasting dish and roast in the oven for 45 min, or until the skin starts to crackle. Remove from the oven and reduce temperature to 180ºC. Pour water into the roasting dish, ensuring that the skin remains dry. Return to oven and cook for 1 hour and 15 min, until tender.

Remove from the oven, and leave to rest in a warm place for 15 min, before cutting the meat into square bites, or slices. Serve while hot.

Method BBQ:
Note, this is a guideline only. Correct cooking on bbq is highly dependent on a number of factors such as the size of the bbq, the type of coal / briquettes, the placement of the roast, etc. The most important thing to remember is to check the roast often and to turn the meat to ensure even cooking.

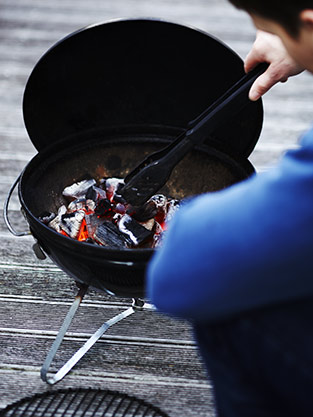
We have used a medium-sized kettle bbq with lid.

Fill two coal trays with briquettes (it is advantageous to use briquettes and not charcoal as they hold the heat longer) and place on each side of the BBQ, leaveing a space in the middle that the roast can sit over. Place a foil tray between the coal trays (underneath the roast), to catch meat juice so that it doesn’t drip into the embers, and either causes flames or makes the BBQ difficult to clean. Light the briquettes and put a rack over to cover the entire grill. Wait for the briquettes to burn down until they are fiery red, very hot and with quite a low flame.

Place the roast on the rack, skin side up, over the drip tray between the coal trays, and roast for 45 minutes – 1 hour. Check often.
Rotate the roast occasionally to make sure it is cooking evenly on all sides, and always position with the skin side up.

For crispy crackling, turn the roast sideways, with the cracklling facing one of the coal trays, a little closer to one of the trays to expedite the process, keep an eye out, it burns easily! The crackling is done when it’s bubbled up and crispy all over. Total cooking time approx. 1-1.5 hours. Remove the roast from the heat and rest for 15 minutes. Carve and serve while hot.

Cooking with Salt. Pork Belly in Brine with Crispy Crackling. Recipes, foodstyling, styling & photography by Manja Wachsmuth

This recipe is part of my salt story published in Matmagasinet Nord #23 2017, focusing on using salt as a main ingredient for cooking or flavouring. Try these recipes from this series too:
Blackberry Grav Lax
Salt & Vinegar Potato Skins
Salt Dough Baked Leg of Lamb
The Perfectly Salty Margarita
Oozy Salted Chocolate Caramel Tart
Salted Caramel Ice Cream
Golden Pavlova with Summer Berries and Salted Chocolate Sauce

© Manja Wachsmuth 2017

Salt

Salt recipes

Over the years, I’ve developed a bit of an obsession with salt. Ever since my shoot at Læsø Salt, I’ve been testing recipes, using salt as a main part of the dish. Wether it be preserving, a cooking technique or just adding a salty flavour to the food. The whole thing has been quite an experience, entering the world of recipe writing! I’ve been fortunate enough to have my salt recipes published in the current summer issue of NORD magazine along with my article about Læsø Salt Works.

Below follows the unedited version of the article, and over the next few weeks, I’ll share a series of blog posts, with my salty recipes:

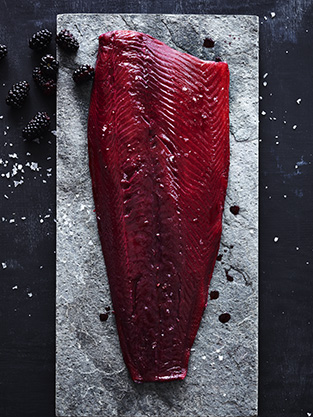
BLACBERRY GRAV LAX
ZINGY MARGARITA & PINK GRAPEFRUIT MARGARITA
SALT & VINEGAR POTATOSKINS WITH TAHINI, SOUR CREAM DIP
PORK BELLY IN BRINE WITH CRISPY CRACKLING
SALT DOUGH LEG OF LAMB
SALTED CHOCOLATE AND CARAMEL TART(S)
GOLDEN PAVLOVA WITH SUMMER BERRIES AND SALTED CHOCOLATE SAUCE
SALTED CARAMEL ICE CREAM (you’re gonna wanna check back for this one…)

Cooking with Salt Cooking with Salt Cooking with Salt Cooking with Salt Cooking with Salt Cooking with Salt Cooking with Salt Cooking with Salt

COOKING WITH SALT
Salt has been used for cooking for thousands of years, in many cultures around the globe. Before the invention of the refrigerator, salt has been one of the most important preservation methods of meat and fish and as one of the 5 main flavors (sweet, sour, salty, bitter and umami), salt is an important and recognizable part of our daily life when it comes to cooking.

The modern day’s introduction of ready-made foods and fast food has given salt a really bad reputation. However, there are many ways to utilize the salt’s good qualities in the kitchen to preserve, slowcook or give untraditional taste in the sweet kitchen.
Laesoe Saltsyderi Laesoe Saltsyderi Laesoe Saltsyderi Laesoe Saltsyderi Laesoe Saltsyderi Laesoe Saltsyderi

A TRULY IDYLLIC PLACE!
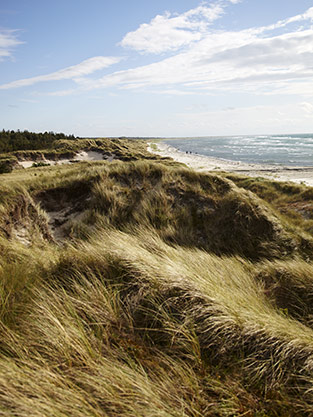
We are on the island of Læsø in Denmark. Læsø is a small island in Kattegat, just off the east coast of the peninsula Jutland, Denmark. Half an hour sailing from Frederikshavn you will find this idyllic island, also called the gem of Kattegat. When you leave the ferry (or almost already when boarding) you know that you are on island time. It is quite a wind blown place but also peacefull. It is filled with nostalgia and the passing days of old Danish fishermen and village charm. This is really the outskirts of Denmark, but if you feel stressed, you’ve come to the right place: Here you can relax!

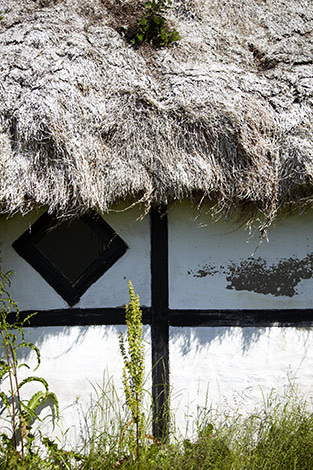
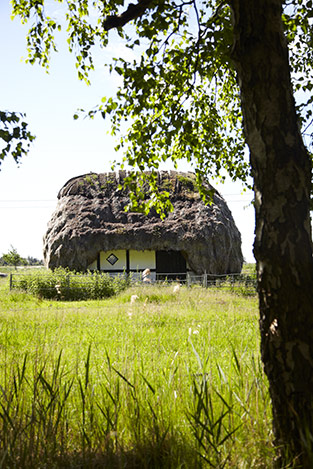
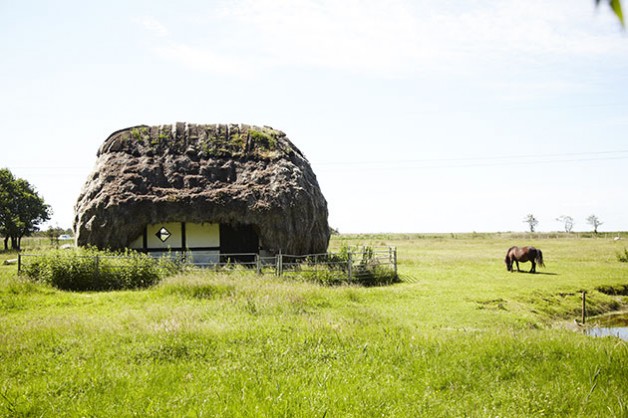
The island has a fantastic and unique nature and you will find the beauty in the little things. The island is known for its scampi festival in August and the cute timbered houses with seeweed roofs.

On the edge of a pine forest, south of Byrum, bordering the open part of the truly windy parts of Læsø lies Læsø Saltworks. It is both a place where they make Læsø Salt, but also a tourist attraction that in a very gripping way, tells the story of life on Læsø in the past and gives a living sight of how to make salt.

The salt they make here more than measures up to some of the world’s leading salt brands and I would venture to say it’s something very special. Due to the high concentration of salt in the sea around Læsø (up to 14%, against normal 2-3%), the sea salt has been harvested on Læsø since the Middle Ages, but later died due to shortage of fire wood and sand drift.

Back in 1990, when archaeologists began studying the history of Læsø, the idea of ​​salt seething on Læsø was revived with the discoveries made by the archaeologists. Today the salt is made according to the old traditions and recipes.

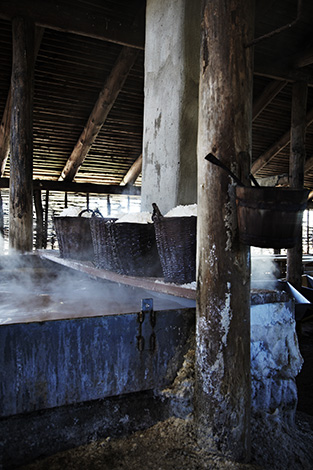
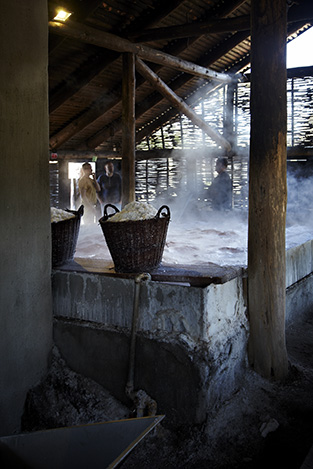
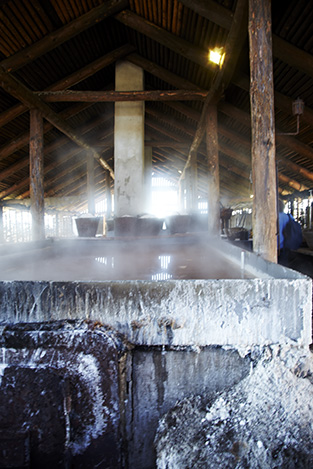
Entering the seething room, it’s warm, humid and dark. The only light is a lamp over the huge seething pan, as well as a bit of daylight flowing under the grassy roof and the open doorway. It’s almost like going straight back into the Middle Ages. This is how the seethery looks. It is designed from archaeologists’ findings of the original salt works, which lay here hundreds of years ago. Saltwater is taken from wells, dug into the lowest parts of southern Læsø and in the saltworks the water is set to evaporate in large pans over open fire. The big pans look like a huge bathtub, with steamy water, as you imagine it would look like in a movie about the wild Northmen from the 16th century.

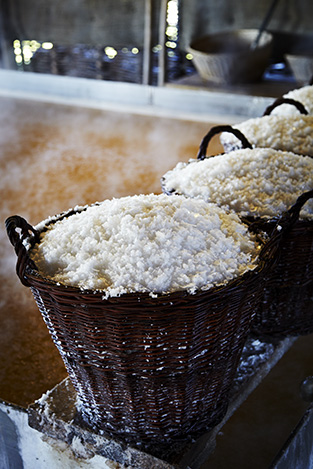
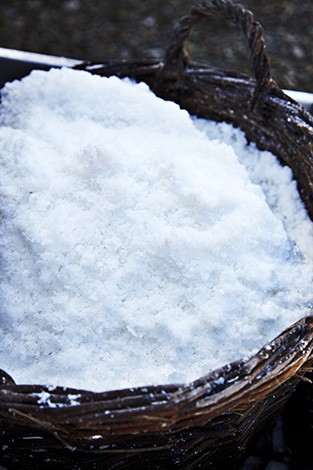
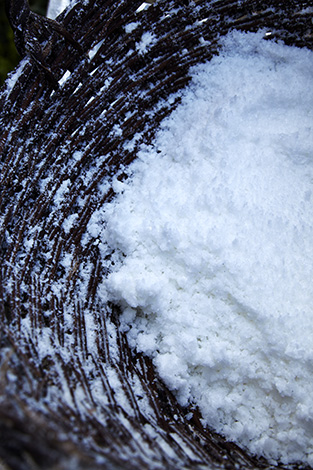
When the salt layer is saturated, the salt crystals are formed on the surface and poured into baskets where the residual water runs off before the salt is added to drying on the drying ceiling. The salt is handmade with respect for nature’s surroundings on the island, and they also give a demonstration of how to sethe salt yourself.

All by-products of the process are used for the Læsø Salt Care skin care series and are excellent treatment for people with dry skin or psoriasis. The salt retains many of its natural minerals such as calcium and magnesium and has a rich flavour. It is porous enough to crush between two fingers. Læsø Salt is the preservation of a lost art and pride and a tasty and beautiful product that is good for many types of cooking, not just to sprinkle over an egg. A visit here inspires a desire to retrieve cooking methods of a bygone era using salt dough for long-term cooking and cure salmon in a new way, as well as exploring salt in the sweet kitchen. One of nature’s most exciting taste contradictions with a lingering selection of salty sweet sensations. From irresistible caramel ice cream to decadent chocolate tart and sweet pavlova, it’s hard to resist this winning combination.
You can check out more of my images from Læsø Salt Works here. And read more about what else to do on Læsø, here & here
 

Berry Beautiful

NZ House & Garden Magazine #244 NZ House & Garden Magazine #244 NZ House & Garden Magazine #244 NZ House & Garden Magazine #244 NZ House & Garden Magazine #244 NZ House & Garden Magazine #244 NZ House & Garden Magazine #244 NZ House & Garden Magazine #244

It’s summer in New Zealand! And it is time to utilise some of the beautiful produce this season has to offer.
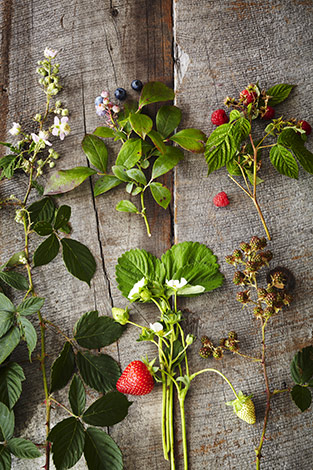
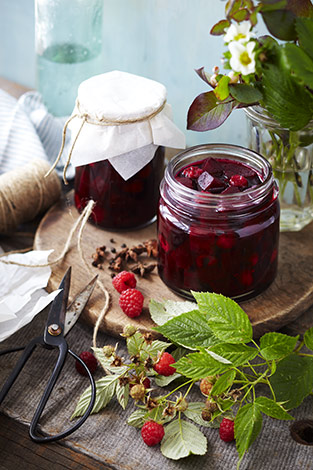
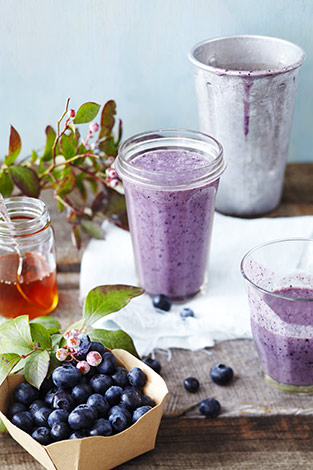
For NZ House & Garden, I’ve shot a beautiful berry story, using ripe berries of the summer season. With Christmas fast approaching, I thought it would be a good idea to share this lovely take on the classic Pavlova with fresh berries, along with a Raspberry Vinegar recipe to use with the Pavlova. Happy Holidays!

Stay tuned for a recipe on a Danish Christmas classic: Ris a’la Mande with homemade Cherry Sauce. Will be up before Christmas!

Recipes © Bernadette Hogg. Styling by Claudia Kozub @ Indie Home Collective

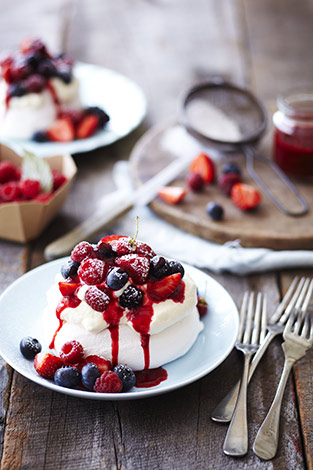
Individual Pavlovas with Berries & Raspberry Vinegar Sauce
Makes 6

This is a fabulous make-ahead dessert – the sauce can be made several days before required, while the pavlovas can be made the day before needed and stored in an airtight container.

6 egg whites
2 cups caster sugar
1 teaspoon vanilla extract
Pinch of salt
1 teaspoon white vinegar
2 teaspoons cornflour
300ml cream, beaten until thick
500g mixed fresh berries
Raspberry vinegar sauce:
11⁄2 cups fresh or frozen raspberries
3 tablespoon raspberry vinegar
3 tablespoons icing sugar

Heat oven to 100°C. Line a baking tray with baking paper.

In a large bowl, whisk eggs whites to firm peaks. Gradually add caster sugar a teaspoon at a time (this can take about 10 minutes).

Beat in vanilla, salt, vinegar and cornflour until mixture is fluffy and glossy.

Spoon mixture onto lined tray to form 6 evenly sized pavlovas. Bake 1 hour or until crisp and dry looking. Remove from oven and cool on a wire rack.

Sauce: Blend raspberries, vinegar and icing sugar together until smooth. Strain through a sieve and discard seeds.

To assemble dessert, place pavlovas on serving plates and top with beaten cream, fresh berries and a good drizzle of sauce.

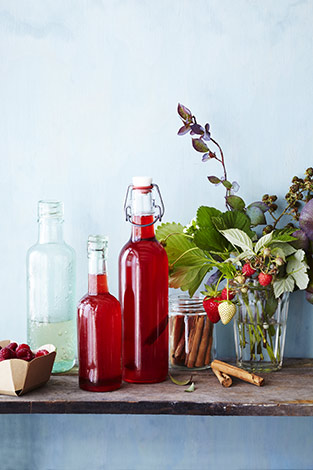
Raspberry Vinegar
Makes about 2 cups

Use this vinegar to make dressings, drizzle over berries or add to marinades and sauces – both sweet and savoury.
It’s also ideal for the sauce served over the pavlovas on page xxx, and makes a lovely gift.

1 cup fresh or frozen raspberries, lightly crushed
2 cups white wine vinegar
2 small cinnamon sticks

Place all ingredients in a glass jar and seal. Store in a cool, dark place for 2-4 weeks. To remind you when the vinegar will be ready, add a date label.

When vinegar is ready to be bottled, line a sieve with muslin and place over a bowl. Pour contents of jar through sieve then transfer the clear liquid to sterilized bottles or jars and seal.

Vinegar will keep for up to 12 months in a cool, dark cupboard, even after opening.

Pizza on the Weber BBQ

Pizza on the BBQ Pizza on the BBQ Pizza on the BBQ Pizza on the BBQ Pizza on the BBQ Pizza on the BBQ Pizza on the BBQ Pizza on the BBQ

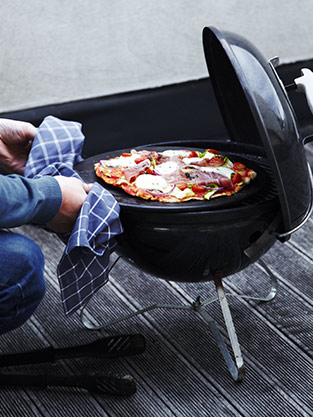
Summer has officially arrived in New Zealand! One thing I love the most about summer is cooking on the BBQ. Last year I discovered cooking pizza on the BBQ, and when you’ve tried it once, it’ll be the only way you’ll ever want to cook pizza again. Pizza on the BBQ is the fool proof way of getting a moist and delishious filling and above all a super crispy base, which you can never seem to get in the oven, regardless of the temperature or quality of pizza stone.

The majority of Kiwis (and probably Ozzies and Americans) swear by th gas BBQ’s and most pizza BBQ recipes will tell you to cook your pizza on a gas BBQ, where you can control the temperature and monitor it 100%, but there is another way. Personally I prefer a coal BBQ any day. This is how it was when I was a kid and the ritural of lighting a fire (or drinking a glass of ice cold chardonnay, while watching your husband lighting a fire) – you just can’t beat it. The smokey flavour of cooking over coals, just adds an extra element to the pizzas and everyone will be coming back for more.

The tricky thing is obviously getting the temperature right, so you don’t burn your base, so you gotta watch your pizza like a hawk. And also you MUST use a pizza stone. But once you’ve tried it a few times, you will master it, and be eating pizza’s with friends and family all summer!

I’m providing you with the recipe for a great pizza dough, that’s my updated version of a pizza recipe I shot for Dish Magazine back in 2010, for their Italian issue. I’ve used wholemeal, stoneground flour for added nutritional benefits, and it is how I prefer my pizza base. Of course you can use plain flour or 00 flour if you like.

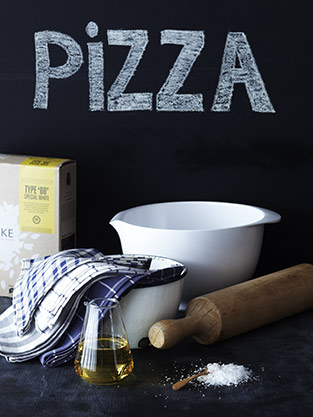
Pizza dough
Makes two pizzas, 4-6 serves

1 cup of plain flour or 00 flour
1 cup of stoneground, wholemeal flour
½ teaspoon of sugar
1 ½ teaspoons of instant dried yeast
1 teaspoon of sea salt
1 cup of lukewarm water
1 tablespoon of olive oil

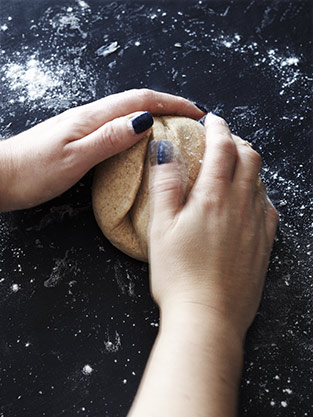
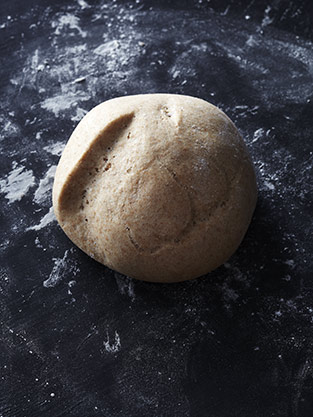
Place all dry ingredients in a large bowl and mix together. Mix the water and oil together in a separate bowl or jug. Gradually add the water to the dry ingredients, little by little, mixing the dough with your hands or a wooden spoon. Be careful not to make the dough too wet and sticky, nor too dry. Once roughly combined turn the dough out on a lightly floured benchtop and knead for 3-5 minutes, until the dough is smooth and slightly sticky and springy. Place it in a lightly floured bowl and cover with plastic wrap or a tea towel. Set aside in a warm place and let rise for 1 – 1½ hour.

Mastering the BBQ & making your pizza

About 10-15  minutes before your dough is ready, start up your BBQ using choal or briquettes. If using briquettes, you might want to get them started around half an hour before the dough is ready. The coal is quicker to start up, but also burns out faster. The briquettes take longer to get ready for cooking, but will hold the heat a lot longer. We usually use coals when it’s just the two of us, and briquettes when cooking for more people.

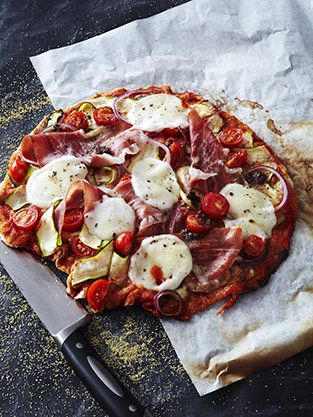
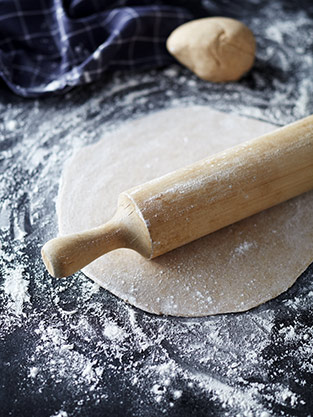
Once doubled in size, split the dough into two portions and roll out thinly on a lightly floured bench top. Place the pizza base on a piece of baking paper, and fill with your favorite filling. I’ve used:

Organic tomato paste
1 whole zucchini sliced sideways with a potato peeler
Red onion, thinly sliced
Cherry tomatoes (from the Curious Croppers)
Prosciutto
Buffalo mozzarella
Homemade pesto
Salt & pepper

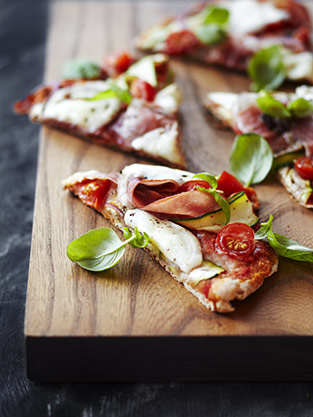
Once the coals or briquettes have settled down, and turned to embers, place your pizza stone on the BBQ about 5 minutes before you’re ready to cook it, to let the stone heat up properly. Then transfer your pizza, with the baking paper underneath, to the pizza stone, and cover your BBQ with the lid. Make sure to have the air vents open, to keep the air circulating around the pizza and ensure even cooking of the base and the top. Depending on the amount of heat in your BBQ, your pizza will cook in 15-20 min. Keep an eye on it every 5-10 minutes, making sure the base doesn’t burn. If the base colours too quickly the BBQ is too hot, and you should wait a little while longer, next time, to let the coal settle a bit more. Once the base has firmed up, you can remove the baking paper. When the base is crispy and the cheese on top slightly melted, garnish with fresh basil. Your pizza is ready to serve!

ENJOY!

Don’t drink and fry!

Amass Copenhagen

Copenhagen Travel Story, Dish Magazine Copenhagen Travel Story, Dish Magazine Copenhagen Travel Story, Dish Magazine Copenhagen Travel Story, Dish Magazine Copenhagen Travel Story, Dish Magazine Copenhagen Travel Story, Dish Magazine

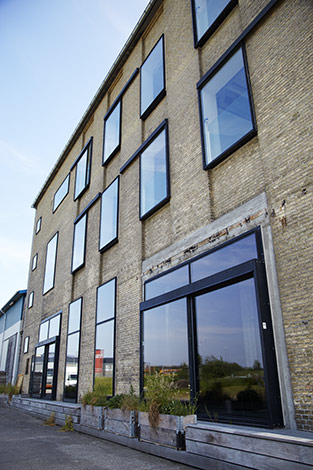
With summer just around the corner here in New Zealand, and a trip to Denmark planned for Christmas, I’ve been thinking back on my trip home to Denmark in June, earlier this year. Back then I was doing a few travel stories about Denmark and specifically Copenhagen for Dish Magazine here in New Zealand. I also had the pleasure of doing a shoot with Matt Orlando at Restaurant Amass Copenhagen, to be included in a travel piece on Copenhagen. I was incredibly intrigued by the athmosphere at Amass, and Matt’s approach to the “New Nordic Cuisine” style of restaurant and cooking. The whole place, everyone there and Matt himself, just oozes “cool” and I can’t wait to go back and actually dine there and be able to take the whole place in, on a more relaxed level. I hope and wonder if it’s just as awesome in winter…

Copenhagen Standard

Copenhagen Travel Story, Dish Magazine Copenhagen Travel Story, Dish Magazine Copenhagen Travel Story, Dish Magazine Copenhagen Travel Story, Dish Magazine Copenhagen Travel Story, Dish Magazine Copenhagen Travel Story, Dish Magazine Copenhagen Travel Story, Dish Magazine Copenhagen Travel Story, Dish Magazine Copenhagen Travel Story, Dish Magazine Copenhagen Travel Story, Dish Magazine Copenhagen Travel Story, Dish Magazine

While I was in Denmark for the month of June, I also photographed a travel story on the food scene in Copenhagen for Dish Magazine. The article is written by food writer, cook book editor, self acclaimed foodie and now also cook book author Marie Holm. I first met Marie, when I started shooting for Danish food magazine MAD&venner (FOOD&friends) back in 2008, before I left Copenhagen to go travelling. Back then Marie worked for the magazine, but today she is freelancing, working for all sorts of magazines, publishers and others who needs Marie’s expertise as an experienced food writer.

When I first came to New Zealand in 2009, with my portfolio and a stack of MAD&venner magazines under my arm, I was thrilled when Dish magazine booked me, and every year since I’ve been trying to talk them into doing some sort of story on Copenhagen. This time they finally jumped on it, and I was fortunate enough to talk Marie Holm into writing the story, as I knew there wouldn’t be anyone more perfect for it. Now the story is out in recent issue of Dish Magazine (#55 August 2014). Unfortunately I can’t publish it here (so you should go buy the magazine to read Marie’s brilliant story), but I can show off some of the extra photos, that didn’t make the cut for the article.

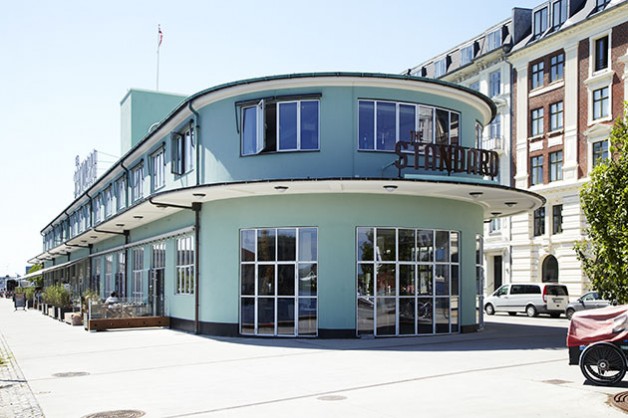
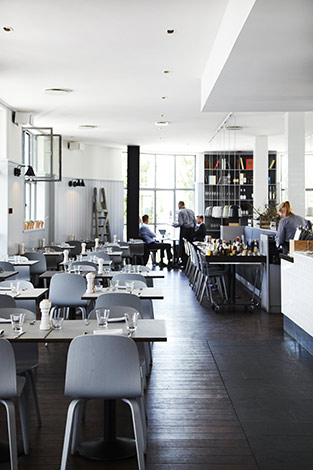
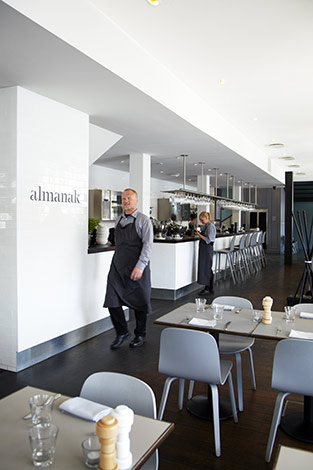
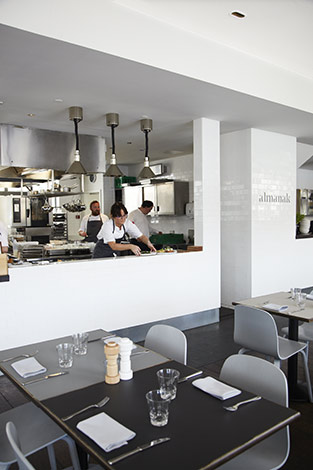
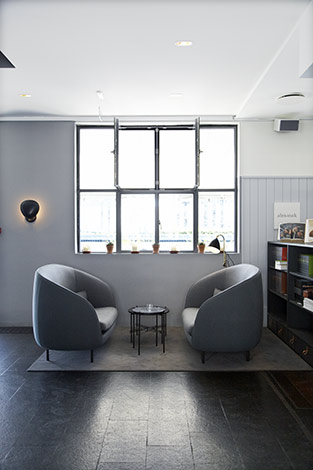
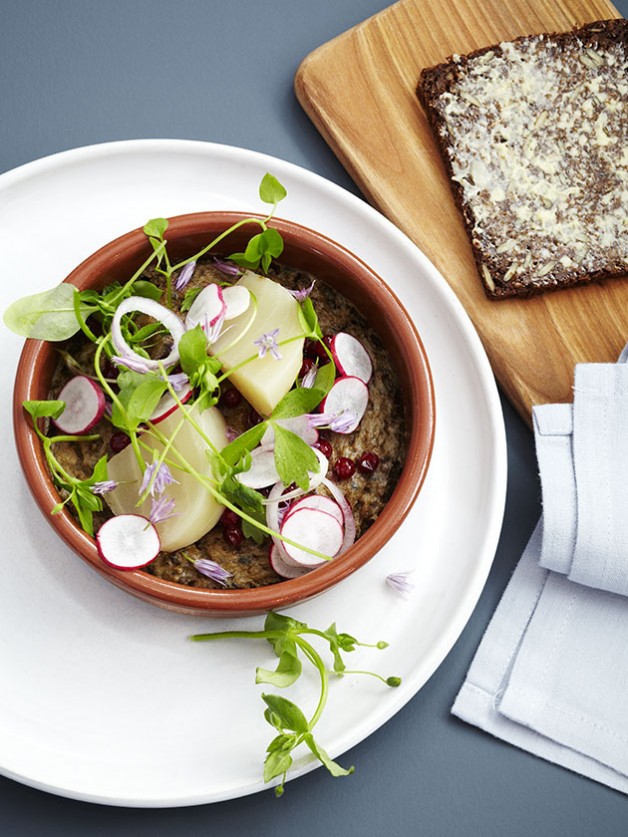
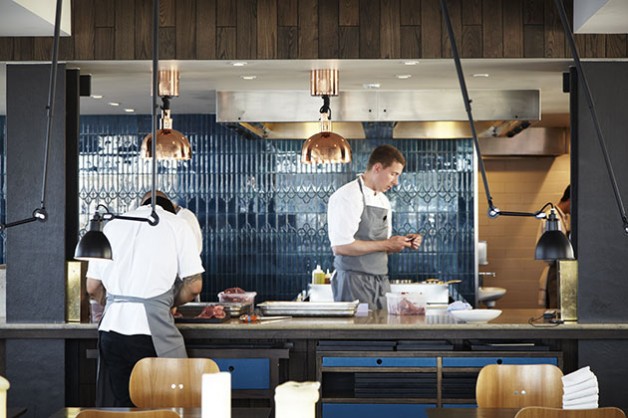
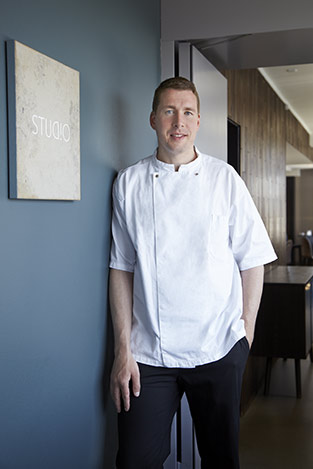
First off we have a new favorite of mine. Claus Meyer and Torsten Vildgaard’s new place The Standard. Based in what used to be the former Custom House, they’ve opened up 3 new restaurants and a jazz club. I visited two of those restaurants: Studio and Alamanak, to photograph for the article and although I’ve only been in Copenhagen this time for 2 weeks in total, I still managed to eat at Almanak 3 times for lunch. What can I say? The food is great – I just love that liver patee (pictured above)! Danish smørrebrød, open sandwiches, with a modern, New Nordic twist. I suppose it has become the new Copenhagen Standard for me. The other restaurant, Studio, is definitely more of a fine dining place of the New Nordic Cuisine caliber, and I suppose former Noma souschef Torsten Vildgaard’s playground – his Studio. Unfortunately I didn’t get to actually eat at Studio this time, although I hope to return and have the pleasure of Torstens genius cooking.

More photos from my favorite city in the world, Copenhagen, later. Thanks for stopping by!

Visit Strandgaarden Badehotel

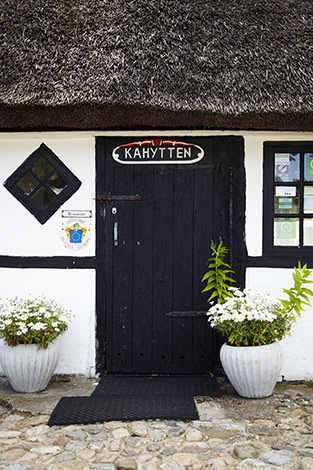
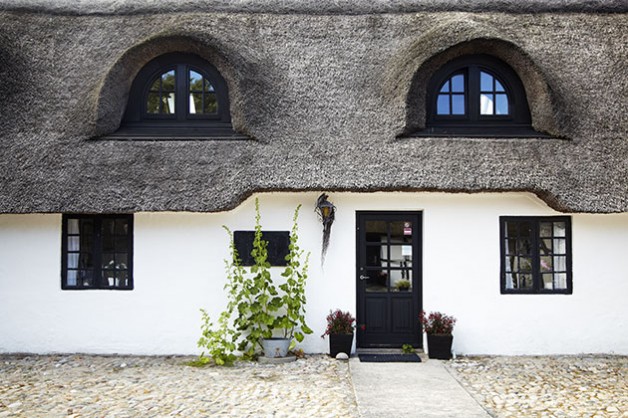
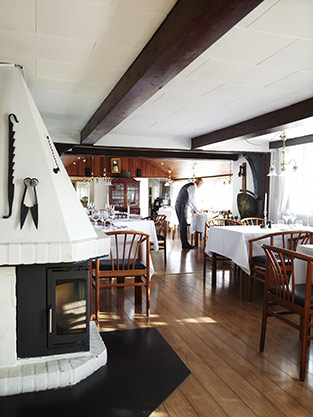
Strandgården Badehotel, Læsø Strandgården Badehotel, Læsø Strandgården Badehotel, Læsø Strandgården Badehotel, Læsø Strandgården Badehotel, Læsø Strandgården Badehotel, Læsø Strandgården Badehotel, Læsø Strandgården Badehotel, Læsø Strandgården Badehotel, Læsø Strandgården Badehotel, Læsø Strandgården Badehotel, Læsø Strandgården Badehotel, LæsøStrandgården Badehotel, Læsø Strandgården Badehotel, Læsø Strandgården Badehotel, Læsø Strandgården Badehotel, Læsø Strandgården Badehotel, Læsø Strandgården Badehotel, Læsø Strandgården Badehotel, Læsø

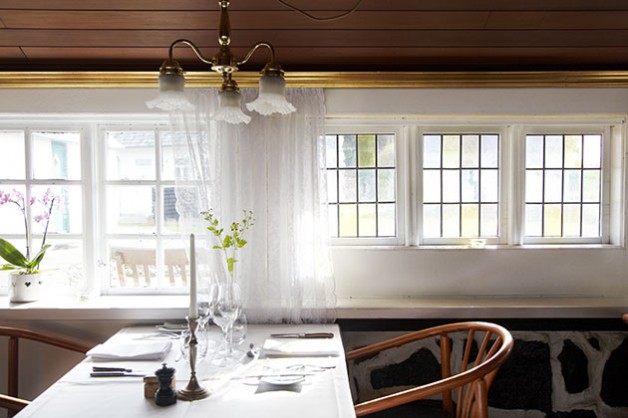
My last stop for the day of my visit to Læsø this time around was Strandgaarden Badehotel.

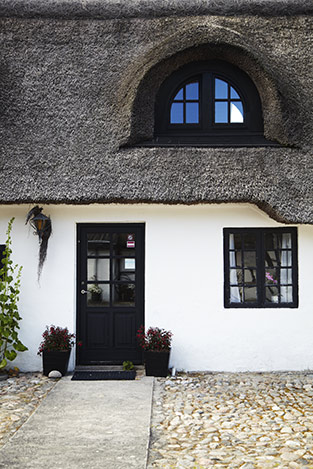
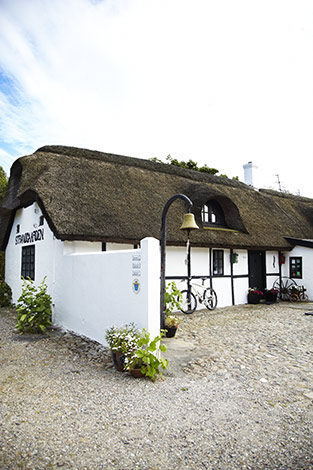
Strandgaarden beach hotel offers an idyllic setting and located just 4 minutes walk to the beach, it’s the perfect spot for a relaxing summer holiday. I could have stayed here for weeks on end, reading, relaxing, swimming, and taking heaps more photos, enjoying the Danish summer when it’s at its best. This place is so quaint and cute, that I just had to dedicate a whole blog post to it.

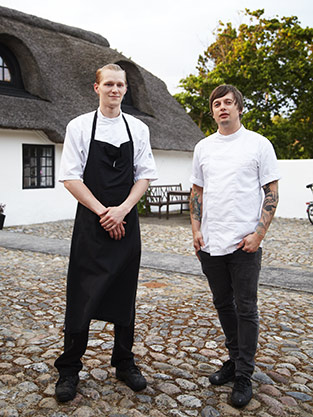
The hotel was built in 1727 and parts of the original building are still in use. The owner takes pride in keeping the hotel in its original idyllic state with thatched roof and half timbering, but with all the commodities of modern day living. Such is the hotel kitchen, which each year has a new, up and coming Danish chef have a chance to stand up to the big boys, with the title as head chef at Strandgaarden Badehotel. The owner Ole Lind, has gotten pretty good at picking them, and for many years Strandgaarden has earned much appraisal in the media across Denmark. Every evening the menu changes according to the season and what’s available on the island, so what’s served tonight will most likely not be served tomorrow. The element of surprise is one of the things I find intriguing about the restaurant here alongside the presentation of the food by the table, by the kitchen chefs – Nicolas Højgaard Michaels and head chef Thomas Wetle Andersen.

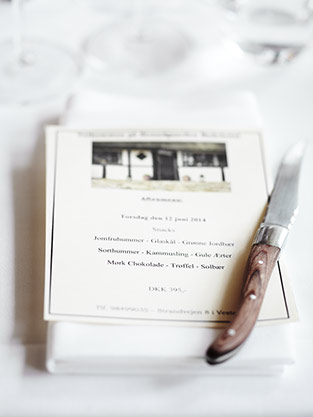
I was served:

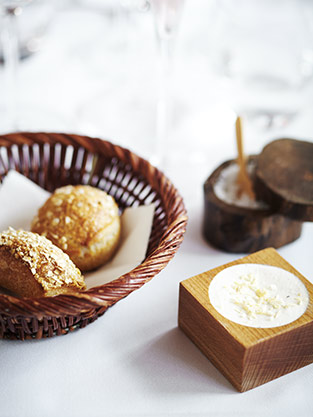
Homemade Sourdough Rolls & Browned Butter stirred with Butter Milk, Crème Fraiche and Onion Powder
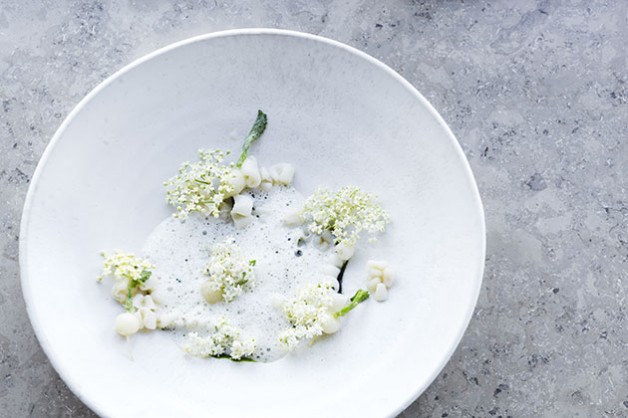
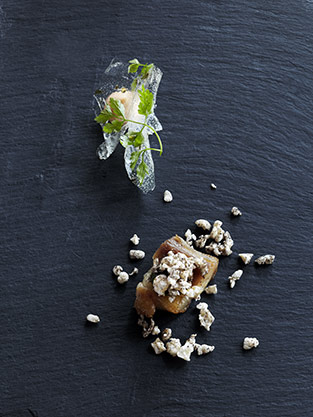
Amuse Bouche: Seaweed Chips, Lobster Mayo and Chervil + Pork Belly, Parsley Puree and Spiced Crackling
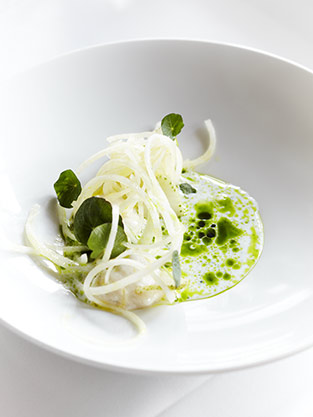
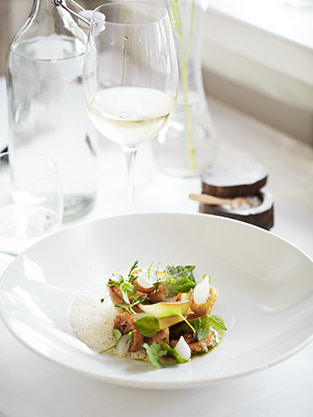
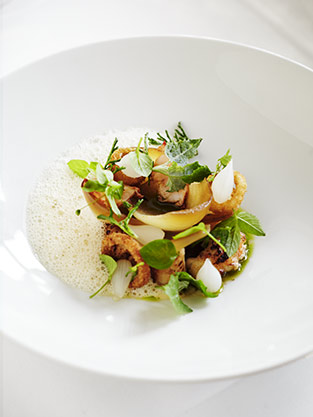
Starter: Scampi, Kohlrabi and Green Strawberries
Main: Lobster, Scallops and Yellow Peas
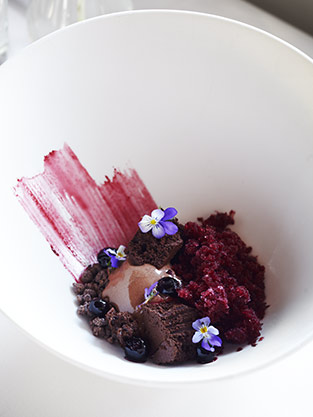
Dessert: Dark Chocolate, Truffle and Blackberry Granita
All accompanied by a Sparkling Rosé to begin, a NZ Honky Dory Sauvignon Blanc for the starter and the main and a Riesling to end.

Thumbs up to both of the chefs! I loved the sourdough rolls with the browned butter, and if it wasn’t because it requires some pretty expensive, high end pro kitchen gear, I would make that butter myself. Everything else was delicious too, particularly the main, which really played with, not just the flavours but also the textures. It’s not often I say it, but the highlight of the meal was definitely the dessert. The surprising taste of the chocolate cake, which I was told later was the influence of the truffle, was really interesting and intriguing. I suppose after shooting a sweet and savoury book about Vanilla, those combinations of savoury flavours with sweet or vice versa, is really something I notice.

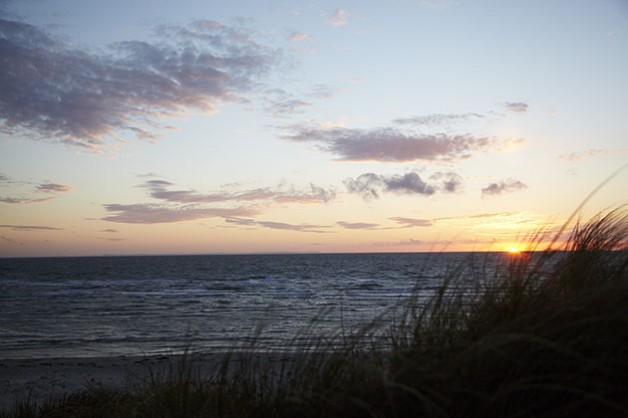
After a very tasty meal, a quick chat to the chefs and tons of photos later, I had to end the evening watching the sunset on the beach. It’s one of those things I love! It’s the perfect ending to a perfect day, before going to sleep in one of Strandgaarden’s super comfortable beds.

Thanks to Ole Lind at Strandgaarden Badehotel for excellent service! Read more about Strandgaarden on their website or join their facebook page for regular news and updates.

Next up are some of things I got up to in Copenhagen, so please come back soon!

Idyllic island Laesoe in Denmark

Strandgården Badehotel, Læsø Strandgården Badehotel, Læsø Læsø Læsø Læsø Læsø Læsø Læsø Læsø Læsø Læsø

If you’ve been following my instagram feed or my facebook page lately, you might have noticed that I’ve been on a trip home to my native Denmark recently. Having only just returned to New Zealand last week, I’m struggling to cope with the depressing wet New Zealand winter weather and the lack of proper heating and insulation at my studio. So I have emerged myself into working through all the images I’ve done, while I’ve been away.

Over the next month or so, I’ll keep the theme of the blog in the name of Denmark, Danish summer, Copenhagen eateries and all things Danish, while I wait for the New Zealand summer to return. If you love everything Scandinavian and miss summer too (or are in fact enjoying Danish summer at the moment), I’m sure there’ll be something for you to be inspired about, get your wanderlust itching again or just take your mind off the crappy weather for a bit.

I’ll start by introducing a place that’s very close to home, or should I say close to “my hometown” and my heart. Somewhere truly idyllic! The Island Læsø in Denmark or Laesoe (in English) is a small island in the North Sea bay Kattegat, just off the coast of the peninsula Jutland, the Danish mainland.

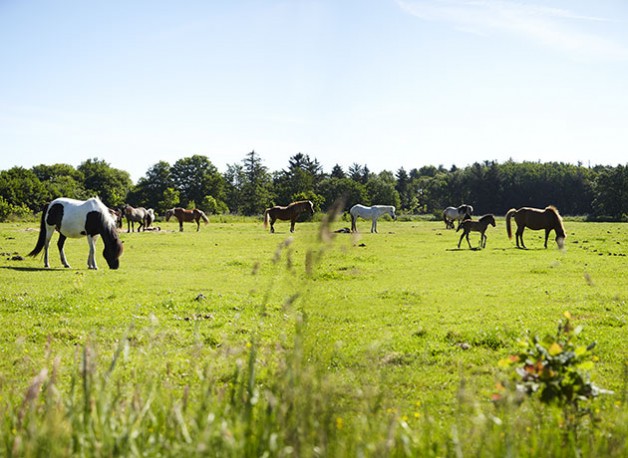
An hour and a half’s ferry ride from my hometown Frederikshavn, you’ll find this idyllic island, also referred to as Kattegat’s perle: “The Pearl of Kattegat”. Once you step off the ferry (or pretty much when you get on it actually), you know you’re on island time. My grandmother grew up here, so I’ve been coming here since I was a little girl, but it’s only after I moved to New Zealand, I’ve come to actually really love this place. It is windblown (due to the lack of hills) but peacefull. It’s full of nostalgica and by gone days of old school Danish fishermen and small town charm. This is truly the outskirts of Denmark, but if you are feeling stressed out, you’ve come to the right place to relax! The island has an amazing and unique nature, and you’ll find the beauty in the small things, such as riding a bike from one end of the island to the other (21km), go horseback riding on Icelandic Ponies or taking a swim at one of the many beaches. The island is known for it’s scampi festival in August and the cute half-timbered houses thatched with seaweed.

The next few upcoming posts, I’ll show a few of the really great places on the island, Læsø Salt Works and a really good place to eat (and sleep). So please stay tuned!