Nordic Sea Salt

Læsø Saltsyderi Læsø Saltsyderi Læsø Saltsyderi Læsø Saltsyderi Læsø Saltsyderi Læsø Saltsyderi Læsø Saltsyderi Læsø Saltsyderi Læsø Saltsyderi Læsø Saltsyderi Læsø Saltsyderi Læsø Saltsyderi Læsø Saltsyderi Læsø Saltsyderi Læsø Saltsyderi Læsø Saltsyderi Læsø Saltsyderi Læsø Saltsyderi

If you’ve worked with me in my studio, or just gotten to know me, while I’ve been in New Zealand,  you might have been so lucky to recieve as a present, a cute little linnen bag, tied with a piece of string and filled with pourus sea salt crystals, along with an attempt from me to explain why this salt is awesome!

You might have thought:  “Wow, how awesome can salt be?” or “I thought Maldon salt was supposed to be the awesome salt!” Well Maldon salt is awesome, and I know the “REAL” salt to use if you are a chef or a real foodie. But Maldon, move over, because here’s the story and the images to show, why I think Læsø Salt is more awesome.

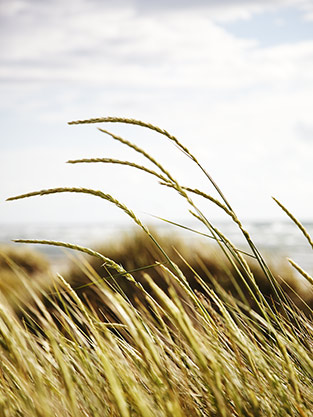
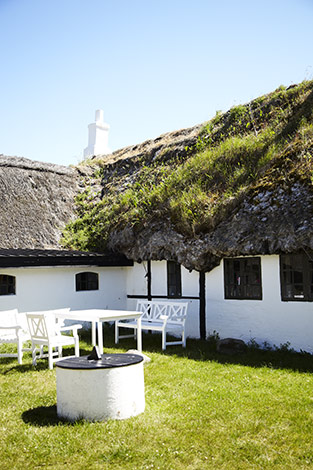
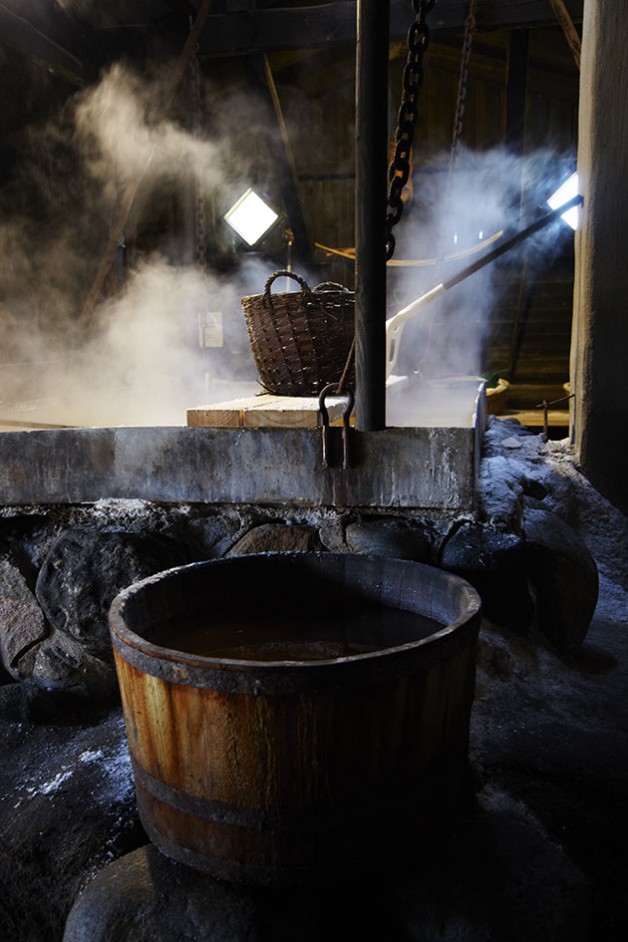
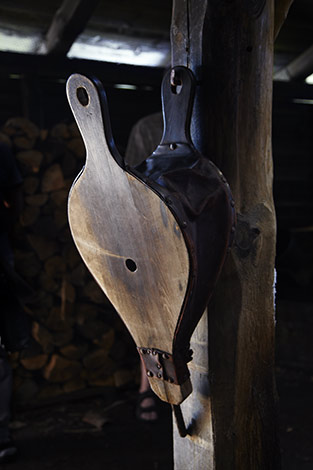
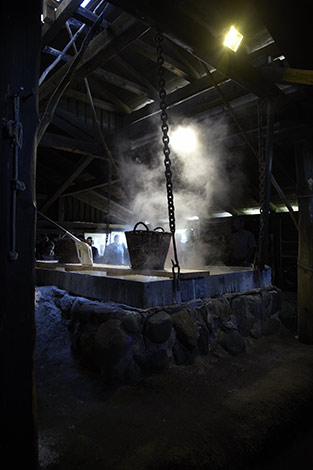
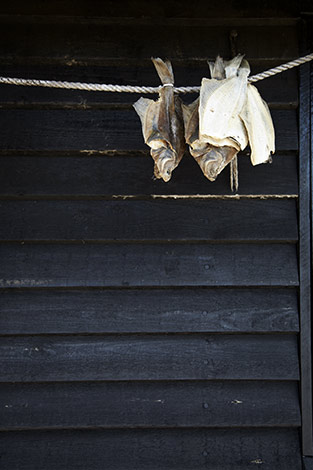
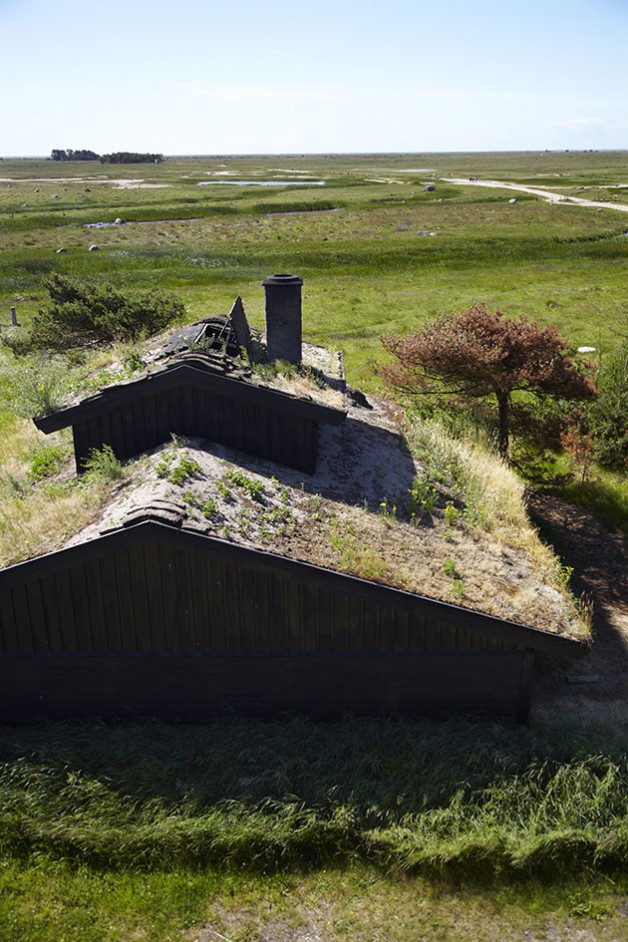
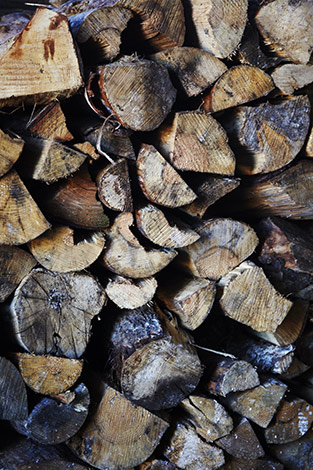
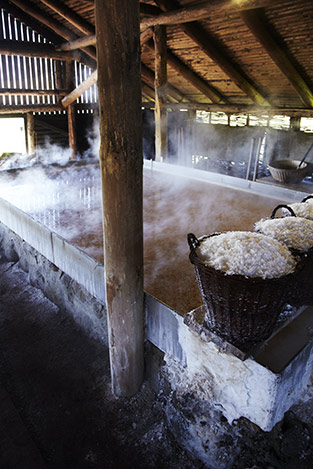
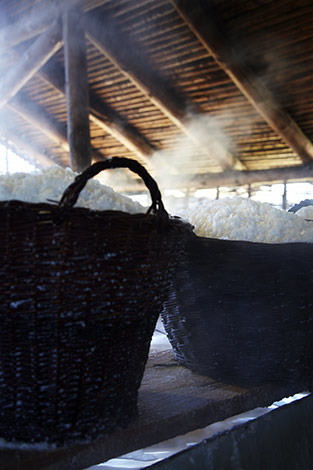
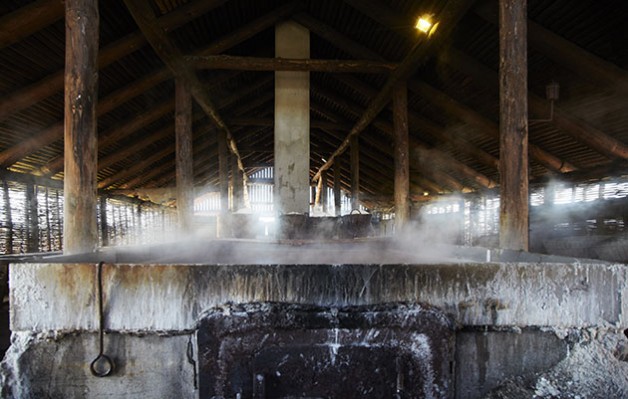
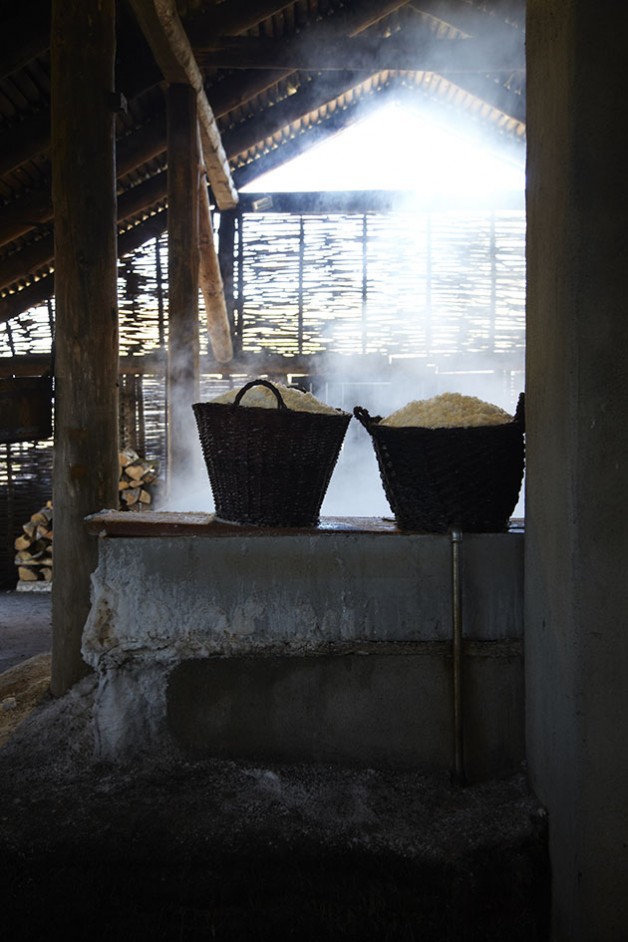
As a visual person, I buy with my eyes (not everything and always, but often). A product has got to look good or sell me the idea of looking good. Well for starters Læsø Salt does just that. Just take a look at the place where they make it!
It is full of beautiful photo opportunities, and if my dad hadn’t been hanging around, waiting for me to finish “doing my thing”, I could have spent the whole day here. Although I think I got some pretty cool shots after all.

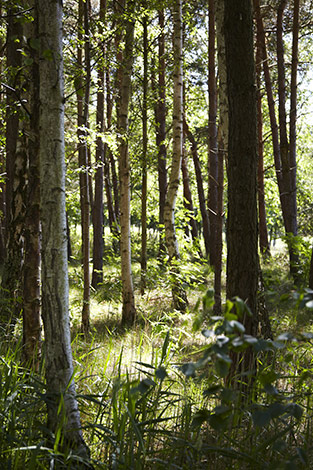
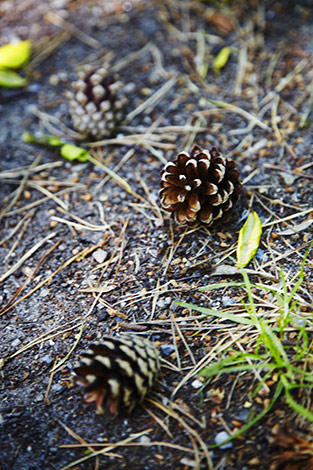
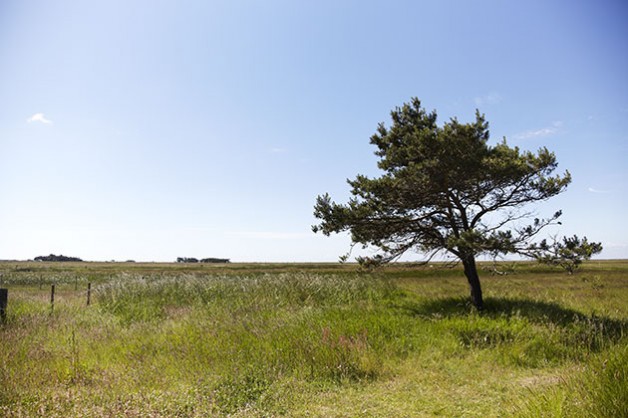
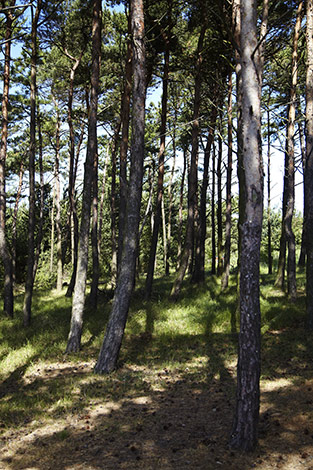
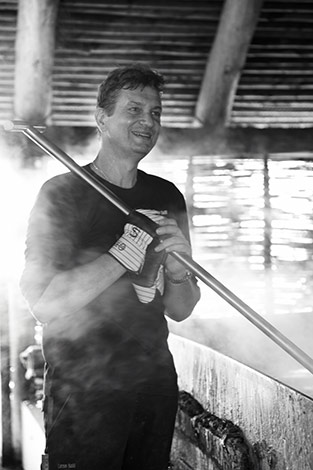
We are still on the island Læsø, as I wrote about the other day and the first visit on my itinerary of the day. At the edge of a pine forrest, south of the town Byrum, bordering the open plain of the the truly windblown parts of Læsø, lies Læsø Salt Works. It is both the place where they make Læsø Salt, but also a tourist attraction that tells a lot of the story on life on Læsø back in the day. Without making it too long and boring (the guides at Læsø Salt does not), I’ll try to explaing why this place, and the salt, is so special.

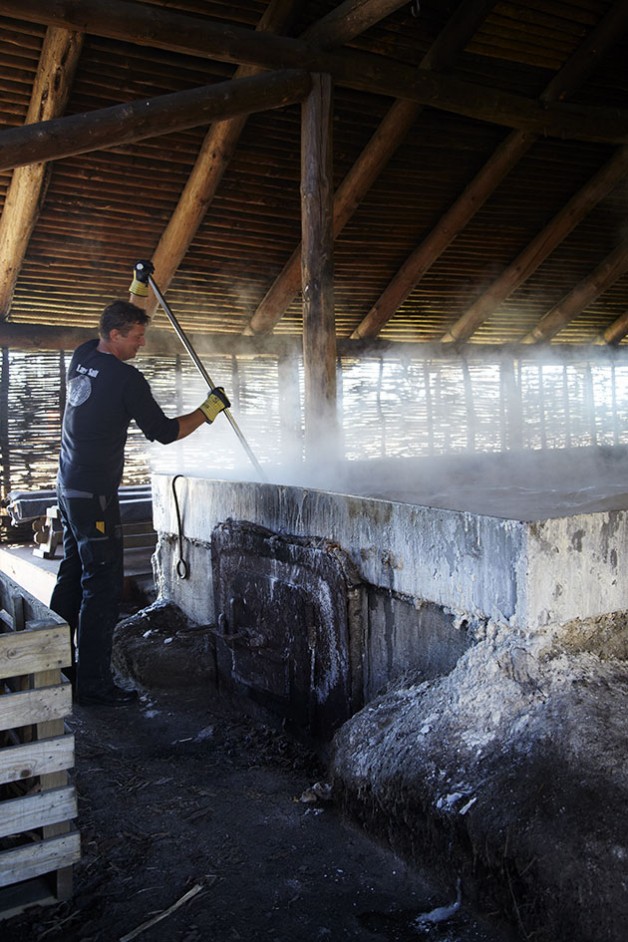
Due to the high concentration of salt in the sea around Læsø, the making of sea salt has been happeing on Læsø since the middel ages, but then since died out. Back in 1990 when archeoligists started looking into some of the history of Læsø, the idea of salt seething on Læsø was brought back to life using the discoveries the archeologists made. Today they seethe salt after the old traditions and recipes and make just enough to meet demands and keep Læsø Salt Works a healthy business.

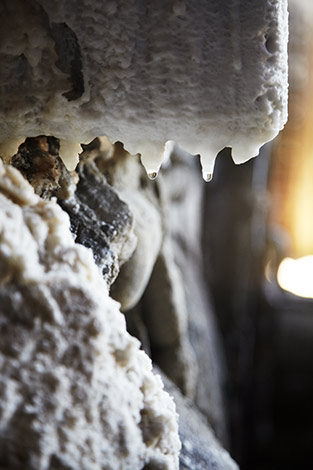
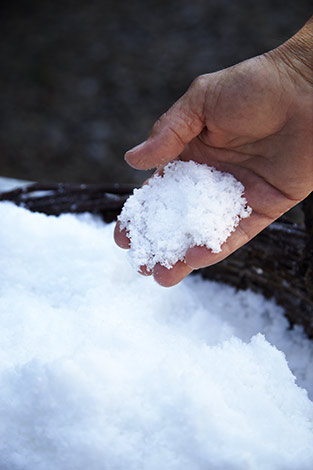
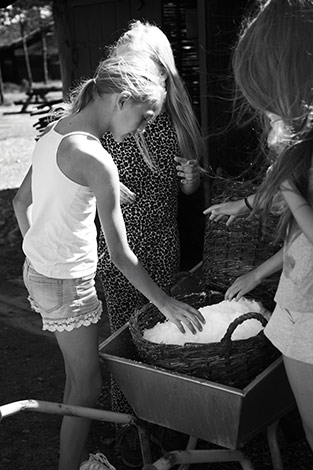
The salty water is brought in from wells, dug in the lower parts of southern Læsø. In the Salt Works the water is set to evaporate over the fire. Once the brine is saturated, the salt crystals form on the surface and is scooped up into the baskets where residue water runs off, before the salt is set to dry in the drying addic.

The salt still retains a lot of the minerals and has a full-bodied flavour. It is porous enough to be perfect for crushing between two fingers before seasoning any dish. The salt is hand made and with respect for the nature sourroundings of the island. All biproducts of the seething is used for Læsø Salt Care scin care range and is excellent treatment for people with dry skin or pshoriasis. So apart from the oddness in bringing sea salt across the globe to New Zealand, Læsø Salt meets a lot of my criteria for many products that I buy. I like to support: My local community, the preservation of a lost art, AND pride and effort into making a tasty and beautiful product.

Read more about Læsø Salt Works in English here and in Danish here. Stay tuned for another awesome place to visit on Læsø, soon!

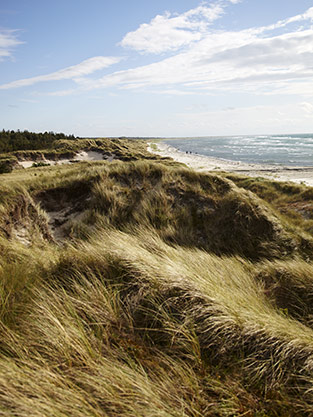
Idyllic island Laesoe in Denmark

Strandgården Badehotel, Læsø Strandgården Badehotel, Læsø Læsø Læsø Læsø Læsø Læsø Læsø Læsø Læsø Læsø

If you’ve been following my instagram feed or my facebook page lately, you might have noticed that I’ve been on a trip home to my native Denmark recently. Having only just returned to New Zealand last week, I’m struggling to cope with the depressing wet New Zealand winter weather and the lack of proper heating and insulation at my studio. So I have emerged myself into working through all the images I’ve done, while I’ve been away.

Over the next month or so, I’ll keep the theme of the blog in the name of Denmark, Danish summer, Copenhagen eateries and all things Danish, while I wait for the New Zealand summer to return. If you love everything Scandinavian and miss summer too (or are in fact enjoying Danish summer at the moment), I’m sure there’ll be something for you to be inspired about, get your wanderlust itching again or just take your mind off the crappy weather for a bit.

I’ll start by introducing a place that’s very close to home, or should I say close to “my hometown” and my heart. Somewhere truly idyllic! The Island Læsø in Denmark or Laesoe (in English) is a small island in the North Sea bay Kattegat, just off the coast of the peninsula Jutland, the Danish mainland.

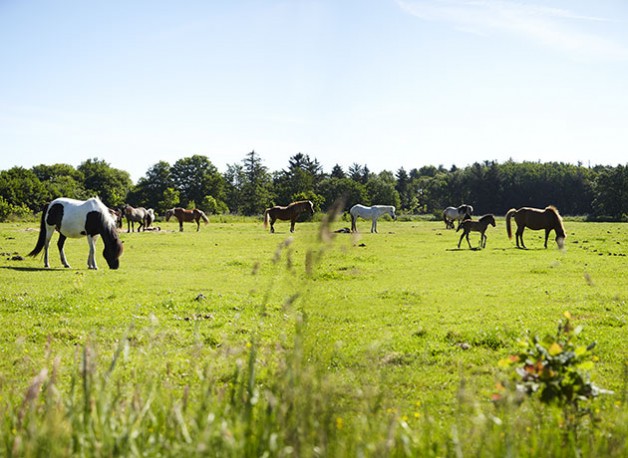
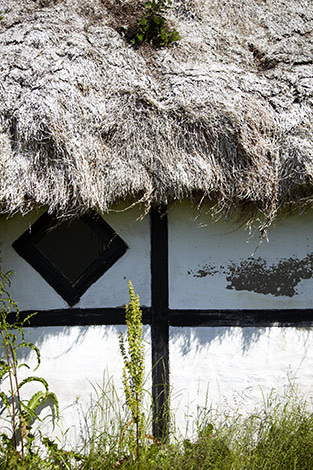
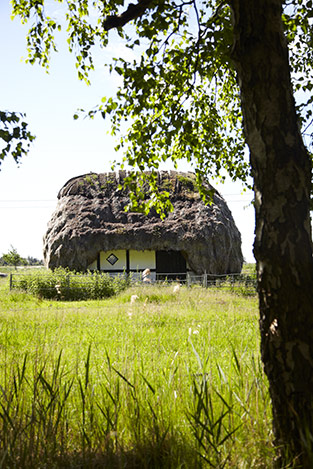
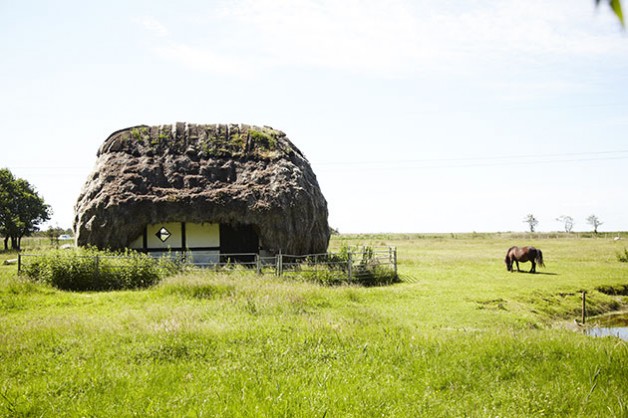
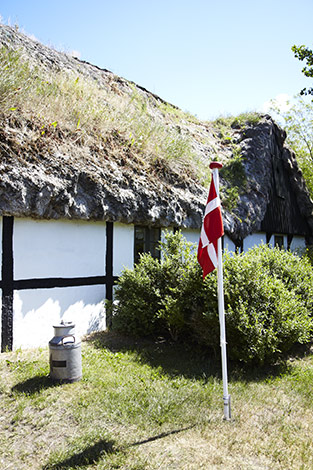
An hour and a half’s ferry ride from my hometown Frederikshavn, you’ll find this idyllic island, also referred to as Kattegat’s perle: “The Pearl of Kattegat”. Once you step off the ferry (or pretty much when you get on it actually), you know you’re on island time. My grandmother grew up here, so I’ve been coming here since I was a little girl, but it’s only after I moved to New Zealand, I’ve come to actually really love this place. It is windblown (due to the lack of hills) but peacefull. It’s full of nostalgica and by gone days of old school Danish fishermen and small town charm. This is truly the outskirts of Denmark, but if you are feeling stressed out, you’ve come to the right place to relax! The island has an amazing and unique nature, and you’ll find the beauty in the small things, such as riding a bike from one end of the island to the other (21km), go horseback riding on Icelandic Ponies or taking a swim at one of the many beaches. The island is known for it’s scampi festival in August and the cute half-timbered houses thatched with seaweed.

The next few upcoming posts, I’ll show a few of the really great places on the island, Læsø Salt Works and a really good place to eat (and sleep). So please stay tuned!

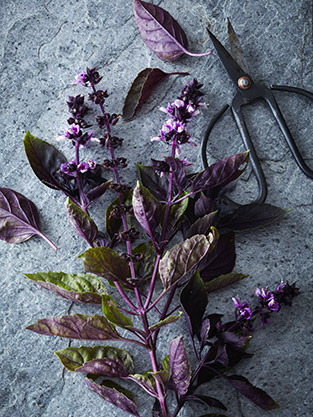
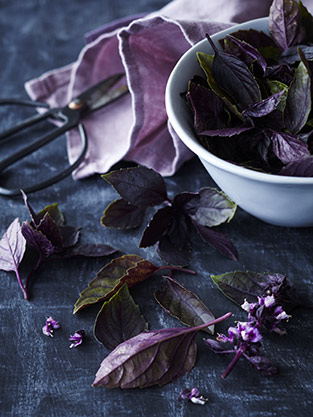
Red Basil Pesto

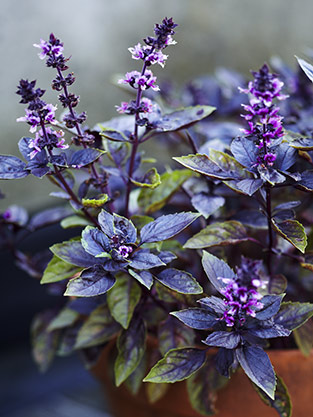
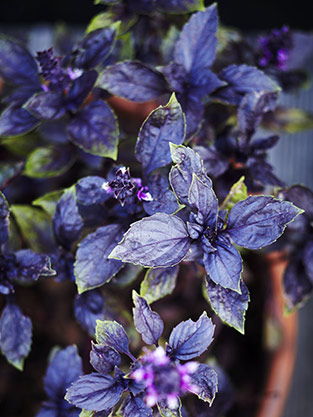
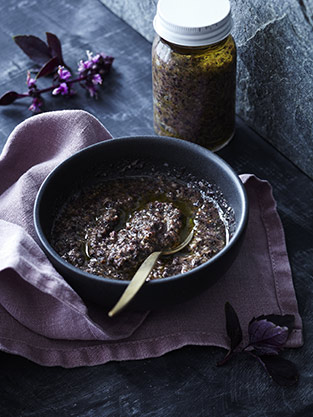
Red Basil Pesto Red Basil PestoRed Basil Pesto Red Basil PestoRed Basil Pesto Red Basil PestoRed Basil Pesto Red Basil Pesto

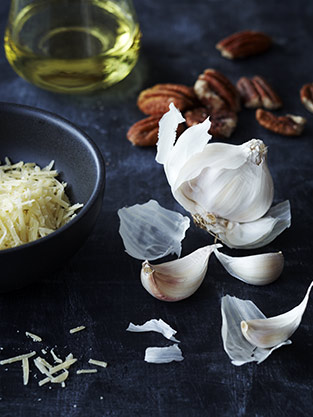
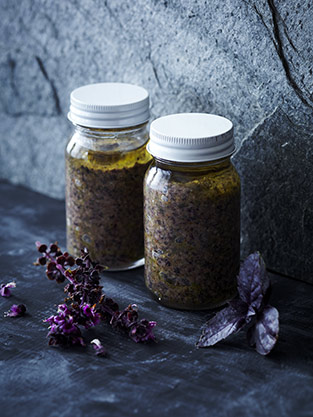
I’ve noticed when I make pesto, like the one I did the other day, the basil tends to go brown, after a while. After advice from Annabel Langbein and a bit of reserch on the internet, it seems that blanching the leaves beforehand is the answer to ever delicious looking pesto. So here is an updated version of my pesto recipe that will work just as well with red basil pesto as with green. This time I’ve used pecan nuts, which I think work well with the more bitter flavour of the red basil, but you can use pine nuts as in traditional pesto, if you prefer.

 Red Basil Pesto

2 cups fresh basil leaves, green or red
2 cloves of garlic
1/4 cup pecan nuts
1/2 cup olive oil
1/2 cup grated parmesan cheese
Salt & pepper to taste

Toast the pecan nuts lightly over medium heat until golden. Be careful not to burn. Leave to cool. Blanch the basil leaves for just a few seconds in plenty of boiling water, then rinse and cool in an icebath. Dab the leaves dry on a clean teatowel. They don’t need to be superdry, just not soaking wet, so they water out the pesto. Place all ingredients in a blender and mix until smooth. Add salt and pepper to taste.

Transfer the basil pesto to clean glass jars, and pour over a little olive oil to cover, then seal. The pesto will keep in the fridge for up to two weeks.

Semi Dried Tomatoes

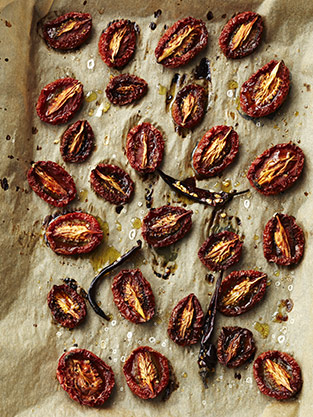
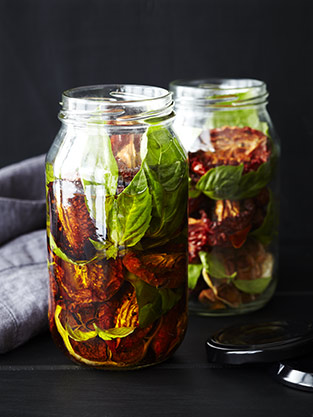
Baked Tomatoes Baked TomatoesBaked Tomatoes Baked Tomatoes

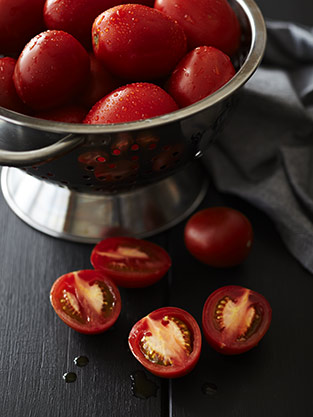
All this talk about tomatoes, I thought maybe a recipe was in order. Just at the end of the season, if you aren’t growing tomatoes yourself, it should be easy to get loads of them for cheap. Use this easy recipe to intesify and store their beautiful flavour.

Semi Dried Tomatoes
Makes 2 jars

3 kg small tomatoes, preferably plum tomatoes or cherry tomatoes
Olive oil, for cooking
Salt and pepper
1 tablespoon sugar
5 cups of olive oil
Fresh basil (or any other preferred herb)
5 cloves of garlic

Half the tomatoes, spread them on a roasting pan, and drizzle with olive oil. Sprinkle with salt, pepper and sugar, and then put them in the oven and bake for 10-12 hours at 100 degrees – preferably overnight. Keep an eye on them towards the end of the cooking time. You don’t want them to be completely dried, but still soft and plump.

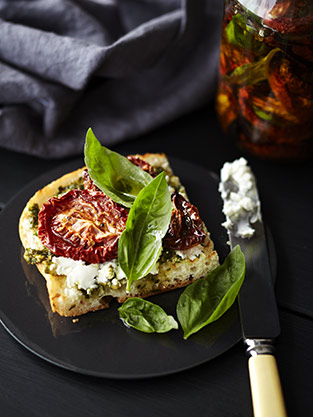
Once done to your liking, leave to cool. Place the semi dried tomatoes in glass jars with basil (or any other preferred herb), whole garlic and cover with olive oil.  Seal and place them in the refrigerator. They will keep in the fridge for a couple of months. You can also bake capsicums and chilli to mix in with the tomatoes. Great on toast with goats cheese and basil pesto.

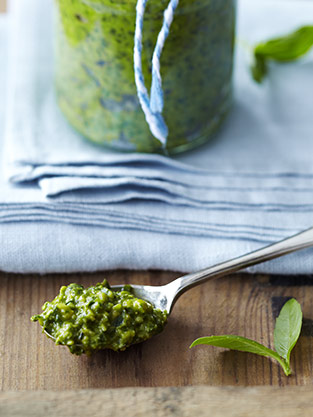
Homemade Basil Pesto

Basil Pesto Basil Pesto Basil Pesto Basil Pesto

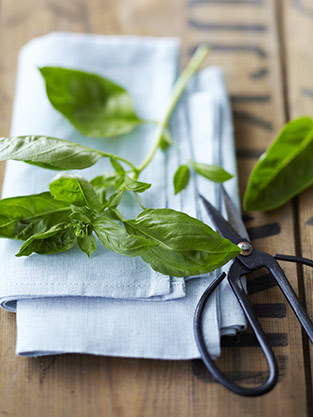
On the deck of the studio, I’ve always got a selection of herbs growing. They are great to have handy for shoots, and off course they look nice as well. At the moment, I’ve got more basil than I can eat, so I decided to make some of it into pesto. Here’s a quick and easy recipe:

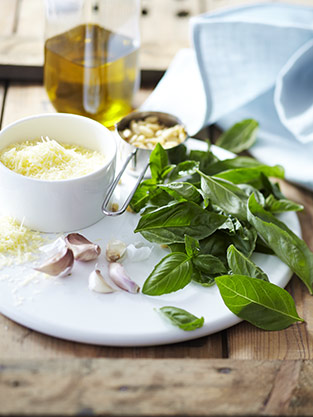
Basil Pesto

2 cups fresh basil leaves
2 cloves of garlic
1/4 cup pine nuts
1/2 cup olive oil, plus a little extra for storage
1/2 cup grated parmesan cheese
Salt & pepper to taste

Toast the pine nuts lightly over medium heat until golden. Be careful not to burn. Leave to cool. Place all ingredients in the blender and mix until smooth. Add salt and pepper to taste.

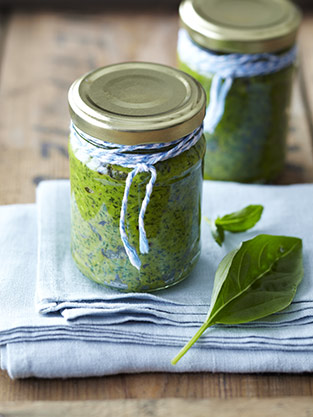
Transfer the basil pesto to clean glass jars, and pour over about 1/2 cm of olive oil to cover, then seal. The oil will prevent the pesto from browning. The pesto will keep in the fridge for up to two weeks.

Black and White

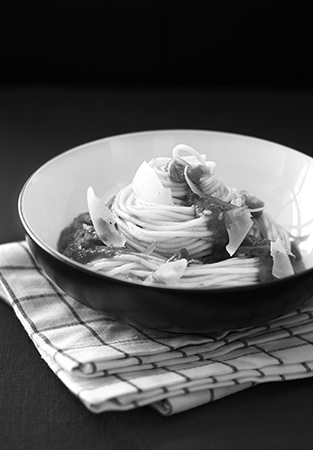
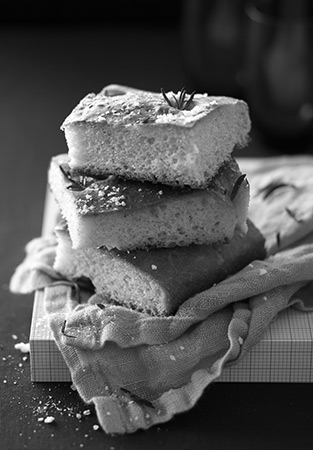
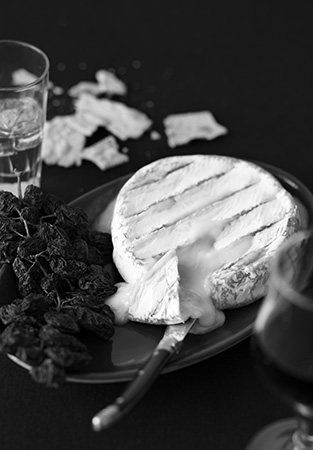
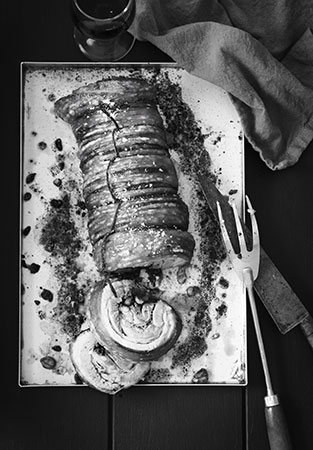
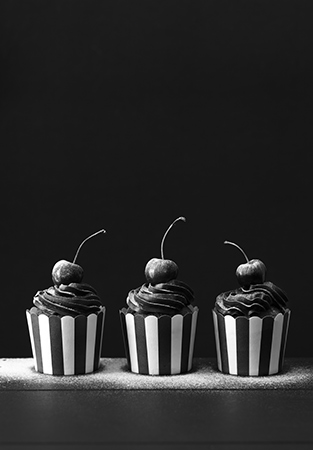
Spaghetti with Tomato Sauce Foccacia with RosemaryBaked Brie Peanut Stuffed Rolled Pork BellyHot Chocolate with Whipped Cream Chocolate Coffee Cupcakes

Welcome to the online launch of my new blog, the food photographers favourites. This opening entry is a personal project I’ve been working on for some years now, but as a busy food photographer, trying to set up a business in beautiful New Zealand, there’s not always time to get those projects finished. However, I have decided that it must begin, and end, somewhere, and what initially started as an idea, a concept for a portfolio project, has now developed into this blog.

So, here it begins with a black and white project, something that stems back to my early days in the dark room back in the early 90ties. I have always been fascinated with the contrasts of B/W photographs, and at times I really miss working with the lack of colours. Inspired by Irving Penn and fashion magazine after fashion magazine, I decided to try and translate some of that into my passion and speciality: Food photography. Keeping in mind, that most food does look the best in colours, as these are what makes us recognise whatever the subject, and appeal to our tastebuds. Paying attention to the textures and shape of the food, I decided to pick a selection of my favourite recipes I’ve photographed over time, and named the project “the food photographers favourites”.  Naturally not every dish was going to work well, but regardless, working with food styling in black and white is a fantastic exercise in studying how the light bounces of every subject, making sure that every important item in the dish shines. So by the end of this, it is really not so much about the recipe itself, but more about the basics of studying the light, as any great photographer would.

I send my respects to the queen of food styling Donna Hay, for picking this particular theme for her August/September 2013 issue of Donna Hay Magazine. From a photographic point of view, I think the idea is brilliant and beautiful, and I will certainly continue to explore the contrasts of food photography not only in black and white but definitely also in full colour, sharing some of my favourite recipes, shoots, recipes and other foodie related ventures. I declare the food photographers favourites blog for open!

Thanks to the wonderful people who helped make these images:

Spaghetti with Tomato Sauce, recipe by Jo Wilcox, food styling by Laura Faire • Foccacia with Rosemary, food styling by Laura Faire • Baked Brie, recipe by Penny Oliver, food styling by Laura Faire • Peanut stuffed Rolled Pork Belly, recipe by Peter Gordon, food styling by Laura Faire • Hot Chocolate with Whipped Cream, recipe and food styling by Carsten Kyster • Chocolate Coffee Cupcakes, food styling by Laura Faire