The Perfectly Salty Margarita

The Perfectly Salty Margarita. Cooking with Salt. Recipes, foodstyling, styling & photography by Manja WachsmuthThe Perfectly Salty Margarita. Cooking with Salt. Recipes, foodstyling, styling & photography by Manja Wachsmuth The Perfectly Salty Margarita. Cooking with Salt. Recipes, foodstyling, styling & photography by Manja Wachsmuth

THE PERFECTLY SALTY MARGARITA
Serves 4

The original zingy flavor of summer, this refreshing cocktail is bound to bring a good mood to any summer gathering. The salted rim on the glasses is the perfect flavor combination with the tequila and the zingy lime.

375 ml lime juice (juice of app 15 limes)
175g caster sugar
6 cups of crushed ice
165 ml good quality tequila
2 limes cut into wedges
Soda to serve

Rim glasses:

Cest of 1 lime
2 tbsp of sea salt flakes
1tbsp of sugar

Method Margarita:

Blend lime juice and caster sugar in a blender until sugar has dissolved. Transfer mixture to a large jug. Whizz crushed ice in batches in a food processor until slushy. Add to jug with tequila and stir well.

Method glass rim:

Mix lime zest, sea salt and sugar in a bowl and spread out on a plate in an even, thick layer. Use a wedge of lime to rub around the rim of 4 chilled glasses, and then dip each glass into the salt/ sugar mix to lightly coat the rim. Serve margarita in prepared glasses with extra lime wedges and a dash of soda (if desired).

The Perfectly Salty Margarita & Pink Grapefruit Margarita. Cooking with Salt. Recipes, foodstyling, styling & photography by Manja Wachsmuth Pink Grapefruit Margarita. Cooking with Salt. Recipes, foodstyling, styling & photography by Manja Wachsmuth

PINK GRAPEFRUIT MARGARITA
Serves 4

For a sweeter version of the classic margarita, the pink grapefruit is a festive colour and less sour than the the lime version. Still the salt cuts the sweet, tangy taste of the grapefruit.

325 ml pink grapefruit juice (juice of 4-5 grapes)
50 ml lemon juice (juice of 2 lemons)
100g caster sugar
6 cups of crushed ice
165 ml good quality tequila
1 grapefruit cut into slices
Soda to serve

Rim glasses:

Cest of 1 lemon
2 tbsp of sea salt flakes
1tbsp of sugar

Method Margarita:

Blend grapefruit juice, lemon juice and caster sugar in a blender until sugar has dissolved. Transfer mixture to a large jug. Whizz crushed ice in batches in a food processor until slushy. Add to jug with tequila and stir well.

Method glass rim:

Mix lemon zest, sea salt and sugar in a bowl and spread out on a plate in an even, thick layer. Use a wedge of lemon to rub around the rim of 4 chilled glasses, and then dip each glass into the salt/ sugar mix to lightly coat the rim. Serve margarita in prepared glasses with slices of grapefruit and a dash of soda (if desired).

Drink responsibly!

This recipe is part of my salt story published in MAD&venner #129 2015 & Matmagasinet Nord #23 2017, focusing on using salt as a main ingredient for cooking or flavouring. Try these recipes from this series too:
Blackberry Grav Lax
Salt & Vinegar Potato Skins
Bork Belly in Brine with Cripsy Crackling
Salt Dough Baked Leg of Lamb
Oozy Salted Chocolate Caramel Tart
Salted Caramel Ice Cream
Golden Pavlova with Summer Berries and Salted Chocolate Sauce

© Manja Wachsmuth 2017

Salt Dough Baked Leg of Lamb

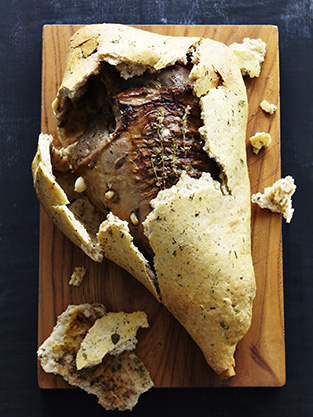
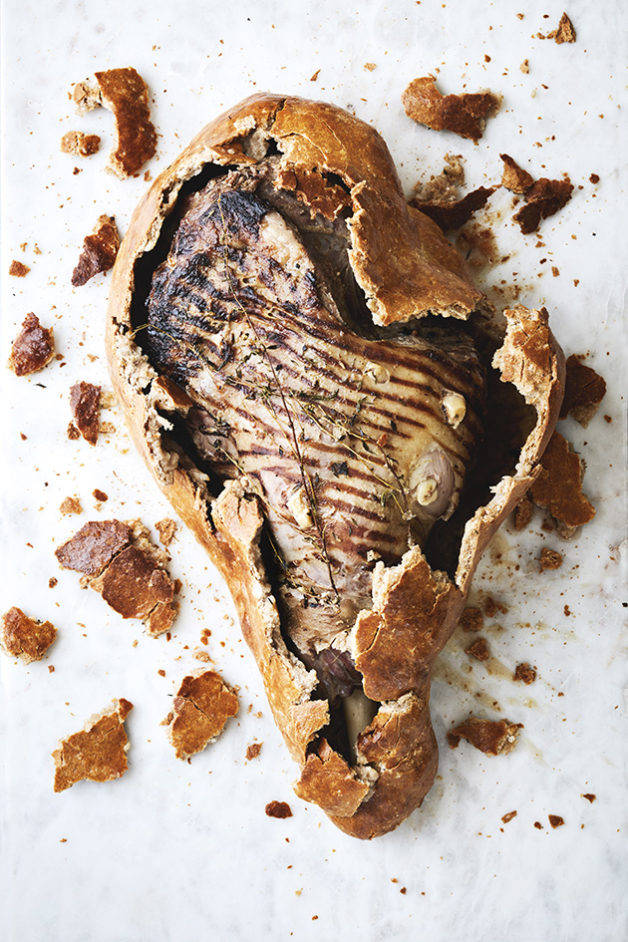
Salt Dough Leg of Lamb. Cooking with Salt. Recipes, foodstyling, styling & photography by Manja Wachsmuth

SALT DOUGH BAKED LEG OF LAMB
serves 8-10

Baking a Leg of Lamb in salt dough takes a bit of patience and concentration, but slow cooking your meat like this, ensures great flavor and moisture and it will be worth all your efforts. Furthermore cracking the crust open at the dinner table is a bit of a showstopper!

2 kg leg of lamb, French trimmed
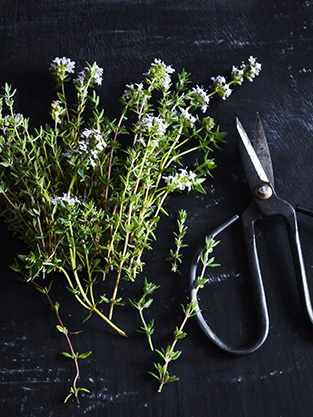
1 tbsp finely chopped thyme
6 cloves garlic, halved lengthways
1 tbsp Dijon mustard
Extra thyme leaves on stem

Salt dough:

700g/ 6 cups plain flour
300 g / 2 ½ cup sea salt
1 ½ tbsp freshly ground pepper
3 egg whites, lightly beaten
1 ½ cup/ 375 ml water
2 egg yolks mixed with a little cold water

Method leg of lamb:

Pre heat the oven to 180ºC

Combine the thyme and the mustard in a small bowl. Cut 12 deep slits in the leg of lamb and push in the garlic cloves. Rub the mustard paste over both sides of the lamb. If you have a large flat grill plate, the leg of lamb can be browned and cooled before rubbing with the mustard mixture. This doesn’t change the flavour, but does make the lamb look more attractive when the crust is broken.

Method salt dough:

Mix flour, salt and pepper in a bowl to combine. Slowly add the combined egg whites and water to make dough, stirring with a spoon, adding a little more water if necessary to bring the dough together. Tip onto a lightly floured bench and knead for a couple of minutes until well combined. Don’t let the dough rest, as this will make it dry out.

Roll the dough to a large 40 cm x 45 cm rectangle.

Place extra thyme leaves on stem on the dough and the leg of lamb on top, presentation side down, and bring the sides of the dough up, over the lamb. Wet the edges of the pastry and press firmly to make sure the lamb is completely sealed. Turn the lamb right side up and place on a lined baking tray. Wet the pastry where necessary and smooth with your fingers to seal any cracks, making sure the dough is sealed tightly. Brush the dough with egg wash.

Roast for 1 ½ hours, then remove from the oven and rest the leg of lamb for 15 minutes.

To serve:

Carefully break the crust open and pour the cooking liquids into a jug (or discard). The cooking liquids can be used as a stock for making gravy to accompany the lamb. Lift the lamb out of the crust, then carve against the grain and serve.

Thyme. Cooking with Salt. Recipes, foodstyling, styling & photography by Manja Wachsmuth. Recipes for MAD&venner. Salt Dough Leg of Lamb. Cooking with Salt. Recipes, foodstyling, styling & photography by Manja Wachsmuth. Recipes for MAD&venner.

This recipe is part of my salt story published in MAD&venner #129 2015 & Matmagasinet Nord #23 2017, focusing on using salt as a main ingredient for cooking or flavouring. Try these recipes from this series too:
Blackberry Grav Lax
Salt & Vinegar Potato Skins
Bork Belly in Brine with Cripsy Crackling
The Perfectly Salty Margarita
Oozy Salted Chocolate Caramel Tart
Salted Caramel Ice Cream
Golden Pavlova with Summer Berries and Salted Chocolate Sauce

© Manja Wachsmuth 2017
Bork Belly in Brine with Cripsy Crackling

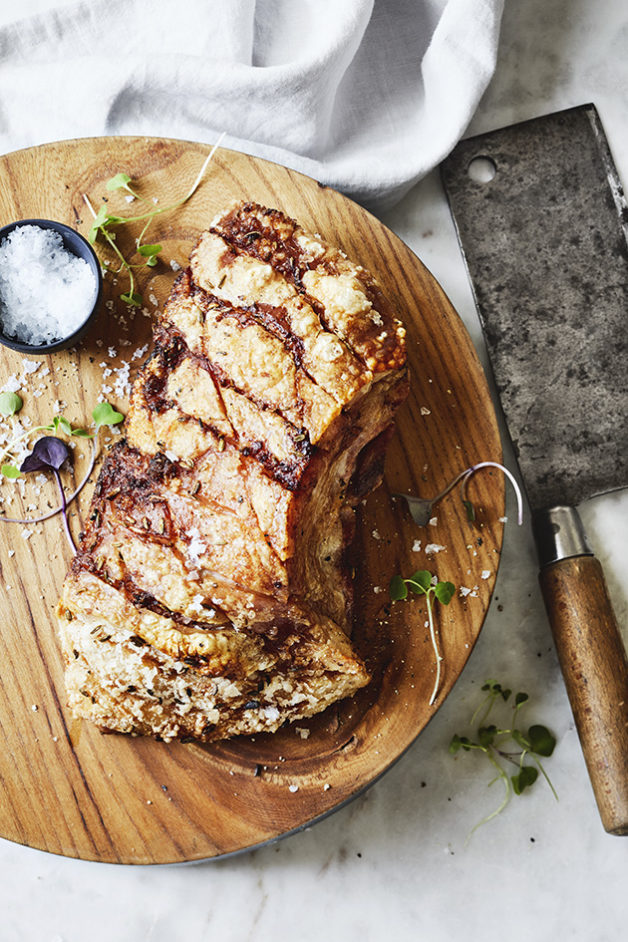
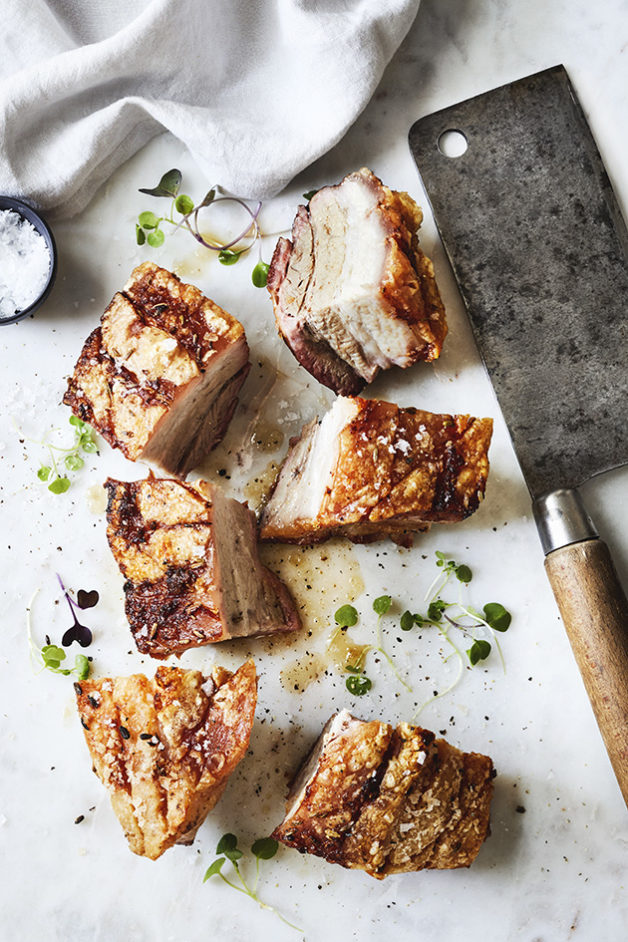
Cooking with Salt. Pork Belly in Brine with Crispy Crackling. Recipes, foodstyling, styling & photography by Manja Wachsmuth

PORK BELLY IN BRINE WITH CRISPY CRACKLING
Serves 4, as part of a main course

Nothing beats a properly done pork belly. This recipe brines the meat, ensuring a really nice flavour and crispy crackling. You can either do this in the oven or try it on the BBQ for a delicious meal on those long, bright summer nights.

1 kg Pork Belly, skin on
30 g Sea Salt Flakes
1 tsp Fennel Seeds
250 ml Water

Method Oven:
Score the skin of the pork belly in slices or squares. Be careful not to cut into the meat.
Place the pork belly in a non-reactive, deep-sided roasting dish. Rub the salt into the meat on both sides and leave for 30 minutes. Turn the belly so the skin is facing down, and then cover in enough cold water to submerge the meat. Cover tightly and place in the fridge for 24-48 hours.

Preheat the oven to 250º C.

Drain the brine from the pork belly and pat it dry all over with a paper towel. Make sure that the skin is completely dry, otherwise it won’t crackle. Rub the skin with a little olive oil and sprinkle with flaky sea salt and fennel seeds. Place the pork skin side up on a rack that fits in a roasting dish and roast in the oven for 45 min, or until the skin starts to crackle. Remove from the oven and reduce temperature to 180ºC. Pour water into the roasting dish, ensuring that the skin remains dry. Return to oven and cook for 1 hour and 15 min, until tender.

Remove from the oven, and leave to rest in a warm place for 15 min, before cutting the meat into square bites, or slices. Serve while hot.

Method BBQ:
Note, this is a guideline only. Correct cooking on bbq is highly dependent on a number of factors such as the size of the bbq, the type of coal / briquettes, the placement of the roast, etc. The most important thing to remember is to check the roast often and to turn the meat to ensure even cooking.

We have used a medium-sized kettle bbq with lid.

Fill two coal trays with briquettes (it is advantageous to use briquettes and not charcoal as they hold the heat longer) and place on each side of the BBQ, leaveing a space in the middle that the roast can sit over. Place a foil tray between the coal trays (underneath the roast), to catch meat juice so that it doesn’t drip into the embers, and either causes flames or makes the BBQ difficult to clean. Light the briquettes and put a rack over to cover the entire grill. Wait for the briquettes to burn down until they are fiery red, very hot and with quite a low flame.

Place the roast on the rack, skin side up, over the drip tray between the coal trays, and roast for 45 minutes – 1 hour. Check often.
Rotate the roast occasionally to make sure it is cooking evenly on all sides, and always position with the skin side up.

For crispy crackling, turn the roast sideways, with the cracklling facing one of the coal trays, a little closer to one of the trays to expedite the process, keep an eye out, it burns easily! The crackling is done when it’s bubbled up and crispy all over. Total cooking time approx. 1-1.5 hours. Remove the roast from the heat and rest for 15 minutes. Carve and serve while hot.

Cooking with Salt. Pork Belly in Brine with Crispy Crackling. Recipes, foodstyling, styling & photography by Manja Wachsmuth

This recipe is part of my salt story published in Matmagasinet Nord #23 2017, focusing on using salt as a main ingredient for cooking or flavouring. Try these recipes from this series too:
Blackberry Grav Lax
Salt & Vinegar Potato Skins
Salt Dough Baked Leg of Lamb
The Perfectly Salty Margarita
Oozy Salted Chocolate Caramel Tart
Salted Caramel Ice Cream
Golden Pavlova with Summer Berries and Salted Chocolate Sauce

© Manja Wachsmuth 2017
Amass Copenhagen

Copenhagen Travel Story, Dish Magazine Copenhagen Travel Story, Dish Magazine Copenhagen Travel Story, Dish Magazine Copenhagen Travel Story, Dish Magazine Copenhagen Travel Story, Dish Magazine Copenhagen Travel Story, Dish Magazine

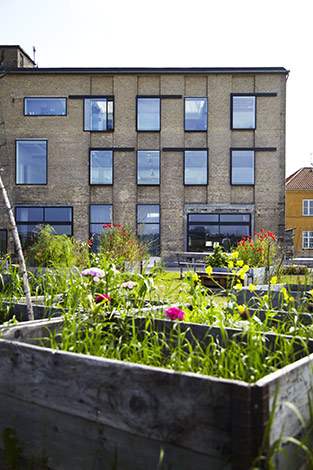
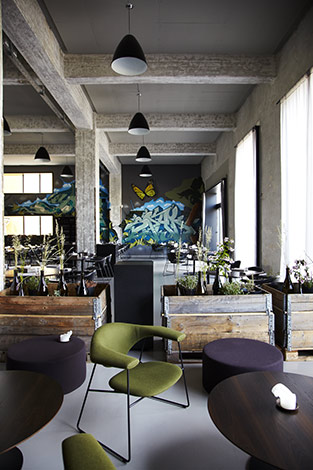
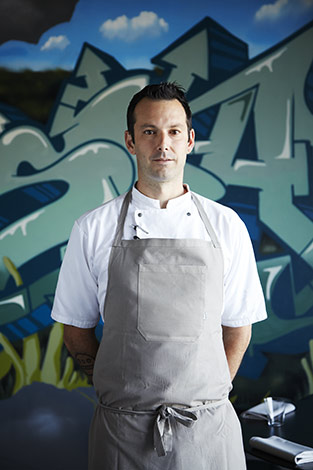
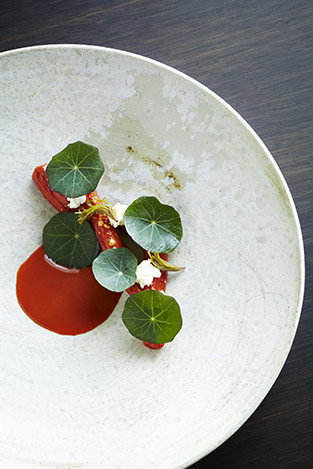
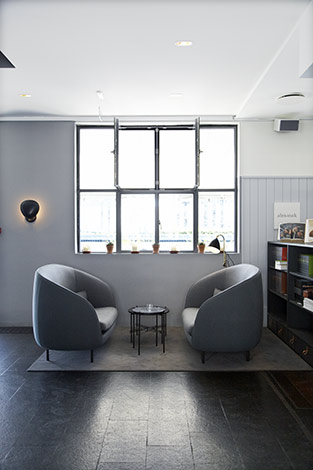
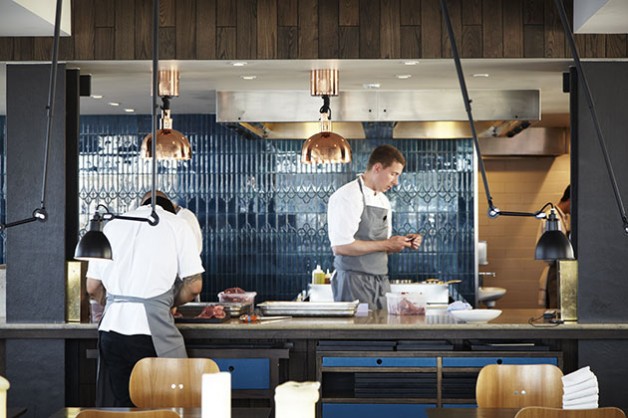
With summer just around the corner here in New Zealand, and a trip to Denmark planned for Christmas, I’ve been thinking back on my trip home to Denmark in June, earlier this year. Back then I was doing a few travel stories about Denmark and specifically Copenhagen for Dish Magazine here in New Zealand. I also had the pleasure of doing a shoot with Matt Orlando at Restaurant Amass Copenhagen, to be included in a travel piece on Copenhagen. I was incredibly intrigued by the athmosphere at Amass, and Matt’s approach to the “New Nordic Cuisine” style of restaurant and cooking. The whole place, everyone there and Matt himself, just oozes “cool” and I can’t wait to go back and actually dine there and be able to take the whole place in, on a more relaxed level. I hope and wonder if it’s just as awesome in winter…

Copenhagen Standard

Copenhagen Travel Story, Dish Magazine Copenhagen Travel Story, Dish Magazine Copenhagen Travel Story, Dish Magazine Copenhagen Travel Story, Dish Magazine Copenhagen Travel Story, Dish Magazine Copenhagen Travel Story, Dish Magazine Copenhagen Travel Story, Dish Magazine Copenhagen Travel Story, Dish Magazine Copenhagen Travel Story, Dish Magazine Copenhagen Travel Story, Dish Magazine Copenhagen Travel Story, Dish Magazine

While I was in Denmark for the month of June, I also photographed a travel story on the food scene in Copenhagen for Dish Magazine. The article is written by food writer, cook book editor, self acclaimed foodie and now also cook book author Marie Holm. I first met Marie, when I started shooting for Danish food magazine MAD&venner (FOOD&friends) back in 2008, before I left Copenhagen to go travelling. Back then Marie worked for the magazine, but today she is freelancing, working for all sorts of magazines, publishers and others who needs Marie’s expertise as an experienced food writer.

When I first came to New Zealand in 2009, with my portfolio and a stack of MAD&venner magazines under my arm, I was thrilled when Dish magazine booked me, and every year since I’ve been trying to talk them into doing some sort of story on Copenhagen. This time they finally jumped on it, and I was fortunate enough to talk Marie Holm into writing the story, as I knew there wouldn’t be anyone more perfect for it. Now the story is out in recent issue of Dish Magazine (#55 August 2014). Unfortunately I can’t publish it here (so you should go buy the magazine to read Marie’s brilliant story), but I can show off some of the extra photos, that didn’t make the cut for the article.

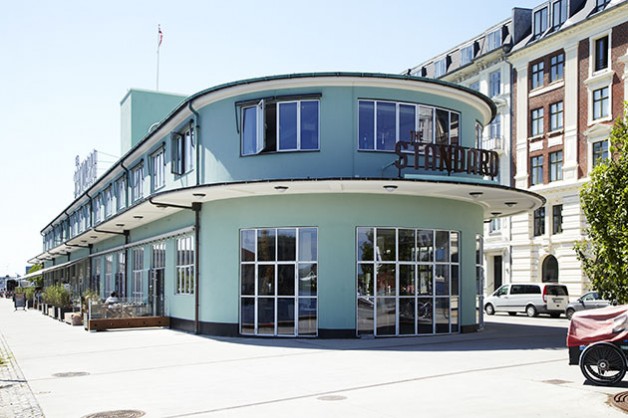
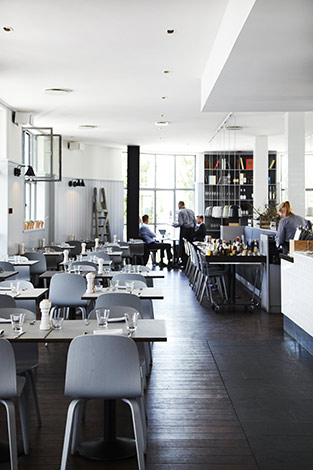
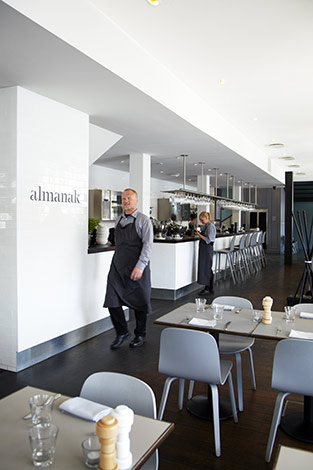
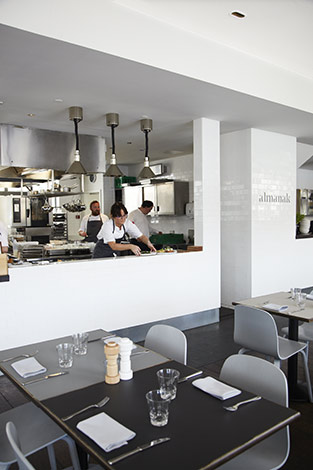
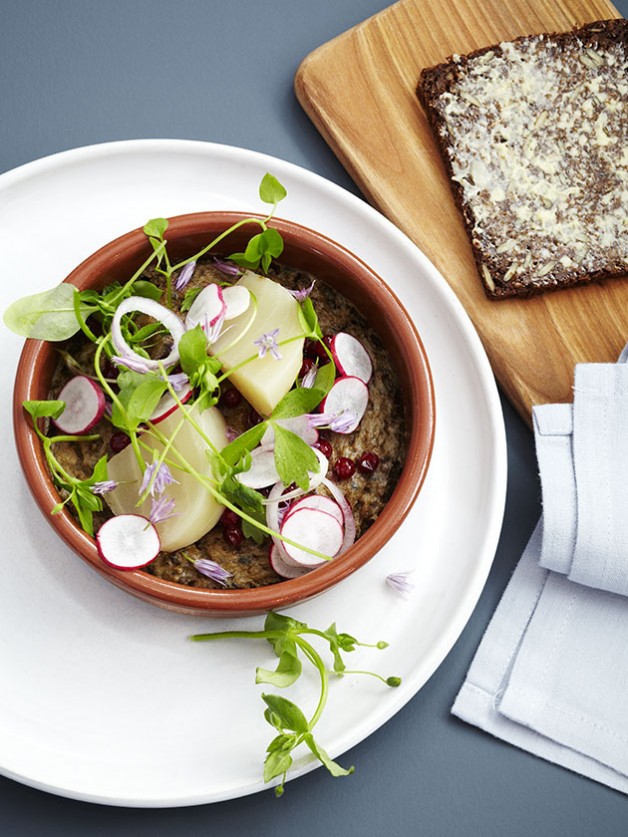
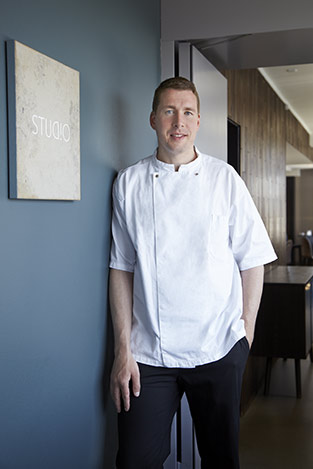
First off we have a new favorite of mine. Claus Meyer and Torsten Vildgaard’s new place The Standard. Based in what used to be the former Custom House, they’ve opened up 3 new restaurants and a jazz club. I visited two of those restaurants: Studio and Alamanak, to photograph for the article and although I’ve only been in Copenhagen this time for 2 weeks in total, I still managed to eat at Almanak 3 times for lunch. What can I say? The food is great – I just love that liver patee (pictured above)! Danish smørrebrød, open sandwiches, with a modern, New Nordic twist. I suppose it has become the new Copenhagen Standard for me. The other restaurant, Studio, is definitely more of a fine dining place of the New Nordic Cuisine caliber, and I suppose former Noma souschef Torsten Vildgaard’s playground – his Studio. Unfortunately I didn’t get to actually eat at Studio this time, although I hope to return and have the pleasure of Torstens genius cooking.

More photos from my favorite city in the world, Copenhagen, later. Thanks for stopping by!

Curious Croppers for Dish

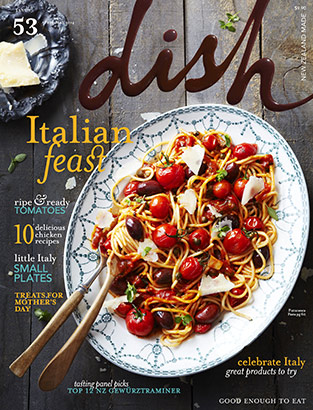
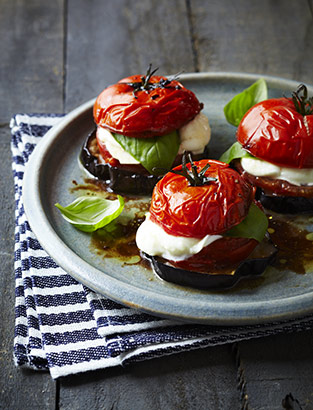
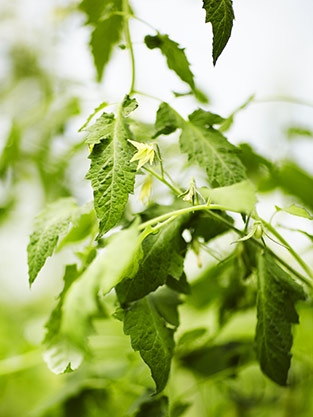
Dish Magazine Issue #53, TomatoesDish Magazine Issue #53, Tomatoes Dish Magazine Issue #53, Tomatoes

In April 2010 my first photoshoot on NZ soil was published in Dish 29, their annual italian issue. This month, 4 years later, I’m on the cover of this years italian issue (currently out now). Thank you Dish for all the good times and for being a loyal client! Styling by The Props Department, platter on the cover from Flotsam & Jetsam and tomatoes from Curious Croppers


Curious Croppers

Curious Croppers Curious Croppers Curious Croppers Curious Croppers Curious Croppers Curious Croppers Curious Croppers Curious Croppers

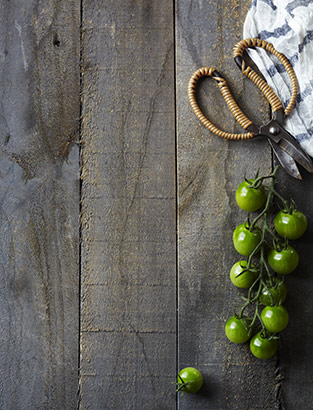
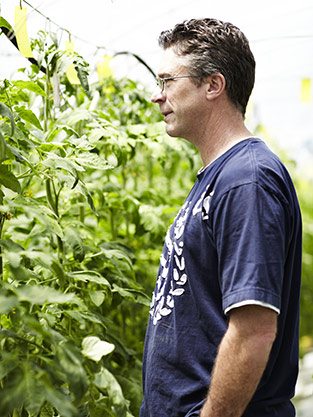
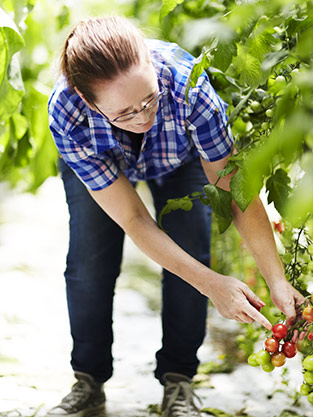
Sometime in the beginning of summer, I went to visit Angela & Anthony Tringham’s farm in Clevedon valley. Angela & Anthony are the Curious Croppers, a pair of ambitious and hardworking tomato and vegetable growers, with a passion for beautiful produce and delicioius meals.

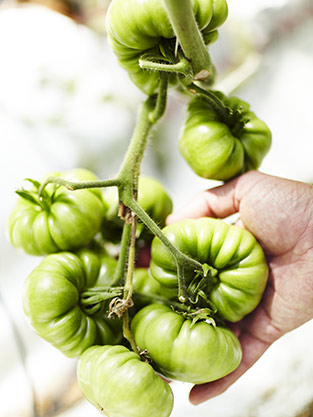
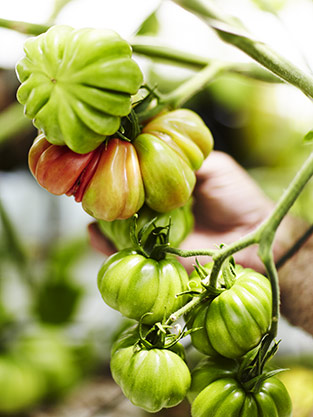
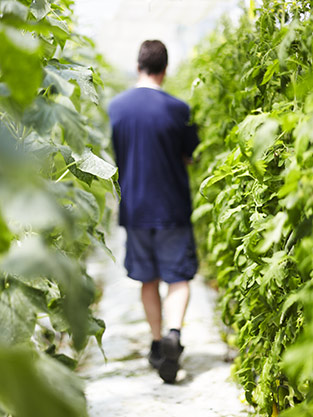
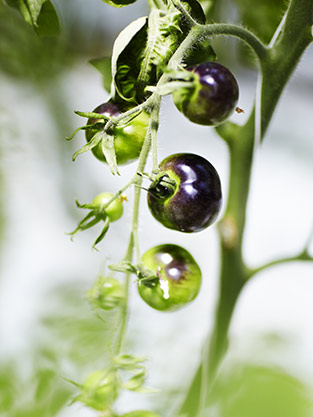
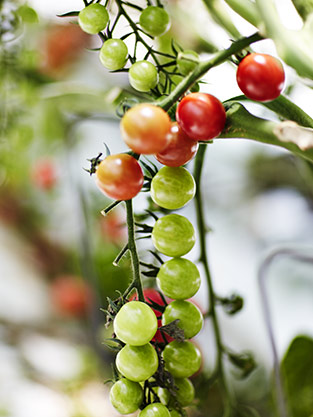
I first met Angela & Anthony on an assignment to photograph their farm for Dish Magazine during summer of 2013, and totally fell in love with their incredible play house of a green house “gone wild”. This is where they experiment and grow all sorts of fantastic variants of tomatoes, and other veges, that you wouldn’t dream exsisted. Anthony sources seeds from all over the world, to test out in the play house, and see if there just might be market for something special here in New Zealand. There is! Curious Croppers supplies their top of the class tomatoes to many of the high end restaurants across the country, and you will often find them out and about, testing their produce on one of Aucklands trendy eateries.

You can find the Curious Croppers tomoatoes for your own cooking at the Clevedon Valley Farmers Market, and in Farro Fresh Supermarkets. Since my first visit, Angela & Anthony has probably become the biggest fans of my work, so this little post is a tribute to you guys. Thanks for all the love, and for filling my tummy with my all time favorite flavour: Tomatoes!

Christmas with Dish

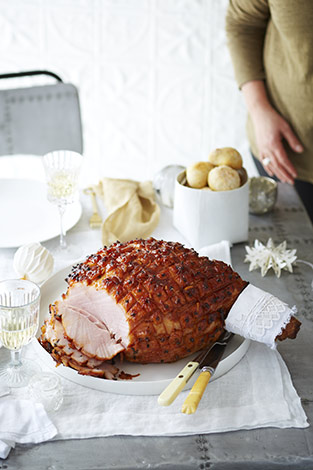
Dish Magazine #51, Christmas Feature 2013 Dish Magazine #51, Christmas Feature 2013Dish Magazine #51 Dish Magazine #51

Phew, does time go by fast! I can’t belive how fast 2013 has gone! Christmas is almost here, and it’s been a whole month since my last post.

With NZ summer in full bloom and Christmas just around the corner, I hope to be able to post a few things for inspiration for Christmas, starting with these lovely images I did for Dish Magazine’s Christmas issue.

The white and metal story is their main Christmas feature, which we shot in my studio. As the studio is a nice, open space with both white walls and floors, it was easy to keep tones of grey and white looking clean, and with Lianne Whorwood’s (The Props Department) amazing talent for finding quirky and beutifull things, this feature is sure to inspire. As always Claire’s (food editor of Dish Magazine) food is beautiful and full of flavour and every issue there’s usually at least one recipe that goes into my repetoire as a favorite. This Christmas ham is certainly no exception and also the buns in the background have a secret ingredient, and they are to DIE for!

When I started this blog, I did have the hopes of updating once a week, and with so many posts lined up, and ideas for new ones, I honestly thought it was going to be a piece of cake. But as with anything else, if you want it done properly, it takes time and effort, and I do tend to be referred to as a perfectionist. So fingers crossed, there will be a few Christmas related blogposts up next week. But for now, if I may say so: Get your Dish Magazine Christmas issue ASAP!