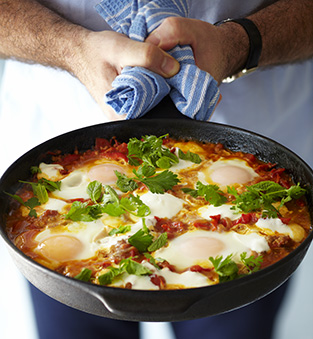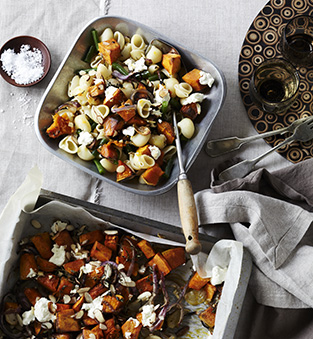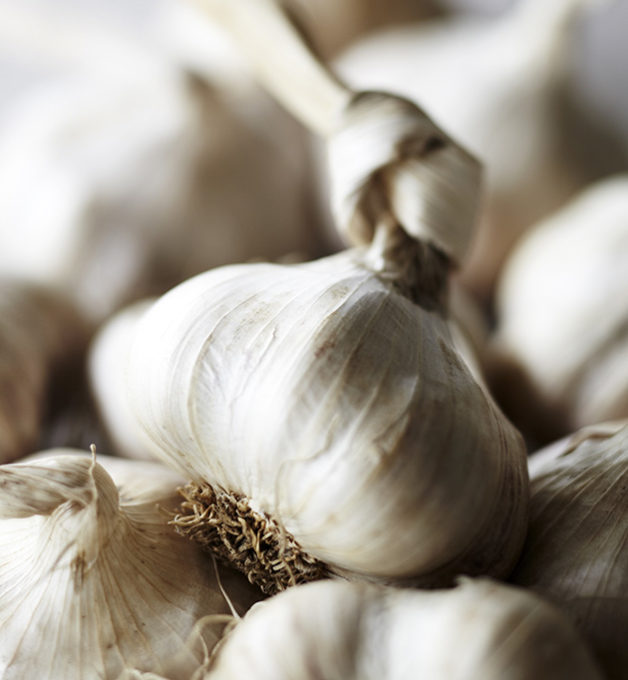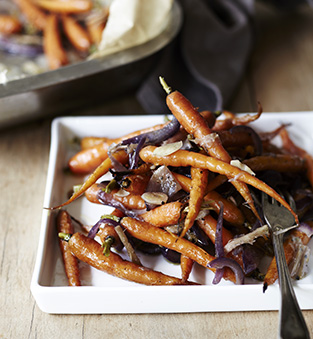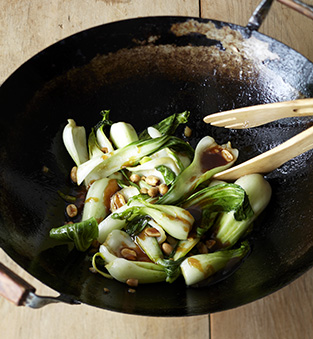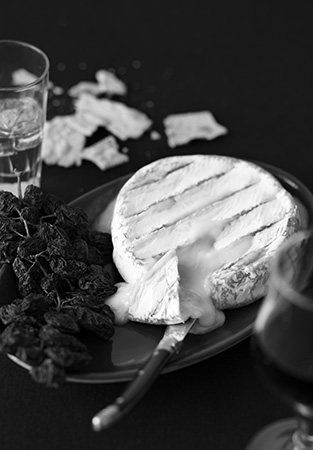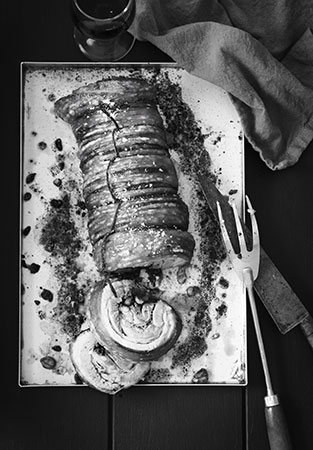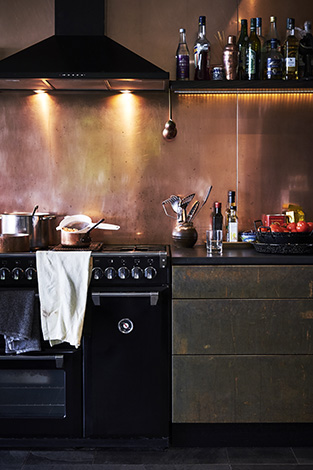
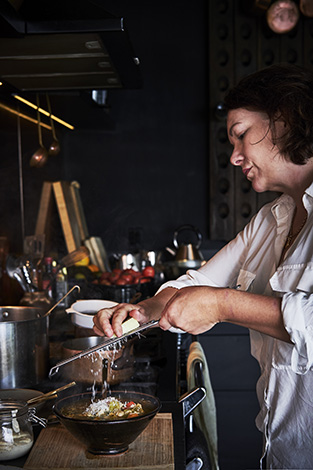

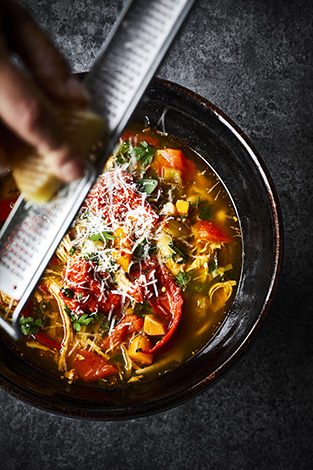
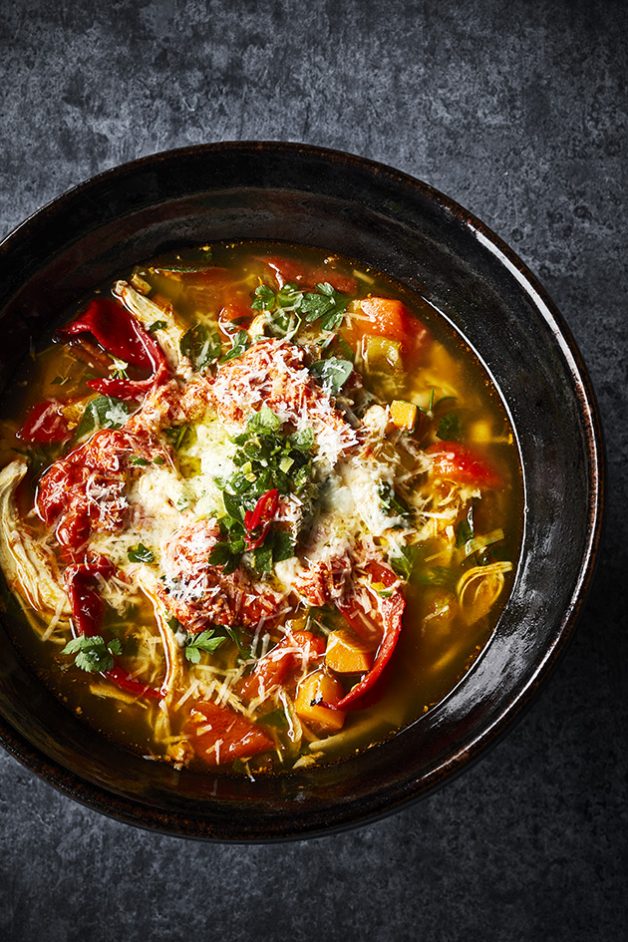
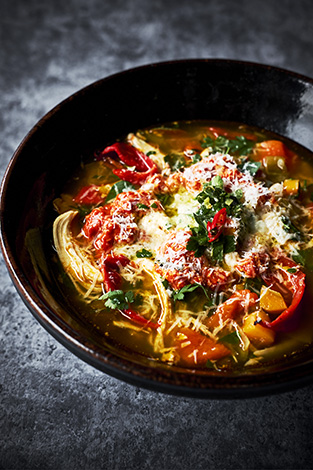
Chicken Stock Soup

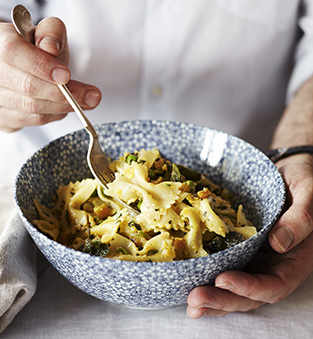
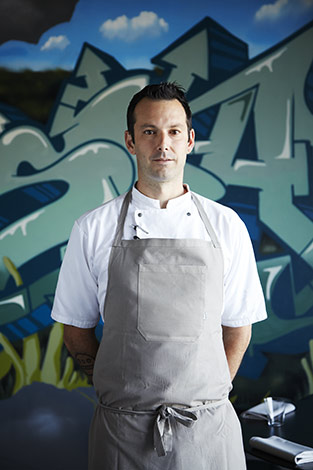
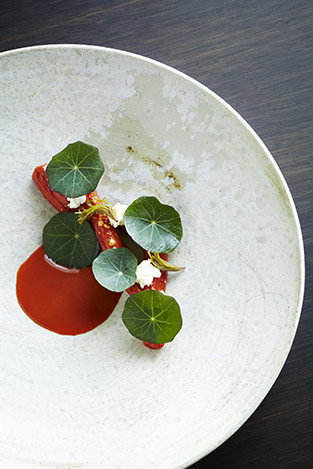
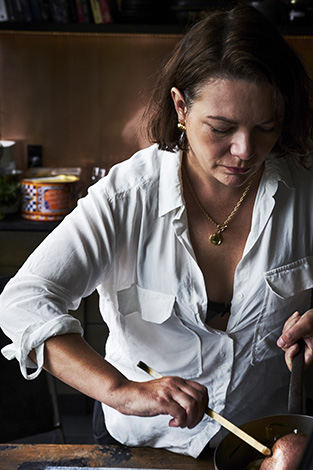
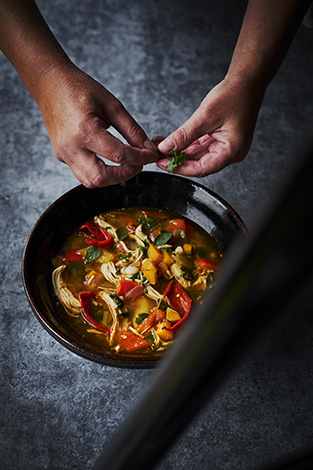
This is my chicken stock soup, as I made it after shooting Sarah Ginella’s (Barulho) delicious chicken stock soup above. I didn’t get her recipe, but managed to sort of make my own, in the “a little bit of this” and “a little bit of that” kinda way, based on her instructions and what I could taste in it.
Serves 4-6 people, or a family of 4 (2 adults and 2 small kids) twice. Freezes well.

1 whole organic chicken

Whatever veges you have in your pantry.
I use 1-2 carrots, 1-2-3 stalks of celery, 1-2 potatoes, 1 large onion, 2-3 cloves of garlic
You could also use, celeriac, swede, beets etc.

Whatever veges you have in your fridge/ fruit bowl.
I use capsicums, tomato, mushrooms (if I have any), zucchini etc.

Herbs from the garden
Ie parsley, thyme, rosemary, bay leaves.

1 tin of beans (kidney beans, berlotti beans or butter beans etc)
1 cup of rice/ noodles/ orzo/ other carby pantry stable, cooked as per packaging instructions
Miso paste
Paprika
Tomato paste
Neudorf mushroom salt
Soy sauce or fish sauce
Fresh oregano to garnish
Parmesan cheese

Make sure the chicken is clean inside and out. I always chop the bum off. Chop all veges into bite size pieces. I have small kids, so I chop it all into quite small pieces. You might prefer yours a bit chunckier.

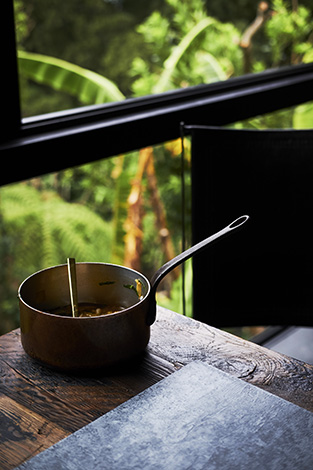
Place the chicken in a large pot (4-5 litres) along with the veges from your pantry (root veges, celery etc) and herbs and cover with water. Cover with a lid and bring to the boil. Then turn the heat down and let the chicken simmer at low heat with a lid on for 2,5 – 3 hours until tender. At this stage the meat should be falling off the bone. With a large spoon & spatula gently remove the chicken from the pot and place on a chopping board and peel all the chicken from the bone and return the meat to the pot. Discard the carcass. I often save the chicken breasts to use for another dish, but it can be returned to the stock with everyting else.

Take out any stalks from herbs that are too tough to eat, ie rosemary stalks, thyme stalks and bay leaves. I don’t remove the veges. If soup has been simmering on low heat, these should be tender but still have bite, and fine to eat. Add the remaning veges, a tin of beans to the pot as well as any pre-cooked rice or pasta/ orzo and bring to the boil again, then let simmer for 3-5 minutes to tenderize the rest of the vegetables and heat through the beans.

To flavour the soup use 1-2 teapoons of miso paste, 1/2-1 teaspoon of Neudorf mushroom salt (Nicola Galloway gave this to me once. After about a year in the pantry I discovered it adds a wonderful umami to any sort of bland tasting dish or sauce, brilliant), a dash of paprika (smoked paprika is wonderful), a table spoonful or 2 of tomato paste and lots of salt and pepper. You can also use fish sauce, soy sauce, some leftover tomato based mexican style salsa or any other sort of pesto or sauce you might have in the fridge. I’d avoid anything dairy based. I’ve tried to add tzaziki, but that was a tad weird.

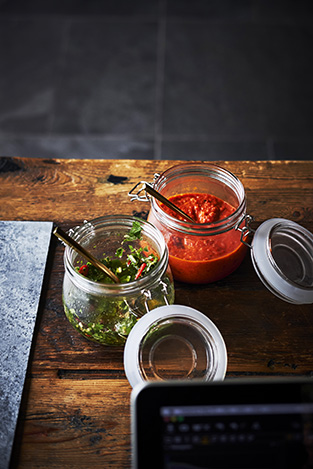
Serve chicken stock soup in bowls, garnish with fresh oregano and plenty of grated parmesan. Sarah also had some wonderful romesco sauce and what I think might have been a salsa verde or chimichurri to dollop on top.

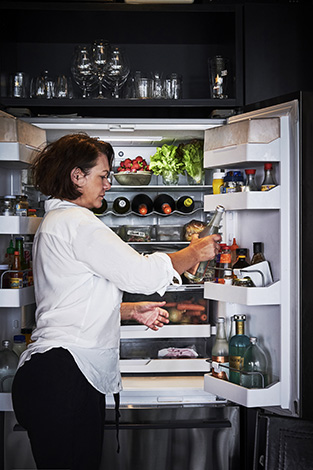
I did this shoot with Sarah Ginella and her Chicken Stock Soup for my Mother Chef project whilst Sarah was talking to me about the importance of preparation to be able to make good, nutritious food choices. You can view more of the project here, on my website. Make sure to check other of my recipes on this blog, ie my pork belly with crispy crackling.


Eating well, Everyday

Peter Gordon‘s “Everyday” cookbook was recently re-published as “Eating Well, Everyday” by Jacqui Small. Peter’s book has the most recipes I cook, out of any of the books on my shelf, and was a particularly great project to work on, as I was given a lot of creative freedom. Peter is great like that. He puts a lot of faith into the people he chooses to work with. One of the things I really enjoy about shooting a cook book, is coming up with the theme for the book. How to bring all the recipes together and break the chapters up with chapter openers and incidentals.

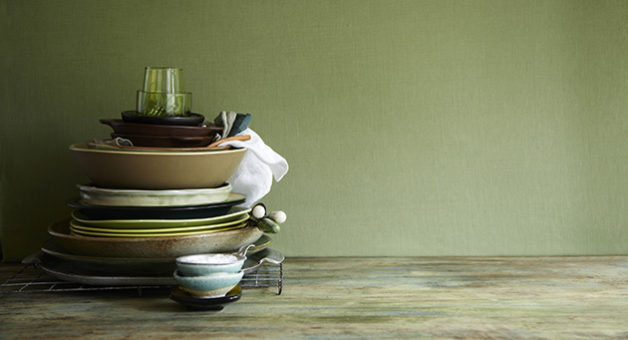
In this case, with “Eating Well, Everyday” we used a lot of props, and I thought it could be fun to try and colour code each chapter, and create a chapter opener, using the props from the dishes that appears in that chapter. Stacking everything up in a simple and beautiful way, creating a natural pause between each chapter of the book. Off course some of the setups were rather time consuming to set up, and quite wobbly, despite their easy and serene look. I like to keep things real and simple, and using these principles in Peter’s “Everyday” book, seemed to work quite well.

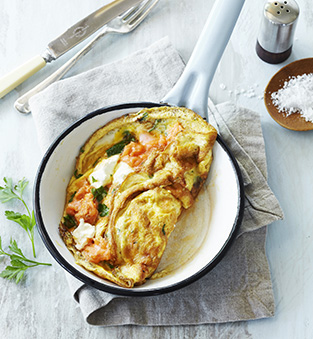
Probably the “Everyday” recipe I cook the most out of anything I’ve ever shot! Something as simple as an omelette, you wouldn’t think requires much of a recipe,  however this one gives you perfect, and tasty eggs, with the right amount of fluff and umami!

SMOKED SALMON AND GOATS CHEESE OMELETTE
Serves 2

You can use either hot-smoked or cold-smoked salmon, and the goat’s cheese can be
replaced with most other cheeses.

5 eggs
1 handful flat parsley, coarsely chopped
4 tbsp cold water
salt & pepper
2 knobs butter (or 1 tbsp olive oil)
100 g smoked salmon, sliced or flaked
80 g goat’s cheese, crumbled (or your fiavouite cheese)
hot buttered toast, to serve

1. Crack the eggs into a bowl. Add the parsley and the cold water. Season with salt and pepper and use a fork to beat the eggs for barely 4 seconds to break the yolks.

2. Place a 15-24 cm frying pan (ideally non-stick) over medium-high heat.

3. Add half the butter (or oil) and when it begins to sizzle pour in half the eggs. Swirl
it around a bit and use a spoon or spatula to bring the set outer egg into the centre until it all begins to set.

4. Lay half the salmon and half the cheese across the centre and leave for another 5 seconds. Carefully fold one edge over the filling, then gently flip the omelette over. Give it a few more seconds, then slide onto a hot plate while you cook the other one.

5. Serve immediately with hot buttered toast.

Recipe © Peter Gordon


Food styling and props by Grant Allen. Additional props by The Propsdepartment. Photography and styling by Manja Wachsmuth.

More cookbook snippets? How about Vanilla Table or Spice Health Heroes?

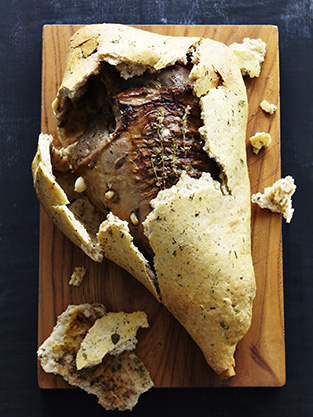
Salt Dough Baked Leg of Lamb

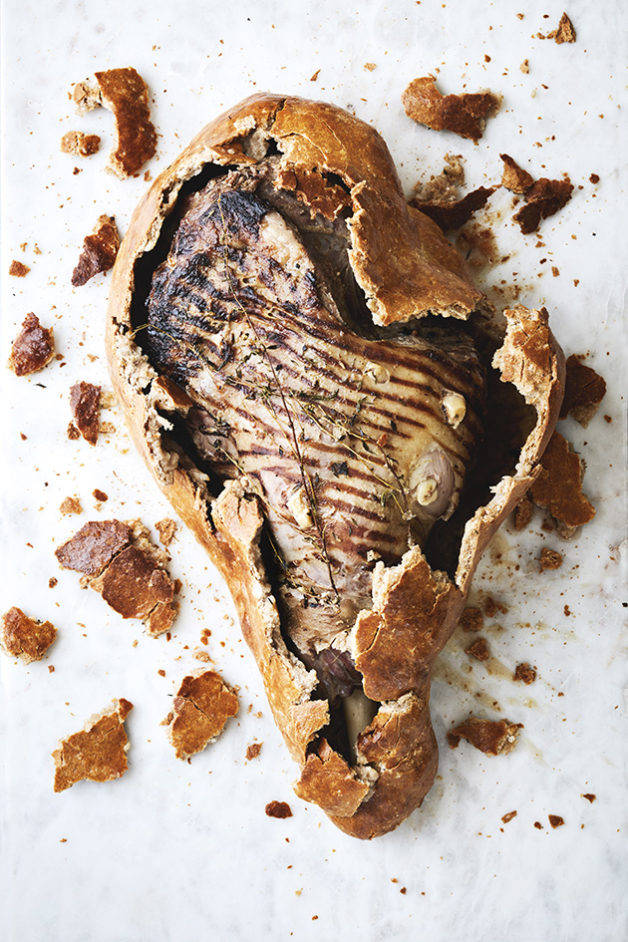
Salt Dough Leg of Lamb. Cooking with Salt. Recipes, foodstyling, styling & photography by Manja Wachsmuth

SALT DOUGH BAKED LEG OF LAMB
serves 8-10

Baking a Leg of Lamb in salt dough takes a bit of patience and concentration, but slow cooking your meat like this, ensures great flavor and moisture and it will be worth all your efforts. Furthermore cracking the crust open at the dinner table is a bit of a showstopper!

2 kg leg of lamb, French trimmed
1 tbsp finely chopped thyme
6 cloves garlic, halved lengthways
1 tbsp Dijon mustard
Extra thyme leaves on stem

Salt dough:

700g/ 6 cups plain flour
300 g / 2 ½ cup sea salt
1 ½ tbsp freshly ground pepper
3 egg whites, lightly beaten
1 ½ cup/ 375 ml water
2 egg yolks mixed with a little cold water

Method leg of lamb:

Pre heat the oven to 180ºC

Combine the thyme and the mustard in a small bowl. Cut 12 deep slits in the leg of lamb and push in the garlic cloves. Rub the mustard paste over both sides of the lamb. If you have a large flat grill plate, the leg of lamb can be browned and cooled before rubbing with the mustard mixture. This doesn’t change the flavour, but does make the lamb look more attractive when the crust is broken.

Method salt dough:

Mix flour, salt and pepper in a bowl to combine. Slowly add the combined egg whites and water to make dough, stirring with a spoon, adding a little more water if necessary to bring the dough together. Tip onto a lightly floured bench and knead for a couple of minutes until well combined. Don’t let the dough rest, as this will make it dry out.

Roll the dough to a large 40 cm x 45 cm rectangle.

Place extra thyme leaves on stem on the dough and the leg of lamb on top, presentation side down, and bring the sides of the dough up, over the lamb. Wet the edges of the pastry and press firmly to make sure the lamb is completely sealed. Turn the lamb right side up and place on a lined baking tray. Wet the pastry where necessary and smooth with your fingers to seal any cracks, making sure the dough is sealed tightly. Brush the dough with egg wash.

Roast for 1 ½ hours, then remove from the oven and rest the leg of lamb for 15 minutes.

To serve:

Carefully break the crust open and pour the cooking liquids into a jug (or discard). The cooking liquids can be used as a stock for making gravy to accompany the lamb. Lift the lamb out of the crust, then carve against the grain and serve.

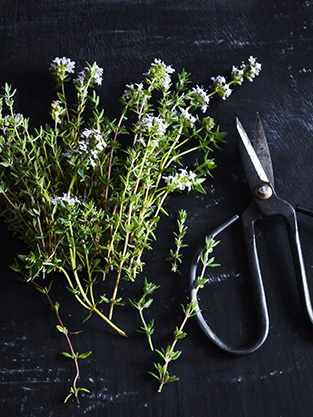
Thyme. Cooking with Salt. Recipes, foodstyling, styling & photography by Manja Wachsmuth. Recipes for MAD&venner. Salt Dough Leg of Lamb. Cooking with Salt. Recipes, foodstyling, styling & photography by Manja Wachsmuth. Recipes for MAD&venner.

This recipe is part of my salt story published in MAD&venner #129 2015 & Matmagasinet Nord #23 2017, focusing on using salt as a main ingredient for cooking or flavouring. Try these recipes from this series too:
Blackberry Grav Lax
Salt & Vinegar Potato Skins
Bork Belly in Brine with Cripsy Crackling
The Perfectly Salty Margarita
Oozy Salted Chocolate Caramel Tart
Salted Caramel Ice Cream
Golden Pavlova with Summer Berries and Salted Chocolate Sauce

© Manja Wachsmuth 2017

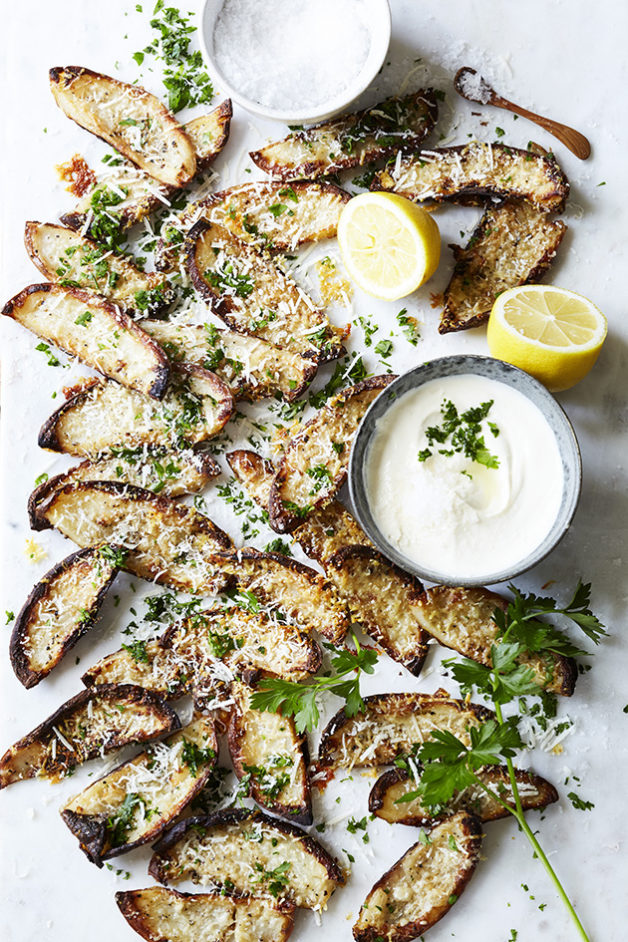
Crispy Salt and Vinegar Potato Skins

Salt and Vinegar Potato Skins with Tahini Dressing. Cooking with Salt. Recipes, foodstyling, styling & photography by Manja Wachsmuth

SALT AND VINEGAR POTATO SKINS WITH TAHINI, SOUR CREAM DIP
Serves 4-6

These salt and vinegar potato skins are inspired by the kiwi obsession with the salt and vinegar flavour combination on potato chips. Very crispy, salty and tangy and VERY DELICIOUS!

8 medium sized Potatoes
1/4 cup / 75 ml White Wine Vinegar
Extra Virgin Olive Oil for brushing
50 g Parmesan Cheese, grated
Freshly ground Black Pepper
1 handful Italian Parsley, finely chopped
5 tsp Sea Salt

Tahini Sour Cream Dip:

225 g Sour Cream/ Crème Fraiche
2 tbsp Tahini
Lemon Juice from 1 lemon
1 tsp Sea Salt

Method Salt and Vinegar Potato Skins:

Preheat oven to 250ºC.

Wash the potatoes and cut into halves. Place on baking paper on a baking tray and bake in the oven for 45 min until just tender, but still firm. Set aside to cool. Scoop out the flesh into a bowl, leaving ½ cm thick shell. The potato flesh may be set aside for another use (mash). Lightly score the interior of each potato with a fork and brush generously with vinegar, allowing the flavours to soak in.

Preheat oven to 250ºC grill.

Brush the potatoes with olive oil and season generously with salt and a little ground pepper. Place the potato skins, skin side up, on a baking tray and place under the grill in the oven and cook for 2-3 minutes, making sure they don’t burn. Turn the potatoes over and grill for another 5 minutes. During the last few minutes of grilling, sprinkle each potato with Parmesan and grill until melted. Garnish with Parsley and serve the Salt and Vinegar Potato Skins while hot, with Tahini Sour Cream Dip.

Method Tahini Sour Cream Dip:

Mix sour cream, tahini, lemon juice and a generous sprinkle of sea salt in a bowl. Set aside to cool in the fridge before serving.

Enjoy!

This recipe is part of my salt story published in MAD&venner #129 2015 & Matmagasinet Nord #23 2017, focusing on using salt as a main ingredient for cooking or flavouring. Try these recipes from this series too:
Blackberry Grav Lax
Pork Belly in Brine with Cripsy Crackling
Salt Dough Baked Leg of Lamb
The Perfectly Salty Margarita
Oozy Salted Chocolate Caramel Tart
Salted Caramel Ice Cream
Golden Pavlova with Summer Berries and Salted Chocolate Sauce

© Manja Wachsmuth 2017

Spice Health Heros

Spice Heros

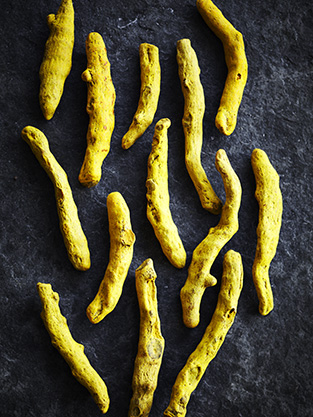
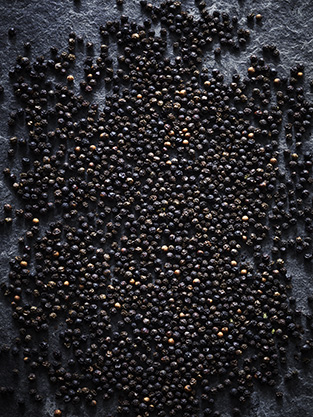
Spice Health Heros. My first proper job after having my first child and starting work again after maternity leave. It was quite a big job to take on, and shooting a book can be very stressful at the best of times, let alone when you are sleep deprived and caring for a baby. But the end result just makes me so super proud! Many of the images are so stunning and definitely some of my very best work. I’m really excited to tell you a bit more about the background thoughts of my work on Spice Health Heros and to be sharing a few of my very favorite recipes from it.

Spice Health Heros by Natasha MacAller, published in UK, US, Aus & NZ by Jacqui Small Oct 2016.

When Natasha first came to me with her spice recipes, it was really only an idea for a book proposal for a followup to her Vanilla Table. Originally we put togethether 10 images for a book about pepper, but quickly the idea grew, and finally we were asked to create a stunner of a book about spices and their many health properties, including pepper. Initially I was quite keen on a very moody book where all the colour would come from the food and the spices themselves, but the publisher thought it might all get a bit dark, and asked me to re-think it. Finally I ended up adding a few lighter and a few more colourful backgrounds, which I think has really lifted the whole book, and brought it to life as you flick through the pages.


Spice Heros Spice Book, Jacqui Small Publishing Spice Book, Jacqui Small Publishing Spice Heros

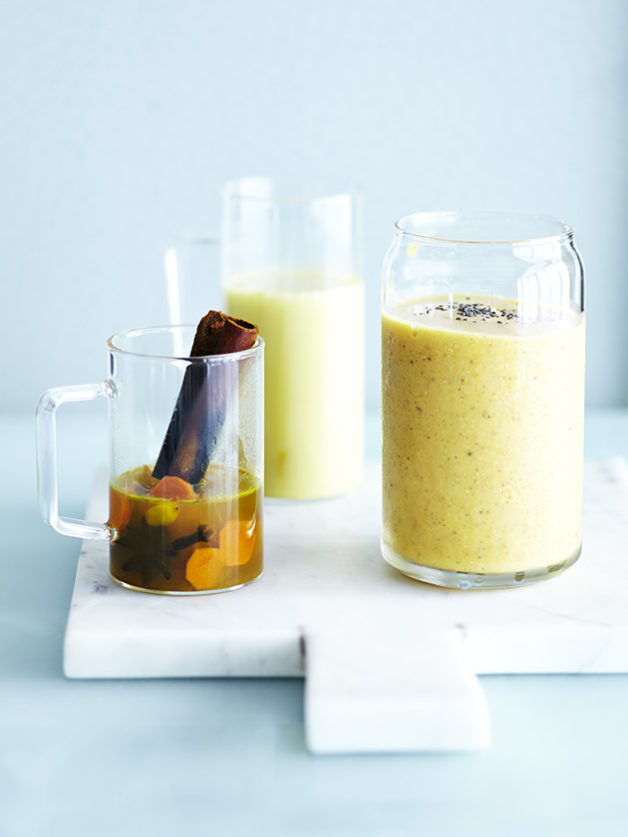
I just looove this smoothie. It reminds me of tropical beaches, a light breeze and a relaxing daze in a hammic in the sun. It makes me happy both summer and winter! Turmeric was a spice I’ve never really used before, but after being introduced to it by Natasha, it has now found a regular space in my fruit and vegebowl, ready for juices and smoothies. The pepper adds some wonderful heat to compliment the sweetness and should not be left out. (MW)

TROPICAL TURMERIC SMOOTHIE
serves 1

The combination of fruit and spice and rich-but-healthy coconut milk is a favourite before a workout or just as a get-to-work beverage! If you prefer, you can use papaya instead of mango and add three leaves of coriander (cilantro). For a thicker smoothie, freeze the coconut milk in cubes before blending. (NM)

85g pineapple
115g fresh frozen mango
2.5 x 5cm strip orange peel
5cm piece turmeric root,
or 1⁄4 tsp ground turmeric
1/8 tsp cracked black pepper
1⁄4 tsp cardamom seeds, toasted and ground
1 tbsp fresh lime juice
240ml (1 cup) coconut milk
4–6 ice cubes
1 tsp chia seeds

Put all the ingredients except the chia seeds into a high-speed single-serve blender-juicer and blend until smooth. Sprinkle chia seeds on top and serve.

Spice Heros Spice Heros Spice Heros

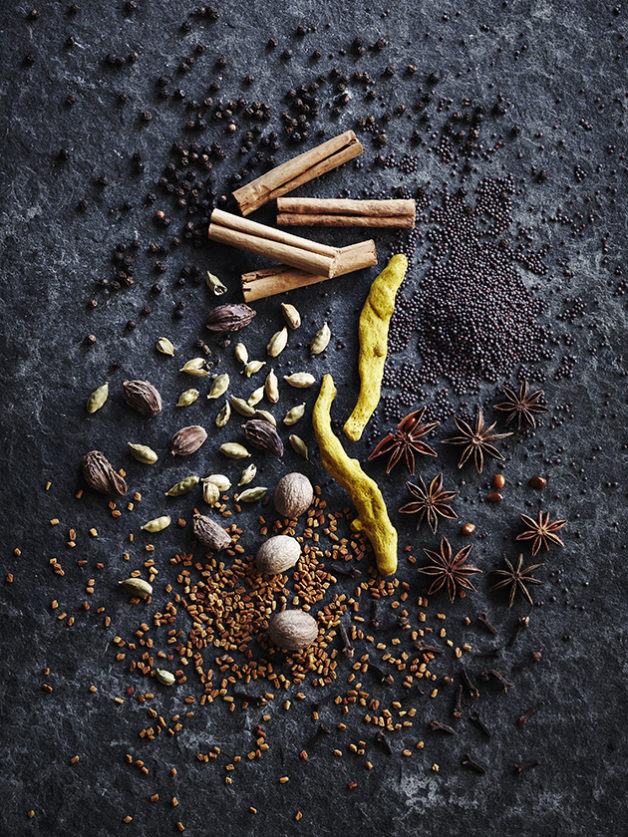
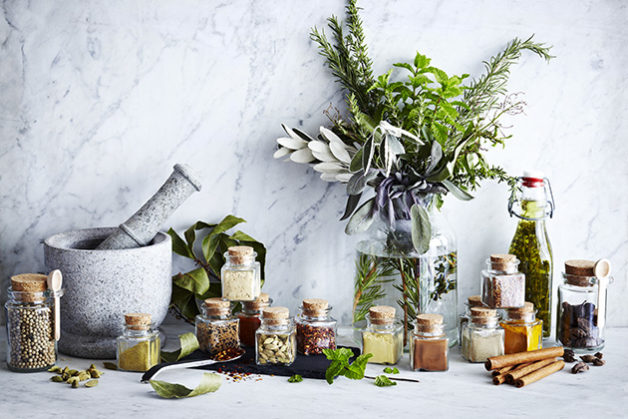
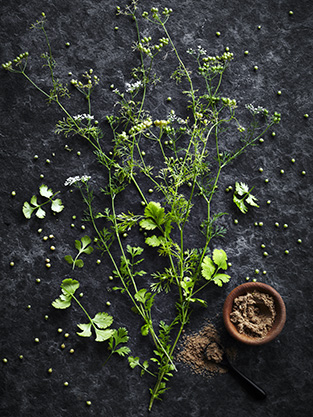
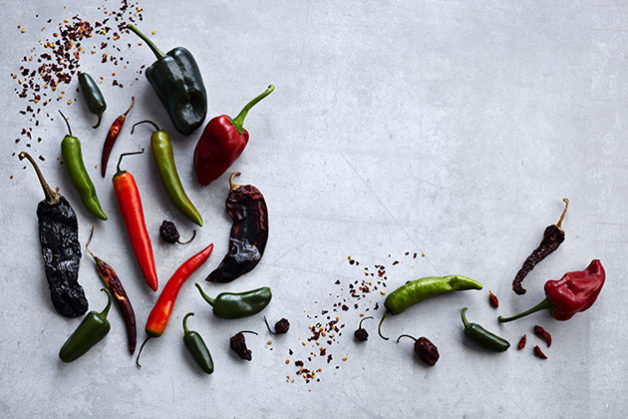
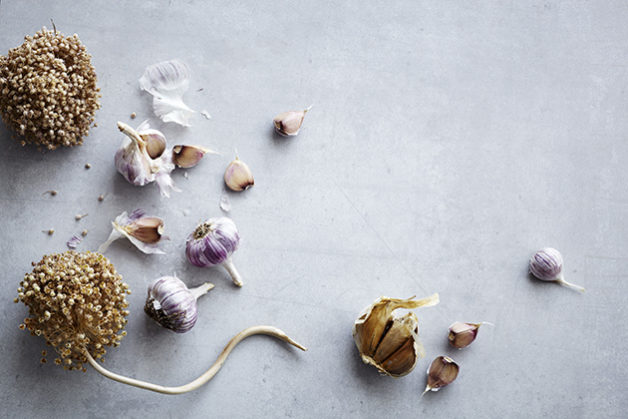
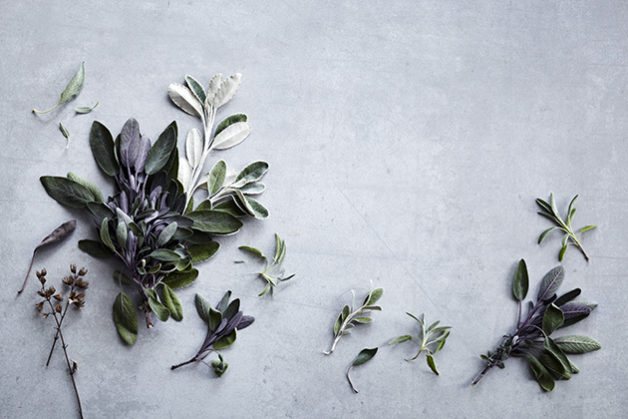
The 3 images above are part of the concept for the chapter openers in Spice Health Heros. I’ve always loved coming up with the concept of the chapter openers for a book. As a natural break between all the recipes, they make up an important part of the look and feel of a book.

The hard part is usually coming up with something I haven’t seen or done before, as some of the criteria are set in stone. Usually it has to be a double page spread, and there needs to be negative space for the chapter title. For Spice Health Heros, the chapter openers would also create the intro to each class of spices, so they needed to be informative as well as beautiful and inspiring. I chose a neutral background, and a flat lay concept to keep in line with the trend of Scandi cool, which was part of the general brief for Spice Health Heros.

Spice Heros Spice HerosSpice Heros

Shooting a lot of food for books and magazines, I’ve become somewhat immune to a lot of food.
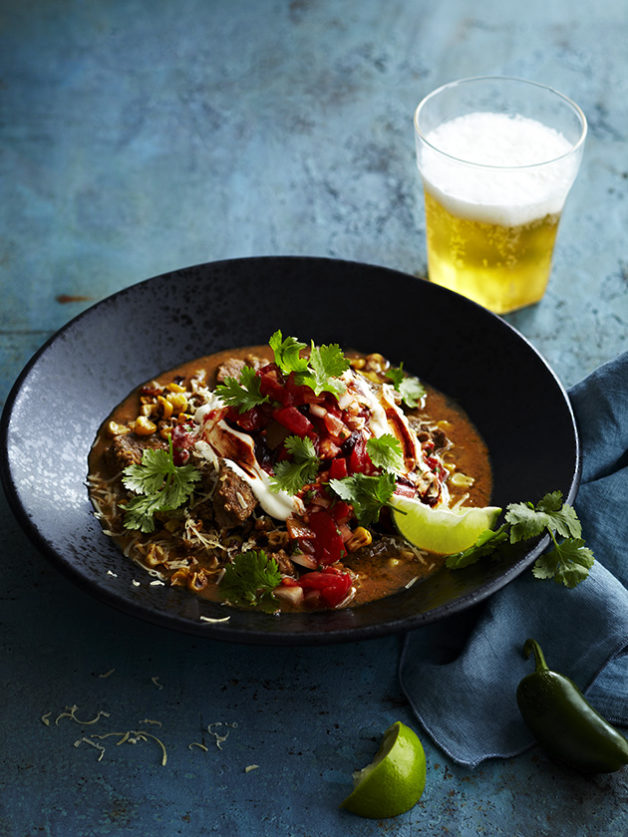
It takes a lot to impress me these days, but every once in a while, I’ll shoot something that really blows my mind. Taste wise I mean. Anne’s Pork Chile Verde, is one of these dishes. It just knocked my socks off. You’d think I would have known what a Chile Verde is, having worked as a food photographer for so many years, but admittedly this was my first. It’s just amazing! The right amount of heat, spice and umami, to make you just want more and more. This is one of those dishes that has truly become the fooodphtographers favorite. Thank you Anne! (MW)

PORK CHILE VERDE
By Anne Conness
serves 4

‘I can’t speak for the scientifc connection between spice and health, but what I do know is that eating spicy things makes me feel happy and satisfied. And when I feel happy, I feel less stressed, and that makes my doctor happy!’(AC)

1 tbsp cumin seeds
1 tsp black peppercorns
1⁄2 tsp cloves
1⁄2 tsp ground cinnamon
1⁄2 tsp cayenne pepper
2 tsp paprika
2 tbsp salt
1.6kg (3.5lb.) pork shoulder, cut into 2cm (3⁄4in.) cubes, most of fat removed
1.2 litres (5 cups) chicken stock

For the corn:
3 ears of corn
2 tbsp butter
30g (1oz./1⁄4 cup) grated Monterey Jack or mild Cheddar cheese

For the sauce:
1 tomatillo, halved and stem removed
1 onion, roughly chopped
2 jalapeños, halved and stems removed
2 Anaheim chilies, halved and stems removed
1 head garlic, cloves separated and peeled
60ml (1⁄4 cup) canola oil
2 tbsp lime juice
11⁄2 bunches coriander (cilantro)
2 tsp cumin
1⁄2 tsp cloves
1⁄4 tsp cayenne pepper
2 tsp paprika
1⁄4 tsp cinnamon
1 tsp salt
350ml (11⁄2 cups) reserved cooking jus (see method)

To serve:
1 tbsp sauce from chilies in adobo or chipotle paste mixed with
115g (4oz./1⁄2 cup) sour cream
1 dash Tajin (a classic Mexican dry seasoning of dried lime juice, chili powder and salt)
4 lime wedges
150g (51⁄2oz./1 cup) pico de gallo (Mexican fresh tomato salsa)
small handful micro-coriander (cilantro) leaves

Preheat the oven to 180°C (350°F/gas mark 4).

Toast the whole spices, cool, then grind to a powder. Stir in the cinnamon, cayenne pepper, paprika and salt. Toss the pork in the spice mixture and put in a roasting pan. Pour over the chicken stock, cover tightly with foil, put in the oven and cook until tender, about 11⁄2 hours. Strain the jus, skimming off the fat, and reserve 350ml (11⁄2 cups) for the sauce. Break up the meat if necessary.

Char the sweetcorn: Shuck the corn and remove the silks. Place the corn cobs on a baking tray on the top shelf of the oven or under the grill (broiler) on a high heat until charred. Leave to cool then place the corn cob in a cereal bowl and, using a sharp knife, cut the kernels from the cob in a downward motion; the kernels will collect in the bowl. Set aside.

For the sauce, toss the tomatillo, onion, jalapeños and Anaheim chilies and garlic in a bowl with the oil. Spread out on two baking trays and roast until caramelized, about 30 minutes at a medium–high heat. Leave to cool.

Blend the caramelized veggies in batches with the lime juice, coriander (cilantro), spices and strained cooking jus. Check the avour and season to taste.

Put the pork in a pan with this sauce and heat up.

Melt the butter in a hot ovenproof pan then add the charred corn. Season with salt and pepper. Sprinkle cheese on top and put in the oven just long enough to melt the cheese.

To serve, put the pork on a plate and top with the corn. Garnish with the chipotle cream, a sprinkle of Tajin, a lime wedge and some pico de gallo. Finish with the coriander (cilantro).

Spice Heros Spice Heros

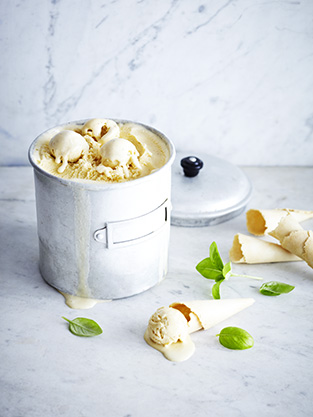
This ice cream is both refreshing and surprising. I love the combination of cinnamon and basil, and it kinda fits perfectly as a Christmas dessert in the warm weather here in New Zealand, if anyone dares to swap out the pavlova! (MW)

CINNAMON BASIL ICE CREAM
By Mindy Segal

makes 1 litre

‘This ice cream was inspired by some beautifully roasted peaches that I bought one year at the farmers’ market for a special dessert. I decided that it needed a little of the garden in the ice cream I served them with so I steeped fresh basil in my cinnamon ice cream. Eureka – delicious! It’s also good served with poached berries. Indonesian (Ceylon) cinnamon is a milder, softer avoured cinnamon also known as true cinnamon. Cassia cinnamon is also fine to use but as the flavour is stronger, the basil-cinnamon balance will have a stronger cinnamon taste when using the cassia variety.’ (MS)

4–6 fresh Indonesian cinnamon sticks
475ml (2 cups) double (heavy) cream
475ml (2 cups) full-fat (whole) milk
13 large egg yolks
225g (8oz./1 cup) cane sugar
leaves from 1 bunch (70g/21⁄2oz.) cinnamon basil, regular basil or Thai basil, finely chopped
1⁄2 tsp fresh ground cinnamon
pinch sea salt
1⁄4 tsp pure vanilla extract

Put the cinnamon sticks on a baking tray and toast in the oven until hot to touch. Meanwhile, in a heavy-bottomed pan, heat the cream and milk to a simmer. Remove the cinnamon sticks from the oven and crush into pieces. Put the pieces into the warm milk and cream mixture and leave to steep for 1 hour.

Combine the egg yolks and sugar in a 2-litre (2-quart) bowl, whisk thoroughly and set aside. Strain the cinnamon sticks from the milk and cream mixture and discard them. Return the liquid to the pan and bring to the boil, then pour the liquid over the eggs and sugar, mixing thoroughly.
Pour back into the pan and cook over medium–low heat, stirring constantly until the custard coats the back of a spoon (nappe). Pour the hot custard into a bowl and set over an ice bath.

Steep the chopped basil in the hot custard until cool. Add the ground cinnamon and salt and mix thoroughly. When cool, strain the custard through a fine mesh strainer then whisk in the vanilla extract.
Freeze the custard in an ice-cream maker, following the manufacturer’s instructions.

Spice Heros

© Spice Health Heros, available at your local bookstore (in UK, US, Aus & NZ) and online from Amazon
Recipes © Natasha MacAller
Photos © Manja Wachsmuth

Pizza on the Weber BBQ

Pizza on the BBQ Pizza on the BBQ Pizza on the BBQ Pizza on the BBQ Pizza on the BBQ Pizza on the BBQ Pizza on the BBQ Pizza on the BBQ

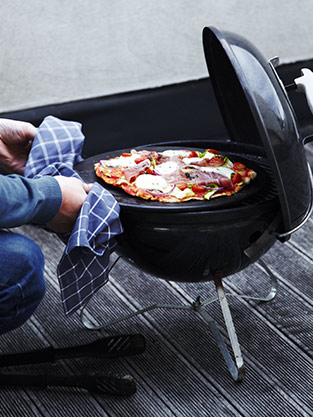
Summer has officially arrived in New Zealand! One thing I love the most about summer is cooking on the BBQ. Last year I discovered cooking pizza on the BBQ, and when you’ve tried it once, it’ll be the only way you’ll ever want to cook pizza again. Pizza on the BBQ is the fool proof way of getting a moist and delishious filling and above all a super crispy base, which you can never seem to get in the oven, regardless of the temperature or quality of pizza stone.

The majority of Kiwis (and probably Ozzies and Americans) swear by th gas BBQ’s and most pizza BBQ recipes will tell you to cook your pizza on a gas BBQ, where you can control the temperature and monitor it 100%, but there is another way. Personally I prefer a coal BBQ any day. This is how it was when I was a kid and the ritural of lighting a fire (or drinking a glass of ice cold chardonnay, while watching your husband lighting a fire) – you just can’t beat it. The smokey flavour of cooking over coals, just adds an extra element to the pizzas and everyone will be coming back for more.

The tricky thing is obviously getting the temperature right, so you don’t burn your base, so you gotta watch your pizza like a hawk. And also you MUST use a pizza stone. But once you’ve tried it a few times, you will master it, and be eating pizza’s with friends and family all summer!

I’m providing you with the recipe for a great pizza dough, that’s my updated version of a pizza recipe I shot for Dish Magazine back in 2010, for their Italian issue. I’ve used wholemeal, stoneground flour for added nutritional benefits, and it is how I prefer my pizza base. Of course you can use plain flour or 00 flour if you like.

Pizza dough
Makes two pizzas, 4-6 serves

1 cup of plain flour or 00 flour
1 cup of stoneground, wholemeal flour
½ teaspoon of sugar
1 ½ teaspoons of instant dried yeast
1 teaspoon of sea salt
1 cup of lukewarm water
1 tablespoon of olive oil

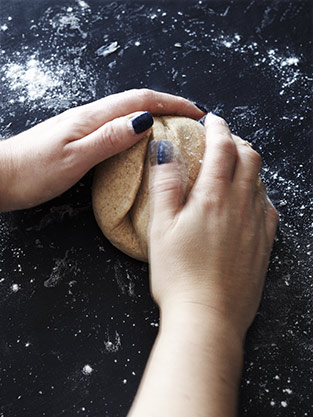
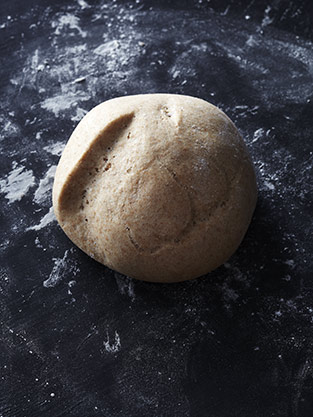
Place all dry ingredients in a large bowl and mix together. Mix the water and oil together in a separate bowl or jug. Gradually add the water to the dry ingredients, little by little, mixing the dough with your hands or a wooden spoon. Be careful not to make the dough too wet and sticky, nor too dry. Once roughly combined turn the dough out on a lightly floured benchtop and knead for 3-5 minutes, until the dough is smooth and slightly sticky and springy. Place it in a lightly floured bowl and cover with plastic wrap or a tea towel. Set aside in a warm place and let rise for 1 – 1½ hour.

Mastering the BBQ & making your pizza

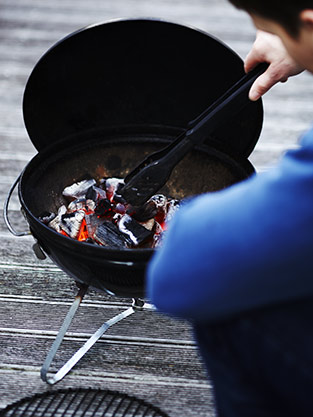
About 10-15  minutes before your dough is ready, start up your BBQ using choal or briquettes. If using briquettes, you might want to get them started around half an hour before the dough is ready. The coal is quicker to start up, but also burns out faster. The briquettes take longer to get ready for cooking, but will hold the heat a lot longer. We usually use coals when it’s just the two of us, and briquettes when cooking for more people.

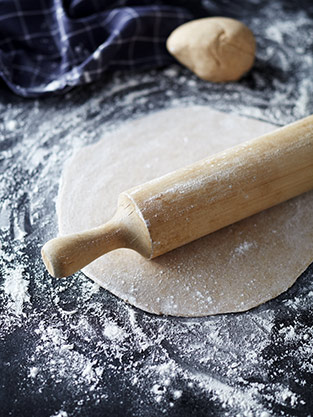
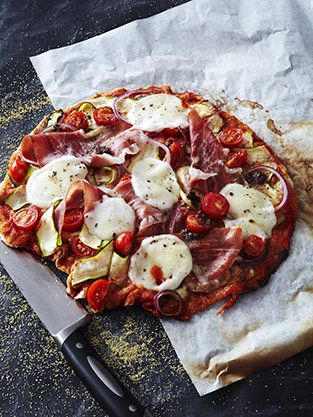
Once doubled in size, split the dough into two portions and roll out thinly on a lightly floured bench top. Place the pizza base on a piece of baking paper, and fill with your favorite filling. I’ve used:
Organic tomato paste
1 whole zucchini sliced sideways with a potato peeler
Red onion, thinly sliced
Cherry tomatoes (from the Curious Croppers)
Prosciutto
Buffalo mozzarella
Homemade pesto
Salt & pepper

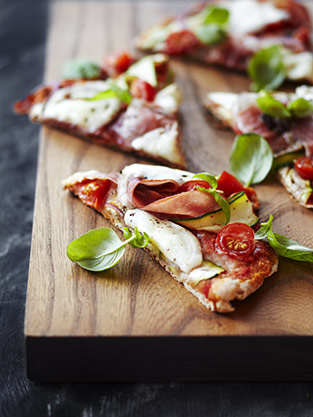
Once the coals or briquettes have settled down, and turned to embers, place your pizza stone on the BBQ about 5 minutes before you’re ready to cook it, to let the stone heat up properly. Then transfer your pizza, with the baking paper underneath, to the pizza stone, and cover your BBQ with the lid. Make sure to have the air vents open, to keep the air circulating around the pizza and ensure even cooking of the base and the top. Depending on the amount of heat in your BBQ, your pizza will cook in 15-20 min. Keep an eye on it every 5-10 minutes, making sure the base doesn’t burn. If the base colours too quickly the BBQ is too hot, and you should wait a little while longer, next time, to let the coal settle a bit more. Once the base has firmed up, you can remove the baking paper. When the base is crispy and the cheese on top slightly melted, garnish with fresh basil. Your pizza is ready to serve!

ENJOY!

Don’t drink and fry!

Amass Copenhagen

Copenhagen Travel Story, Dish Magazine Copenhagen Travel Story, Dish Magazine Copenhagen Travel Story, Dish Magazine Copenhagen Travel Story, Dish Magazine Copenhagen Travel Story, Dish Magazine Copenhagen Travel Story, Dish Magazine

With summer just around the corner here in New Zealand, and a trip to Denmark planned for Christmas, I’ve been thinking back on my trip home to Denmark in June, earlier this year. Back then I was doing a few travel stories about Denmark and specifically Copenhagen for Dish Magazine here in New Zealand. I also had the pleasure of doing a shoot with Matt Orlando at Restaurant Amass Copenhagen, to be included in a travel piece on Copenhagen. I was incredibly intrigued by the athmosphere at Amass, and Matt’s approach to the “New Nordic Cuisine” style of restaurant and cooking. The whole place, everyone there and Matt himself, just oozes “cool” and I can’t wait to go back and actually dine there and be able to take the whole place in, on a more relaxed level. I hope and wonder if it’s just as awesome in winter…
Christmas with House and Garden

NZ House & Garden Magazine issue 232, Casual Christmas NZ House & Garden Magazine issue 232, Casual Christmas

Heading off to the beach or the bach for a casual Christmas dinner, or straight after Christmas day? Here’s a few fabulous and quick entertaining ideas from a shoot I did with Claudia Kozub (Style Etc & Indie Home Collective) and Bernadette Hogg for NZ House & Garden’s Christmas issue 2013. Easy to do with leftover ham, these recipes are sure to impress.

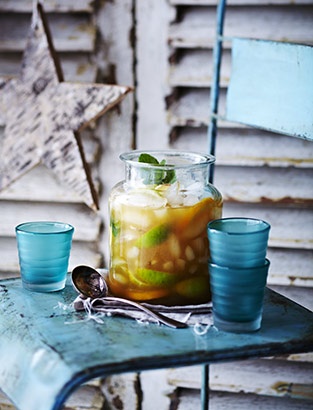
Fruity Tea Punch

2 cups strong tea
11/2 cups sugar
1 cup lemon juice (about 5 lemons)
1⁄4 cup lime juice (about 3 limes)
2 cups pineapple juice, chilled
2 cups orange juice, chilled
slices of orange, lemon, ginger and fresh mint sprigs for garnish
1.25 litres ginger ale, chilled

Place tea and sugar in a large saucepan and simmer, stirring occasionally, to dissolve sugar. Add lemon and lime juices, bring to the boil then remove from heat to cool.
Place some of the cooled liquid into ice cube trays and freeze. Put remaining punch base into fridge to chill thoroughly (or freeze if making ahead).
When ready to serve, place punch base, punch ice cubes, pineapple and orange juices, slices of orange, lemon, lime and fresh ginger into a punch bowl or serving container. Add chilled ginger ale and a few sprigs of fresh mint. Makes about 2.5 litres

The base of this refreshing beverage can be made up to a week in advance and frozen. Thaw it on the morning it is needed – although it doesn’t need to thaw completely as it can be used slightly slushy. Add the ginger ale and garnish just before serving.
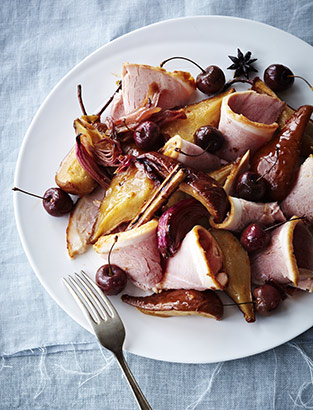
Roasted Pear and Glazed Ham Platter

Place tea and sugar in a large saucepan and simmer, stirring occasionally, to dissolve sugar. Add lemon and lime juices, bring to the boil then remove from heat to cool.
Place some of the cooled liquid into ice cube trays and freeze. Put remaining punch base into fridge to chill thoroughly (or freeze if making ahead).
When ready to serve, place punch base, punch ice cubes, pineapple and orange juices, slices of orange, lemon, lime and fresh ginger into a punch bowl or serving container. Add chilled ginger ale and a few sprigs of fresh mint. Makes about 2.5 litres

This dish gets the ham cooking out of the way nice and early, as it can be glazed and cooked several days beforehand. Slice it on the morning required, wrap in plastic wrap and refrigerate until half an hour before serving. The pears, onions and cherries can be roasted the day before needed.
5 firm but ripe pears, skin on, cored and quartered
3 red onions, outer skin removed, each cut into 8 wedges
2 smallish cinnamon sticks
1 thumb ginger, peeled and finely sliced
3 whole star anise
2 tablespoons each: maple syrup, sweet chilli sauce, olive oil, rice wine vinegar juice of 1 lemon
200g fresh cherries
1 1⁄2kg cooked glazed ham, thinly sliced

Heat oven to 200°C. Line a large baking dish with baking paper.
Place pear quarters and red onion wedges in a large bowl and add all remaining ingredients except cherries and ham. Toss to coat pears well.
Tip pear and onion mixture into prepared dish and arrange in a single layer. Bake about 60 minutes, turning pears and onion every 15 minutes. In the last 10 minutes of cooking, scatter cherries over. Remove pan from oven when pears are tender and golden. Cool to room temperature. If making ahead, store covered in the fridge and remove from fridge 30 minutes before serving.
To serve, arrange pears, onion and cherries decoratively on a platter with sliced ham. Serves 6-8

Christmas with Dish

Dish Magazine #51, Christmas Feature 2013 Dish Magazine #51, Christmas Feature 2013Dish Magazine #51 Dish Magazine #51

Phew, does time go by fast! I can’t belive how fast 2013 has gone! Christmas is almost here, and it’s been a whole month since my last post.

With NZ summer in full bloom and Christmas just around the corner, I hope to be able to post a few things for inspiration for Christmas, starting with these lovely images I did for Dish Magazine’s Christmas issue.

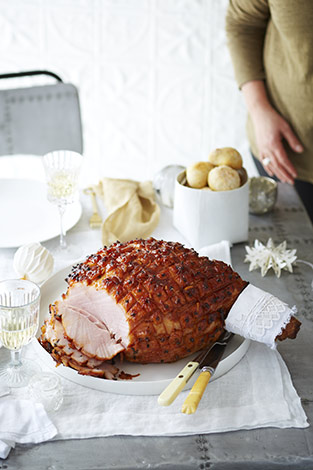
The white and metal story is their main Christmas feature, which we shot in my studio. As the studio is a nice, open space with both white walls and floors, it was easy to keep tones of grey and white looking clean, and with Lianne Whorwood’s (The Props Department) amazing talent for finding quirky and beutifull things, this feature is sure to inspire. As always Claire’s (food editor of Dish Magazine) food is beautiful and full of flavour and every issue there’s usually at least one recipe that goes into my repetoire as a favorite. This Christmas ham is certainly no exception and also the buns in the background have a secret ingredient, and they are to DIE for!

When I started this blog, I did have the hopes of updating once a week, and with so many posts lined up, and ideas for new ones, I honestly thought it was going to be a piece of cake. But as with anything else, if you want it done properly, it takes time and effort, and I do tend to be referred to as a perfectionist. So fingers crossed, there will be a few Christmas related blogposts up next week. But for now, if I may say so: Get your Dish Magazine Christmas issue ASAP!

Black and White

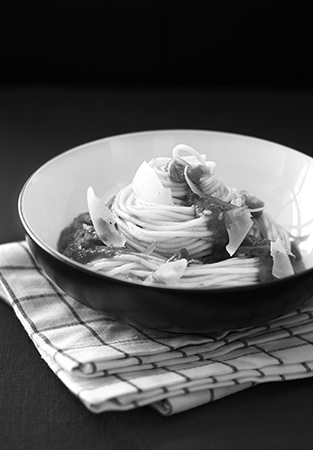
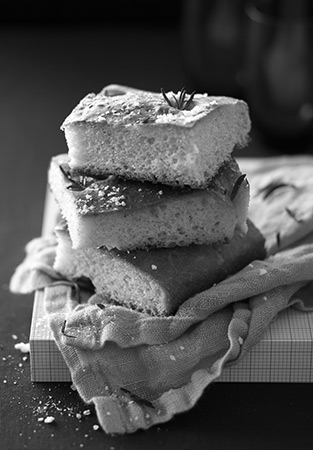
Spaghetti with Tomato Sauce Foccacia with RosemaryBaked Brie Peanut Stuffed Rolled Pork BellyHot Chocolate with Whipped Cream Chocolate Coffee Cupcakes

Welcome to the online launch of my new blog, the food photographers favourites. This opening entry is a personal project I’ve been working on for some years now, but as a busy food photographer, trying to set up a business in beautiful New Zealand, there’s not always time to get those projects finished. However, I have decided that it must begin, and end, somewhere, and what initially started as an idea, a concept for a portfolio project, has now developed into this blog.

So, here it begins with a black and white project, something that stems back to my early days in the dark room back in the early 90ties. I have always been fascinated with the contrasts of B/W photographs, and at times I really miss working with the lack of colours. Inspired by Irving Penn and fashion magazine after fashion magazine, I decided to try and translate some of that into my passion and speciality: Food photography. Keeping in mind, that most food does look the best in colours, as these are what makes us recognise whatever the subject, and appeal to our tastebuds. Paying attention to the textures and shape of the food, I decided to pick a selection of my favourite recipes I’ve photographed over time, and named the project “the food photographers favourites”.  Naturally not every dish was going to work well, but regardless, working with food styling in black and white is a fantastic exercise in studying how the light bounces of every subject, making sure that every important item in the dish shines. So by the end of this, it is really not so much about the recipe itself, but more about the basics of studying the light, as any great photographer would.

I send my respects to the queen of food styling Donna Hay, for picking this particular theme for her August/September 2013 issue of Donna Hay Magazine. From a photographic point of view, I think the idea is brilliant and beautiful, and I will certainly continue to explore the contrasts of food photography not only in black and white but definitely also in full colour, sharing some of my favourite recipes, shoots, recipes and other foodie related ventures. I declare the food photographers favourites blog for open!

Thanks to the wonderful people who helped make these images:

Spaghetti with Tomato Sauce, recipe by Jo Wilcox, food styling by Laura Faire • Foccacia with Rosemary, food styling by Laura Faire • Baked Brie, recipe by Penny Oliver, food styling by Laura Faire • Peanut stuffed Rolled Pork Belly, recipe by Peter Gordon, food styling by Laura Faire • Hot Chocolate with Whipped Cream, recipe and food styling by Carsten Kyster • Chocolate Coffee Cupcakes, food styling by Laura Faire