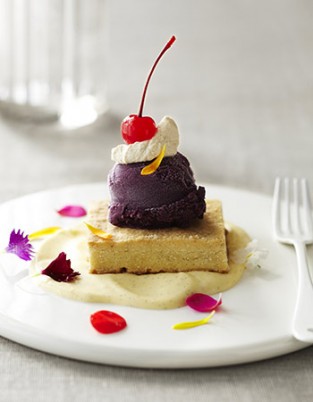
Eating well, Everyday

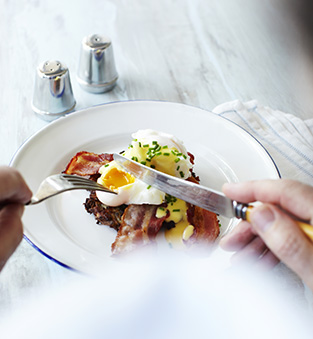
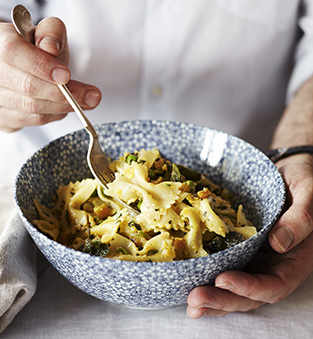
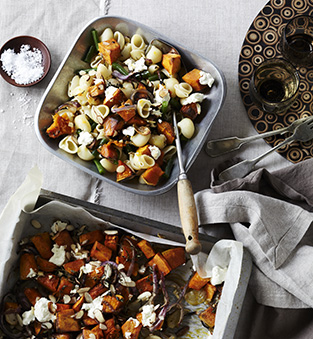
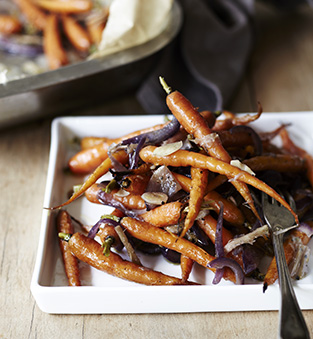
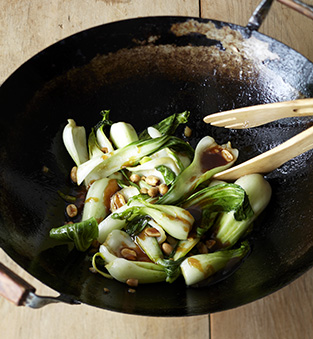
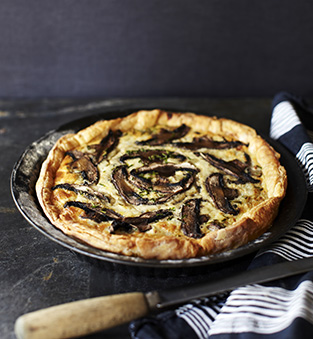
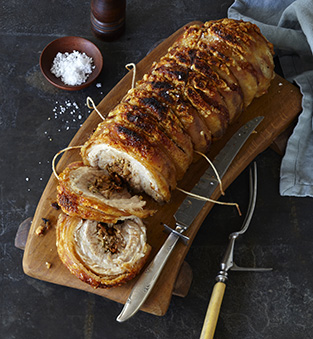
Peter Gordon‘s “Everyday” cookbook was recently re-published as “Eating Well, Everyday” by Jacqui Small. Peter’s book has the most recipes I cook, out of any of the books on my shelf, and was a particularly great project to work on, as I was given a lot of creative freedom. Peter is great like that. He puts a lot of faith into the people he chooses to work with. One of the things I really enjoy about shooting a cook book, is coming up with the theme for the book. How to bring all the recipes together and break the chapters up with chapter openers and incidentals.

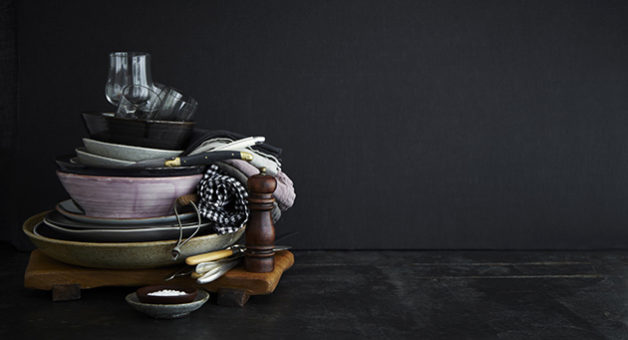
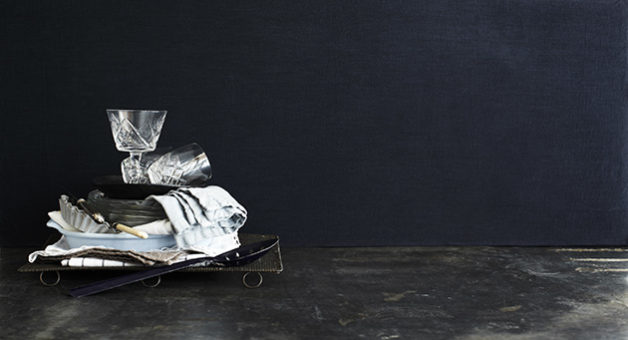
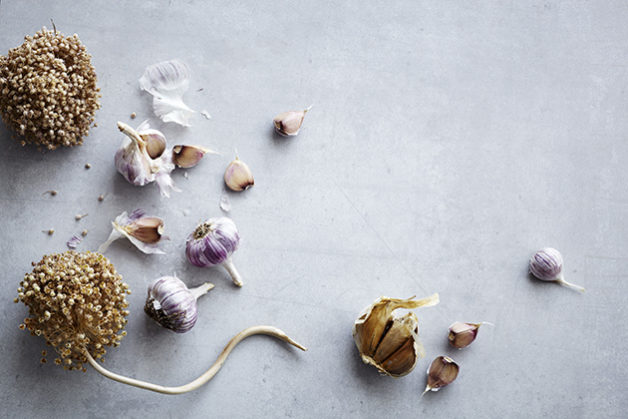
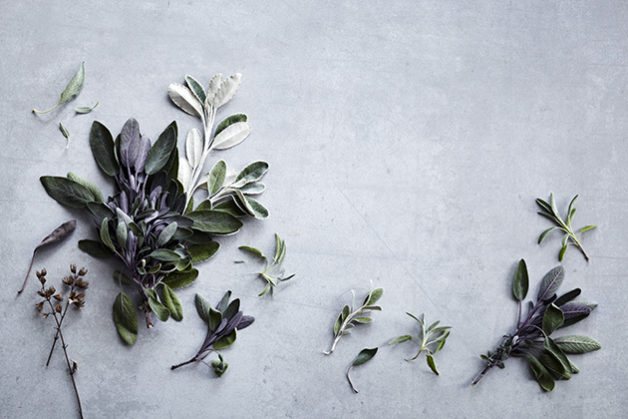
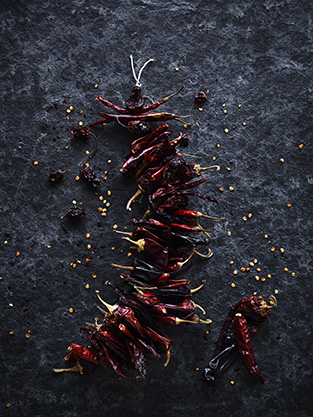
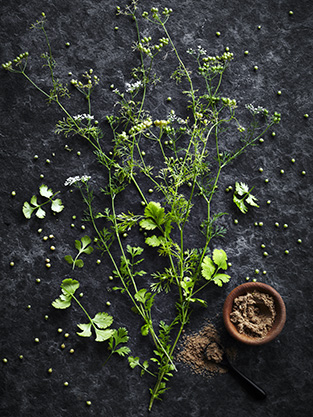
In this case, with “Eating Well, Everyday” we used a lot of props, and I thought it could be fun to try and colour code each chapter, and create a chapter opener, using the props from the dishes that appears in that chapter. Stacking everything up in a simple and beautiful way, creating a natural pause between each chapter of the book. Off course some of the setups were rather time consuming to set up, and quite wobbly, despite their easy and serene look. I like to keep things real and simple, and using these principles in Peter’s “Everyday” book, seemed to work quite well.

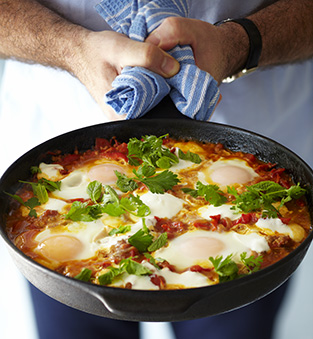
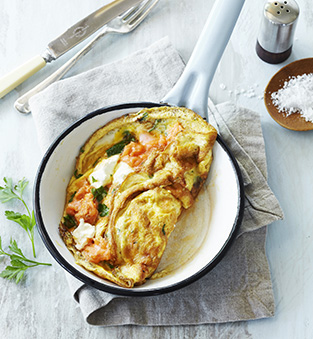
Probably the “Everyday” recipe I cook the most out of anything I’ve ever shot! Something as simple as an omelette, you wouldn’t think requires much of a recipe,  however this one gives you perfect, and tasty eggs, with the right amount of fluff and umami!

SMOKED SALMON AND GOATS CHEESE OMELETTE
Serves 2

You can use either hot-smoked or cold-smoked salmon, and the goat’s cheese can be
replaced with most other cheeses.

5 eggs
1 handful flat parsley, coarsely chopped
4 tbsp cold water
salt & pepper
2 knobs butter (or 1 tbsp olive oil)
100 g smoked salmon, sliced or flaked
80 g goat’s cheese, crumbled (or your fiavouite cheese)
hot buttered toast, to serve

1. Crack the eggs into a bowl. Add the parsley and the cold water. Season with salt and pepper and use a fork to beat the eggs for barely 4 seconds to break the yolks.

2. Place a 15-24 cm frying pan (ideally non-stick) over medium-high heat.

3. Add half the butter (or oil) and when it begins to sizzle pour in half the eggs. Swirl
it around a bit and use a spoon or spatula to bring the set outer egg into the centre until it all begins to set.

4. Lay half the salmon and half the cheese across the centre and leave for another 5 seconds. Carefully fold one edge over the filling, then gently flip the omelette over. Give it a few more seconds, then slide onto a hot plate while you cook the other one.

5. Serve immediately with hot buttered toast.

Recipe © Peter Gordon
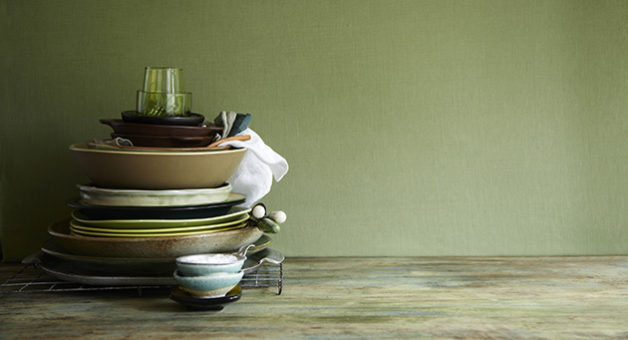
 

Food styling and props by Grant Allen. Additional props by The Propsdepartment. Photography and styling by Manja Wachsmuth.

More cookbook snippets? How about Vanilla Table or Spice Health Heroes?

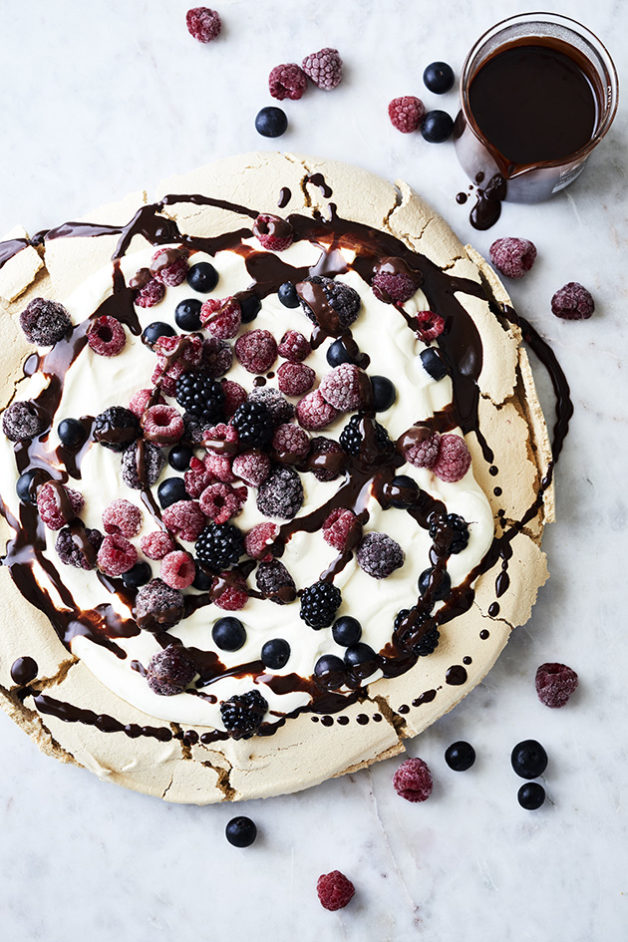
Golden Pavlova with Summer Berries and Salted Chocolate Sauce

Golden Pavlova with summer berries and salted chocolate sauce. Cooking with Salt. Recipes, foodstyling, styling & photography by Manja Wachsmuth

GOLDEN PAVOVA WITH SUMMER BERRIES AND SALTED CHOCOLATE SAUCE
Server 6-8

A Pavlova recipe with a golden twist and a salty chocolate sauce that breaks with the sweet pav and the tart summerberries.

Pavlova:
6 egg whites, at room temperature
380g brown sugar
4 tsp. cornflour
2 tsp. cider vinegar
1 tsp. vanilla extract

Salted Chocolate Sauce:
100g dark chocolate of good quality
150 ml single cream
1 tbsp. syrup
2 tsp. sea ​​salt flakes

Garnish:
200 ml single cream, whipped to peaks
100g Blueberries (fresh or frozen)
100g Blackberry (fresh or frozen)
100g Raspberries (fresh or frozen)

Golden Pavlova:
Preheat the oven to 140 ° C. Place baking paper on a baking tray. Whip egg whites until they stiff and then gradually add brown sugar until the meringue forms soft peaks and is shiny. Be patient, it may take up to 10 minutes. Then add corn flour, vinegar and vanilla and whip on low setting until the meringue is even. Arange the meringue on baking paper on a baking tray and shape it in a large circle, about 5-6 cm high using a rubber spatula. Smooth the edges with the spatula and then bake approx. 1 hour until it is firm and light golden. Turn off the oven and leave to cool completely before serving. The Pavlova can be made a few days in advance and stored in an airtight container.

Salted Chocolate Sauce:
Heat water in a large sauce pan on the stove and place a heatproof bowl that fits into the pan so that the water touches the bottom of the bowl. Then slowly melt the chocolate into the water bath while stirring occasionally with a silicone / rubber spatula. When the chocolate is melted add the syrup and mix thoroughly. Then add whipped cream into small portions and stir continuosly until the sauce is smooth. Finally, taste with sea salt.

Gather the pavlova by distributing whipped cream over it in a smooth layer and decorate with berries and salted chocolate sauce. If you are using frozen berries, leave the pavlova for 10-15 minutes before serving so they can thaw a bit. Serve with extra chocolate sauce.

This recipe is part of my salt story published in Matmagasinet Nord #23 2017, focusing on using salt as a main ingredient for cooking or flavouring. Try these recipes from this series too:
Blackberry Grav Lax
Salt & Vinegar Potato Skins
Bork Belly in Brine with Cripsy Crackling
Salt Dough Baked Leg of Lamb
The Perfectly Salty Margaria
Oozy Salted Chocolate Caramel Tart
Salted Caramel Ice Cream

© Manja Wachsmuth 2017. This recipe is a modification of a Delaney Mes‘ recipe for NZ House & Garden Magazine published earlier this year.

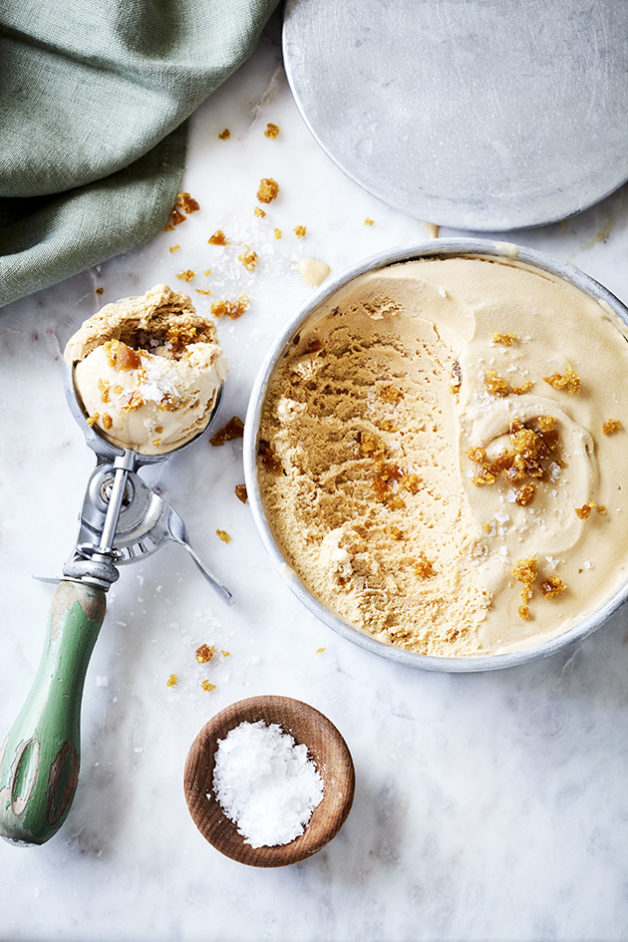
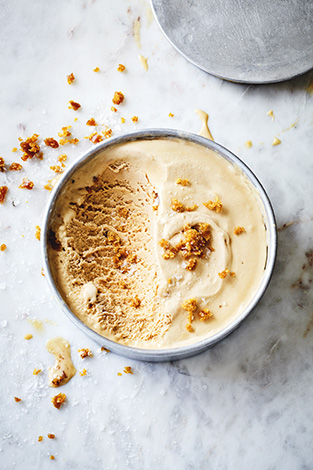
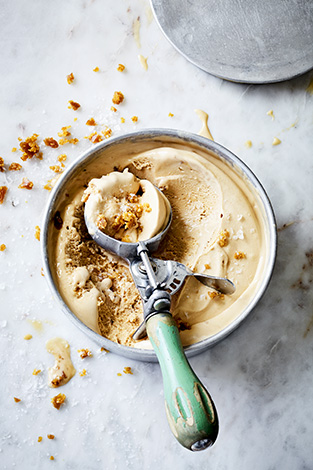
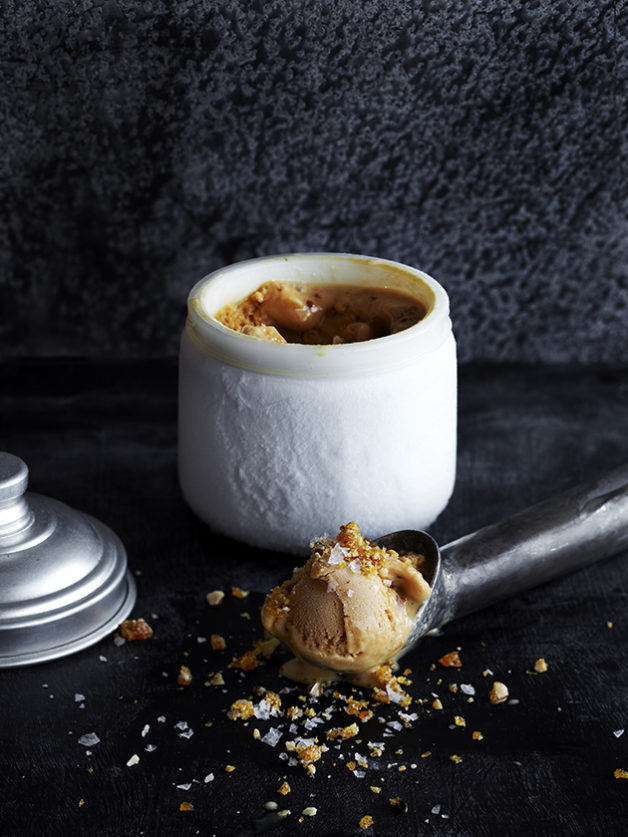
Salted Caramel Ice Cream

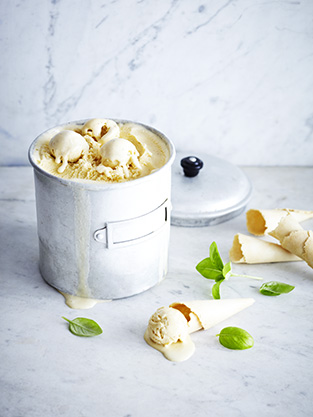
Salted Caramel Ice Cream. Cooking with Salt. Recipe, styling, food styling & photography by Manja Wachsmuth

SALTED CARAMEL ICE CREAM
Makes 1 litre

This here, is probably the worlds best salted caramel ice cream! So good infact, I’ll advice you to make a double batch because this one will be gone within a few days, tops!

500 ml cream (single cream)
250 ml whole milk
3 large egg yolks, beaten and set aside
1 jar genuine Dulce de Leche
1½ tsp sea salt flakes
200g sugar
50g butter

Method Ice Cream Mix:

Place a medium size pot on the stove and bring milk and cream to a simmer stirring continuously to avoid burning. Simmer for a couple of minutes, then set aside to cool slightly for 10-15 min.

Once cooled, pour the warm milk mixture, in a slow stream, into a bowl with the beaten egg yolks, whisking constantly. Pour custard back into the pot and heat over medium heat, stirring constantly with a wooden spoon, until custard coats back of spoon and registers 85ºC on an instant-read thermometer (do not let boil). Set aside until caramel is prepared.

Pour dulce de leche into a pot and heat over low heat until smooth and liquid. Stir continuously to avoid burning. Add sea salt flakes to taste. Add caramel mixture to ice cream mixture and combine well. Cool over ice bath, then refrigerate for 12-24 hours.

Method crunchy caramel:

Heat sugar over medium heat in a pan until edges begin to melt. Gently push melting sugar with a heatproof spatula from edges to center of pan stirring until the sugar has dissolved. Continue cooking swirling pan occasionally so sugar melts evenly. Add butter and combine thoroughly. Remove from heat and pour into a heat proof dish. Set aside to cool. When caramel has cooled, it will be hard. Chop into small pieces and set aside until ice cream mix is ready for churning.

Just before churning, add crunchy caramel to ice cream mix, then churn in ice cream maker according to manufacturer’s instruction. Spoon into an airtight freezer container, cover and freeze until solid.

Serve the salted caramel ice cream in ice cream cones, sprinkle with extra crunchy caramel and sea salt flakes.

This recipe is part of my salt story published in MAD&venner #129 2015 & Matmagasinet Nord #23 2017, focusing on using salt as a main ingredient for cooking or flavouring. Try these recipes from this series too:
Blackberry Grav Lax
Salt & Vinegar Potato Skins
Bork Belly in Brine with Cripsy Crackling
Salt Dough Baked Leg of Lamb
The Perfectly Salty Margaria
Oozy Salted Chocolate Caramel Tart
Golden Pavlova with Summer Berries and Salted Chocolate Sauce

© Manja Wachsmuth 2017. Thanks to Natasha MacAller for helping me shoot the moody shot on this page and for teaching me how to make salted caramel ice cream. This recipe was originally hers, however I have simplified and modified it heavily since then.

Salted Caramel Ice Cream. Cooking with Salt. Recipe, styling, food styling & photography by Manja Wachsmuth Salted Caramel Ice Cream. Cooking with Salt. Recipe, styling, food styling & photography by Manja WachsmuthSalted Caramel Ice Cream. Cooking with Salt. Recipe, styling, food styling & photography by Manja Wachsmuth

Oozy Salted Chocolate Caramel Tart

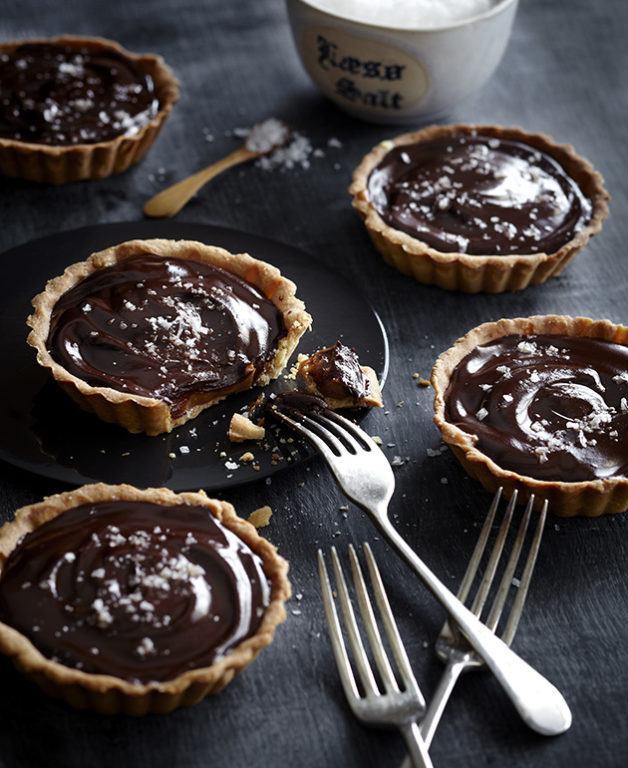
Salted Chocolate, Caramel Tarts. Cooking with Salt. Recipes, foodstyling, styling & photography by Manja Wachsmuth

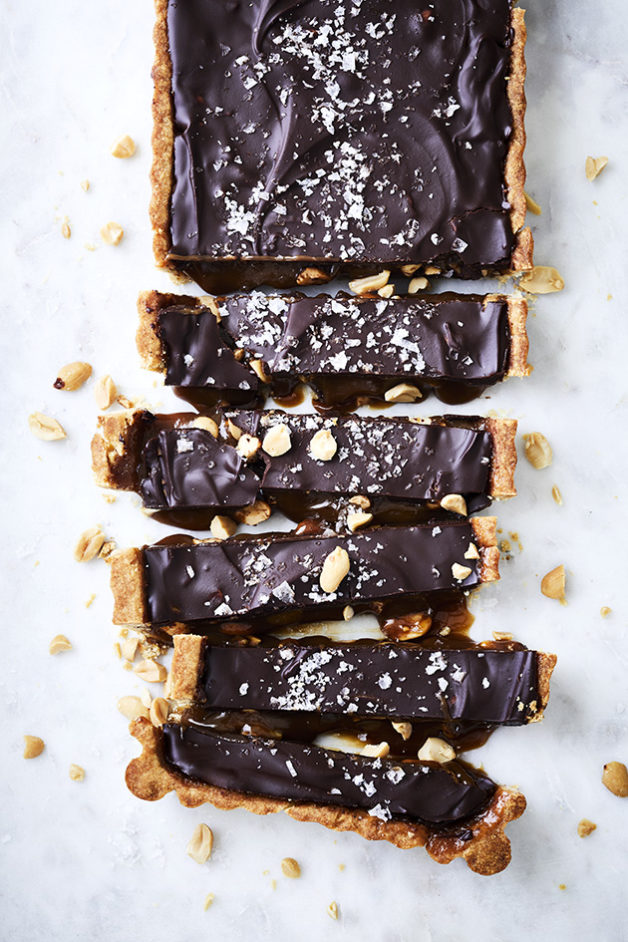
OOZY SALTED CHOCOLATE CARAMEL TART
Serves 12

This delicious oozy salted chocolate, caramel tart has a surprising layer of crunch, and will satisfy any chocolate and salted caramel craving.

Tart shells:
Makes 1 tart of 12 cm x 35 cm or 12 small tart shells of 10 cm diameter.
Half the dough can be frozen for later use.

140g unsalted butter, softened
85g vanilla sugar
1 large egg
225g plain flour, sifted

Caramel filling:
450g glass Dulce de Leche
1 tsp. sea ​​salt
100g butter, melted
100g golden or rice malted syrup
80g peanuts, roughly chopped

Chocolate layer:

200 g dark chocolate, finely chopped
25 ml of whipped cream
2 tsp. golden or rice malted syrup
2 tsp. sea ​​salt

Method tart shells:

In a stand mixer, beat butter on medium speed until smooth but not whipped. With mixer on low, stream sugar into butter until well combined. Add the egg until incorporated. Add flour in 3 stages just until incorporated. Don’t overwork the dough. Turn out onto a board and work with a dough scraper until smooth. It should feel like “play dough”. Shape into 2 discs, wrap tightly in double plastic and chill until ready to shape into the tart pan.

Preheat the oven to 175ºC.

When ready to bake, remove from plastic and pat out into pan smoothing the dough with your hands. If it gets too soft place in fridge and chill until firm and then rework the dough. You may also roll chilled dough into rounds between layers of plastic wrap. Peel off bottom layer and place in tart pan shaping sides to fit snugly. Cover and chill until firm. Place a sheet of parchment inside tart shell and fill with pie weights.

Bake at 175ºC for about 15 minutes until edges are browned. Carefully remove parchment and pie weights. Return to oven and bake until just lightly browned, about 12 min. Remove from oven when done, and set aside to cool completely, before removing tart tins.

Method chocolate ganache:

Put chopped chocolate in a small bowl and place inside a medium sized bowl. Boil 500ml of water, and pour into the medium sized bowl, to melt the chocolate over a water bath. Heat cream until steamy in a small saucepan. Pour heated cream over chocolate and let stand for 1 minute then slowly stir until chocolate is melted. Do not refrigerate but set aside until ready to assemble.

Method caramel filling and assembly:

Place the Dulche de Leche in a small pot, and heat on the stove on low-medium heat to smoothen it up, mix in melted butter, syrup and sea salt. Mix till well combined and smooth. Fill tart shell 2/3 and add a layer of chopped peanuts. Cover with a layer of chocolate ganache and sprinkle with sea salt. Serve immediately.

This recipe is part of my salt story published in MAD&venner #129 2015 & Matmagasinet Nord #23 2017, focusing on using salt as a main ingredient for cooking or flavouring. Try these recipes from this series too:
Blackberry Grav Lax
Salt & Vinegar Potato Skins
Bork Belly in Brine with Cripsy Crackling
Salt Dough Baked Leg of Lamb
The Perfectly Salty Margaria
Salted Caramel Ice Cream
Golden Pavlova with Summer Berries and Salted Chocolate Sauce

© Manja Wachsmuth 2017. The recipe for the tart dough is kindly supplied by the fabulous Natasha MacAller – for more of her recipes; check out her books Vanilla Table and Spice Health Heroes.

Salted Chocolate, Caramel Tarts. Cooking with Salt. Recipes, foodstyling, styling & photography by Manja Wachsmuth

Spice Health Heros

Spice Heros

Spice Health Heros. My first proper job after having my first child and starting work again after maternity leave. It was quite a big job to take on, and shooting a book can be very stressful at the best of times, let alone when you are sleep deprived and caring for a baby. But the end result just makes me so super proud! Many of the images are so stunning and definitely some of my very best work. I’m really excited to tell you a bit more about the background thoughts of my work on Spice Health Heros and to be sharing a few of my very favorite recipes from it.

Spice Health Heros by Natasha MacAller, published in UK, US, Aus & NZ by Jacqui Small Oct 2016.

When Natasha first came to me with her spice recipes, it was really only an idea for a book proposal for a followup to her Vanilla Table. Originally we put togethether 10 images for a book about pepper, but quickly the idea grew, and finally we were asked to create a stunner of a book about spices and their many health properties, including pepper. Initially I was quite keen on a very moody book where all the colour would come from the food and the spices themselves, but the publisher thought it might all get a bit dark, and asked me to re-think it. Finally I ended up adding a few lighter and a few more colourful backgrounds, which I think has really lifted the whole book, and brought it to life as you flick through the pages.


Spice Heros Spice Book, Jacqui Small Publishing Spice Book, Jacqui Small Publishing Spice Heros

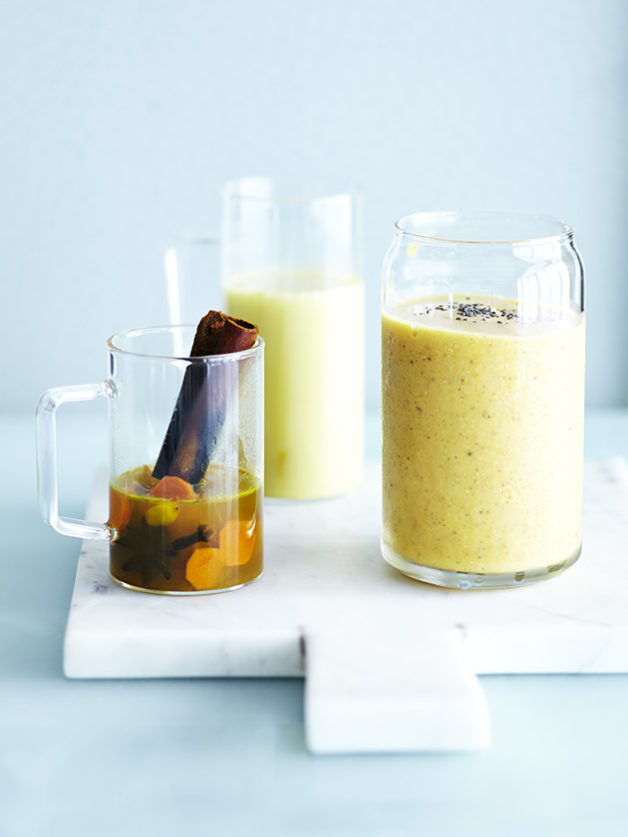
I just looove this smoothie. It reminds me of tropical beaches, a light breeze and a relaxing daze in a hammic in the sun. It makes me happy both summer and winter! Turmeric was a spice I’ve never really used before, but after being introduced to it by Natasha, it has now found a regular space in my fruit and vegebowl, ready for juices and smoothies. The pepper adds some wonderful heat to compliment the sweetness and should not be left out. (MW)

TROPICAL TURMERIC SMOOTHIE
serves 1

The combination of fruit and spice and rich-but-healthy coconut milk is a favourite before a workout or just as a get-to-work beverage! If you prefer, you can use papaya instead of mango and add three leaves of coriander (cilantro). For a thicker smoothie, freeze the coconut milk in cubes before blending. (NM)

85g pineapple
115g fresh frozen mango
2.5 x 5cm strip orange peel
5cm piece turmeric root,
or 1⁄4 tsp ground turmeric
1/8 tsp cracked black pepper
1⁄4 tsp cardamom seeds, toasted and ground
1 tbsp fresh lime juice
240ml (1 cup) coconut milk
4–6 ice cubes
1 tsp chia seeds

Put all the ingredients except the chia seeds into a high-speed single-serve blender-juicer and blend until smooth. Sprinkle chia seeds on top and serve.

Spice Heros Spice Heros Spice Heros

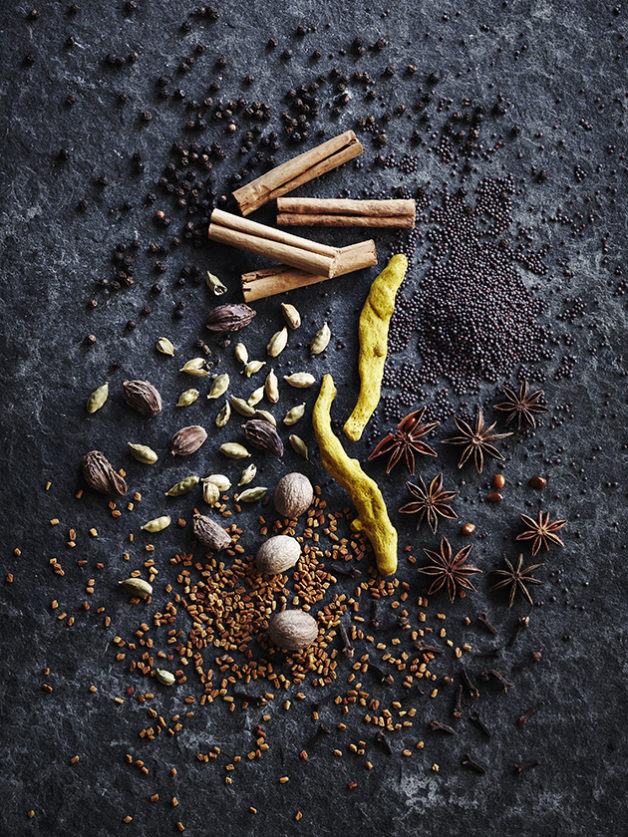
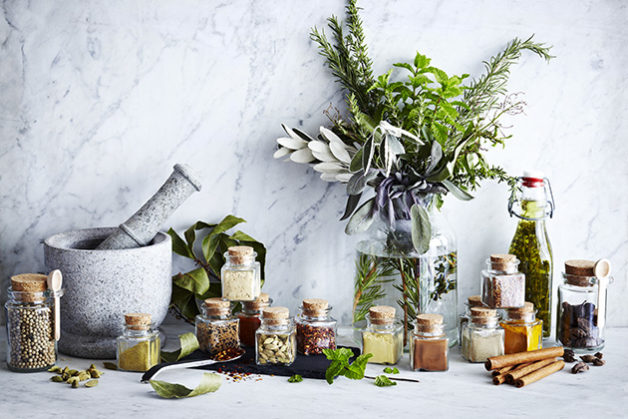
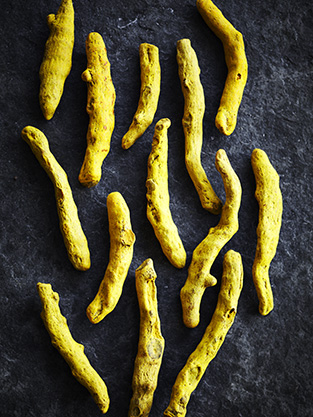
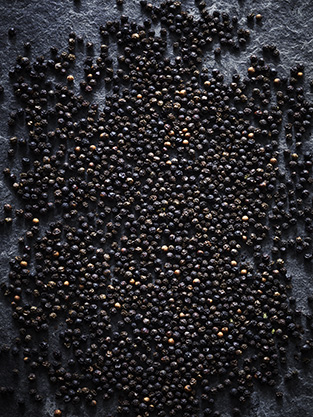
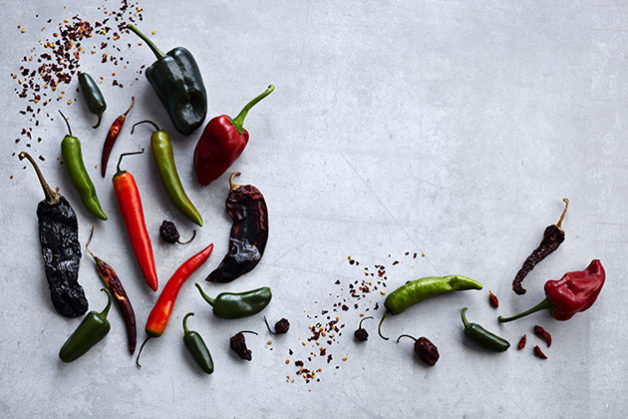
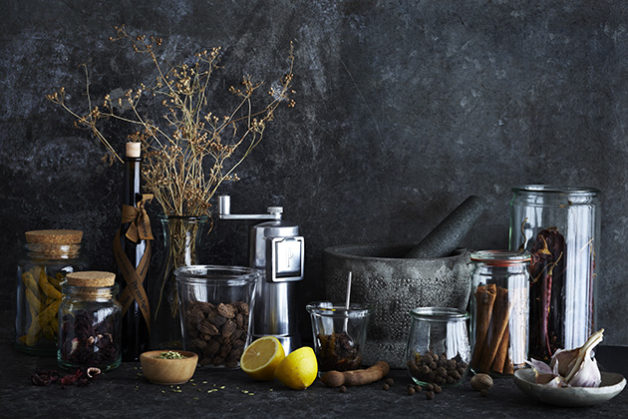
The 3 images above are part of the concept for the chapter openers in Spice Health Heros. I’ve always loved coming up with the concept of the chapter openers for a book. As a natural break between all the recipes, they make up an important part of the look and feel of a book.

The hard part is usually coming up with something I haven’t seen or done before, as some of the criteria are set in stone. Usually it has to be a double page spread, and there needs to be negative space for the chapter title. For Spice Health Heros, the chapter openers would also create the intro to each class of spices, so they needed to be informative as well as beautiful and inspiring. I chose a neutral background, and a flat lay concept to keep in line with the trend of Scandi cool, which was part of the general brief for Spice Health Heros.

Spice Heros Spice HerosSpice Heros

Shooting a lot of food for books and magazines, I’ve become somewhat immune to a lot of food.
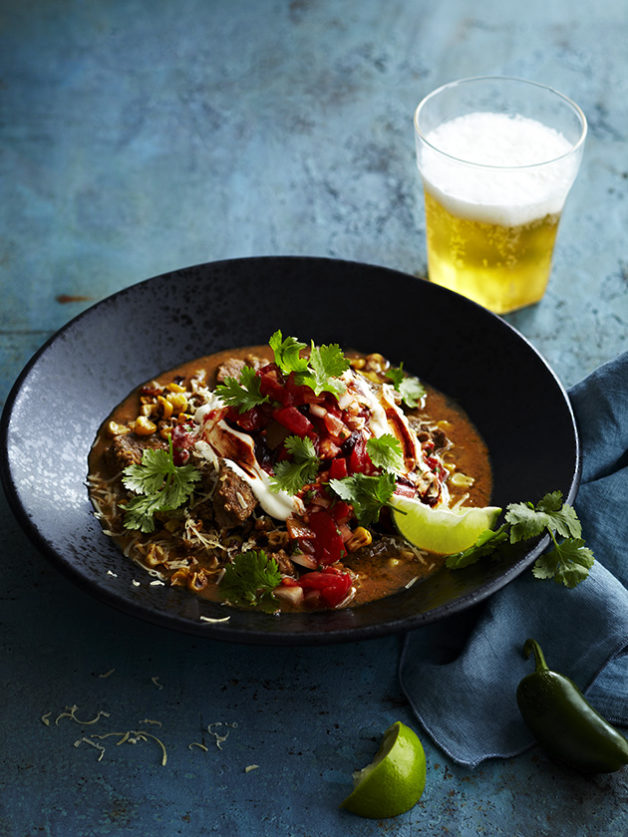
It takes a lot to impress me these days, but every once in a while, I’ll shoot something that really blows my mind. Taste wise I mean. Anne’s Pork Chile Verde, is one of these dishes. It just knocked my socks off. You’d think I would have known what a Chile Verde is, having worked as a food photographer for so many years, but admittedly this was my first. It’s just amazing! The right amount of heat, spice and umami, to make you just want more and more. This is one of those dishes that has truly become the fooodphtographers favorite. Thank you Anne! (MW)

PORK CHILE VERDE
By Anne Conness
serves 4

‘I can’t speak for the scientifc connection between spice and health, but what I do know is that eating spicy things makes me feel happy and satisfied. And when I feel happy, I feel less stressed, and that makes my doctor happy!’(AC)

1 tbsp cumin seeds
1 tsp black peppercorns
1⁄2 tsp cloves
1⁄2 tsp ground cinnamon
1⁄2 tsp cayenne pepper
2 tsp paprika
2 tbsp salt
1.6kg (3.5lb.) pork shoulder, cut into 2cm (3⁄4in.) cubes, most of fat removed
1.2 litres (5 cups) chicken stock

For the corn:
3 ears of corn
2 tbsp butter
30g (1oz./1⁄4 cup) grated Monterey Jack or mild Cheddar cheese

For the sauce:
1 tomatillo, halved and stem removed
1 onion, roughly chopped
2 jalapeños, halved and stems removed
2 Anaheim chilies, halved and stems removed
1 head garlic, cloves separated and peeled
60ml (1⁄4 cup) canola oil
2 tbsp lime juice
11⁄2 bunches coriander (cilantro)
2 tsp cumin
1⁄2 tsp cloves
1⁄4 tsp cayenne pepper
2 tsp paprika
1⁄4 tsp cinnamon
1 tsp salt
350ml (11⁄2 cups) reserved cooking jus (see method)

To serve:
1 tbsp sauce from chilies in adobo or chipotle paste mixed with
115g (4oz./1⁄2 cup) sour cream
1 dash Tajin (a classic Mexican dry seasoning of dried lime juice, chili powder and salt)
4 lime wedges
150g (51⁄2oz./1 cup) pico de gallo (Mexican fresh tomato salsa)
small handful micro-coriander (cilantro) leaves

Preheat the oven to 180°C (350°F/gas mark 4).

Toast the whole spices, cool, then grind to a powder. Stir in the cinnamon, cayenne pepper, paprika and salt. Toss the pork in the spice mixture and put in a roasting pan. Pour over the chicken stock, cover tightly with foil, put in the oven and cook until tender, about 11⁄2 hours. Strain the jus, skimming off the fat, and reserve 350ml (11⁄2 cups) for the sauce. Break up the meat if necessary.

Char the sweetcorn: Shuck the corn and remove the silks. Place the corn cobs on a baking tray on the top shelf of the oven or under the grill (broiler) on a high heat until charred. Leave to cool then place the corn cob in a cereal bowl and, using a sharp knife, cut the kernels from the cob in a downward motion; the kernels will collect in the bowl. Set aside.

For the sauce, toss the tomatillo, onion, jalapeños and Anaheim chilies and garlic in a bowl with the oil. Spread out on two baking trays and roast until caramelized, about 30 minutes at a medium–high heat. Leave to cool.

Blend the caramelized veggies in batches with the lime juice, coriander (cilantro), spices and strained cooking jus. Check the avour and season to taste.

Put the pork in a pan with this sauce and heat up.

Melt the butter in a hot ovenproof pan then add the charred corn. Season with salt and pepper. Sprinkle cheese on top and put in the oven just long enough to melt the cheese.

To serve, put the pork on a plate and top with the corn. Garnish with the chipotle cream, a sprinkle of Tajin, a lime wedge and some pico de gallo. Finish with the coriander (cilantro).

Spice Heros Spice Heros

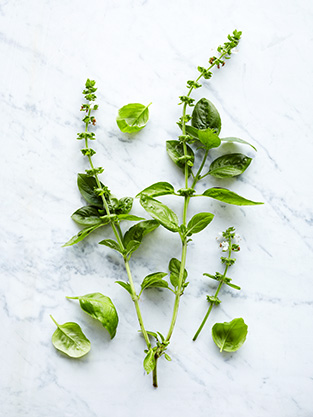
This ice cream is both refreshing and surprising. I love the combination of cinnamon and basil, and it kinda fits perfectly as a Christmas dessert in the warm weather here in New Zealand, if anyone dares to swap out the pavlova! (MW)

CINNAMON BASIL ICE CREAM
By Mindy Segal

makes 1 litre

‘This ice cream was inspired by some beautifully roasted peaches that I bought one year at the farmers’ market for a special dessert. I decided that it needed a little of the garden in the ice cream I served them with so I steeped fresh basil in my cinnamon ice cream. Eureka – delicious! It’s also good served with poached berries. Indonesian (Ceylon) cinnamon is a milder, softer avoured cinnamon also known as true cinnamon. Cassia cinnamon is also fine to use but as the flavour is stronger, the basil-cinnamon balance will have a stronger cinnamon taste when using the cassia variety.’ (MS)

4–6 fresh Indonesian cinnamon sticks
475ml (2 cups) double (heavy) cream
475ml (2 cups) full-fat (whole) milk
13 large egg yolks
225g (8oz./1 cup) cane sugar
leaves from 1 bunch (70g/21⁄2oz.) cinnamon basil, regular basil or Thai basil, finely chopped
1⁄2 tsp fresh ground cinnamon
pinch sea salt
1⁄4 tsp pure vanilla extract

Put the cinnamon sticks on a baking tray and toast in the oven until hot to touch. Meanwhile, in a heavy-bottomed pan, heat the cream and milk to a simmer. Remove the cinnamon sticks from the oven and crush into pieces. Put the pieces into the warm milk and cream mixture and leave to steep for 1 hour.

Combine the egg yolks and sugar in a 2-litre (2-quart) bowl, whisk thoroughly and set aside. Strain the cinnamon sticks from the milk and cream mixture and discard them. Return the liquid to the pan and bring to the boil, then pour the liquid over the eggs and sugar, mixing thoroughly.
Pour back into the pan and cook over medium–low heat, stirring constantly until the custard coats the back of a spoon (nappe). Pour the hot custard into a bowl and set over an ice bath.

Steep the chopped basil in the hot custard until cool. Add the ground cinnamon and salt and mix thoroughly. When cool, strain the custard through a fine mesh strainer then whisk in the vanilla extract.
Freeze the custard in an ice-cream maker, following the manufacturer’s instructions.

Spice Heros

© Spice Health Heros, available at your local bookstore (in UK, US, Aus & NZ) and online from Amazon
Recipes © Natasha MacAller
Photos © Manja Wachsmuth

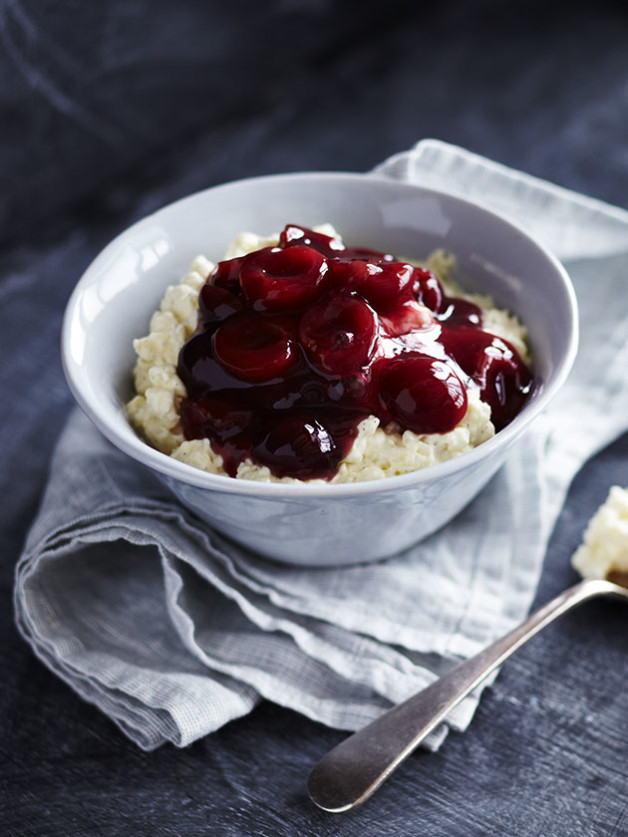
Ris ala Mande with homemade Cherry Sauce

Ris Ala Mande with Cherry Sauce Ris Ala Mande with Cherry Sauce Ris Ala Mande with Cherry Sauce

I’m back in Denmark for Christmas this year. For the first time in 5 years, I’m spending Christmas with MY family, and I can’t wait! There’s just something strange about spending Christmas in New Zealand, when it’s summer, and I just can’t seem to get into a real Christmas spirit. But this year it’ll be different, and I’m looking forward to showing my husband around a Christmas lit Copenhagen, ice skating and sipping Gløgg (mulled wine).

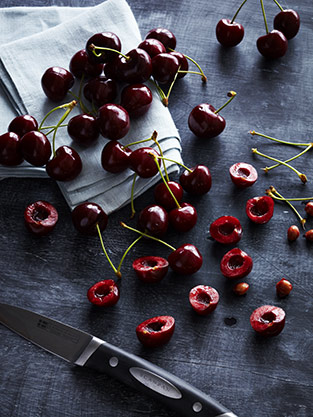
Obviously the big thing about Christmas is food, and for me as a food photographer, no less! We’ll have all the regulars: Roast duck, pork roast with crackling, caramelised potatoes, gravy, herring and lots of snaps of course! And a classic Danish Christmas dessert, the Ris ala Mande of course! Usually the cherry sauce for the dessert is just a store bought thing, but since I’ve moved to NZ, I’ve always made my own- just because you can’t buy it there. The good thing about that, is that it’s summer there, and cherries are in season, so I make mine out of fresh cherries. So this year, I’ve imported 3 litres of NZ made cherry sauce into Denmark, for our Christmas dessert. My recipe has a dash of single malt whiskey in it. It’s yum!

So, I bring you the recipe for: Ris ala Mande with homemade Cherry Sauce! Merry Christmas!

Ris ala Mande
6-8 portions

1 litre whole milk
2 vanilla beans (I use Heilala Vanilla)
150g arborio rice
2 tablespoons caster sugar
1⁄2 teaspoon salt
100g blanched almonds, roughly chopped
1 whole blanched almond (skin removed)
500ml cream

Cherry Sauce:
makes 3 litres

500g fresh, pitted cherries (alternatively use frozen or jarred cherries)
150g caster sugar
2 vanilla beans (I use Heilala Vanilla)
3 cups water
4 tablespoons cornflour
100 ml whiskey (I use single malt – some might argue that – especially your husband. You could also use cognac)

Place milk and rice in a large pot. Cook over gentle heat, stirring often to prevent rice sticking and burning, for about 20 minutes. Most of the milk should have been absorbed by this stage. Remove pot from heat and cover. Leave to rest 30 minutes. In Denmark it’s common to let the rice porridge rest under the duvet, to heat up the bed (as it’s winter, and cold outside)

Stir in caster sugar and salt. Split vanilla beans and scrape seeds into pot. Fold them through rice mixture. Leave to cool completely. At this stage the porridge can be covered and refrigerated until the day it is needed (up to two days).

On the day of serving, beat cream to soft peaks. Fold about one third through the rice until smooth then fold in remainder with chopped almonds.

Transfer Ris ala Mande to a serving bowl and hide 1 whole almond in the mixture. Cover and keep chilled until ready to serve. Traditionally we serve the dessert with 1 whole almond, and sometimes a few half or 3/4 ones (cheat almonds). Who ever can present the whole almond, wins the almond prize, which is usually another sweet treat, such as a mazipan pig or chocolates. The idea is to keep the almond hidden (if you find it), until all the Ris ala Mande has been eaten.

Sauce: Place cherries, sugar, whole vanilla bean, water and whiskey in a large saucepan. Bring to the boil then simmer 15 minutes.

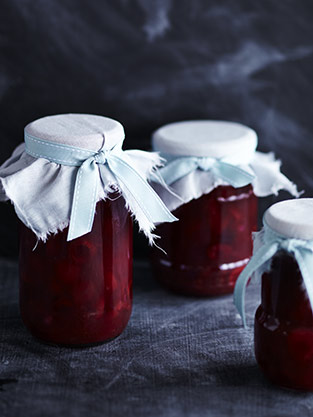
Combine cornflour with a little cold water. Slowly add to cherry mixture, stirring constantly until sauce thickens. Bring mixture slowly back to the boil then remove from the heat. (Sauce can be made ahead and bottled in sterilised jars).

Serve the Ris ala Mande (rice pudding) at room temperatue with warm cherry sauce.

Merry Christmas!

Vanilla Table

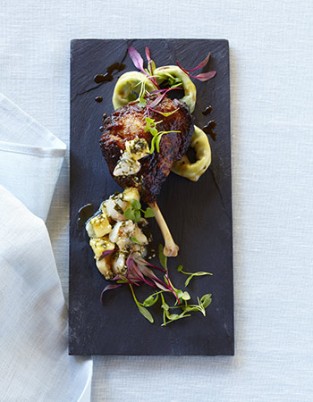
Vanilla Lacquer Duck Leg with Shanghai Dim Sum & Lychee Lime Relish, recipe by Paul Jobin, food styling by Natasha MacAller Vanilla Table, the essence of exquisite cooking from the world's best chefs, by Natasha MacAller, published by Bateman NZ © 2013Vanilla Table, the essence of exquisite cooking from the world's best chefs, by Natasha MacAller, published by Bateman NZ © 2013 Vanilla Table, the essence of exquisite cooking from the world's best chefs, by Natasha MacAller, published by Bateman NZ © 2013Vanilla Table, the essence of exquisite cooking from the world's best chefs, by Natasha MacAller, published by Bateman NZ © 2013 Vanilla Table, the essence of exquisite cooking from the world's best chefs, by Natasha MacAller, published by Bateman NZ © 2013

Following Wednesdays book launch of Natasha MacAller’s  Vanilla Table, the essence of exquisite cooking from the worlds best chefs, the book we spent most of last year working on, and talking about, is finally out in the shops. Today I spotted it front forward at Queen Street, Auckland’s Whitcoull’s right next to Donna Hay’s new book, so that couldn’t be better placement really! Hopefully Donna will help us with the sales!

Natasha and I met when I was shooting Peter Gordon’s Everyday book, back in October 2011. Peter & Natasha has been great friends for years, so I was very honoured to firstly have Peter recommend me, even before his own book was finished, and secondly to have Natasha actually pick me, to shoot her fabulous book project. We started early 2012, where I went to stunning Bay of Islands, to shoot the first 3rd of the book with Natasha. We had a marathon of a week, up to our necks in delicious food and treats, and vanilla coming out of our ears- in fact I’m pretty sure I was sweating vanilla by the end of it. And Natasha got her first taste of what she signed up for, when shooting a book. It’s bloody hard work!

Later, midway through the year, I went to London to shoot the 2nd batch of recipes, and while it’s fabulous to travel around the world, doing what I love to do: Shoot food, I didn’t really get to see much of London that week. Finally back in Auckland, I got a beautiful delivery from Heilala Vanilla’s green house in Tauranga, the stunning vanilla orchid plant and fresh beens pictured inside the cover, and we finished off with the 3rd batch of recipes in November, while I just managed to stay sane, before my wedding in early December.

Finally the long wait is over, and we can enjoy the labour of our work. It’s so rewarding finally to have a heavy copy in your hand, flicking through the pages, and seeing all the ideas we had for look and layout come to life. We wanted to focus entirely on the styling of the food, so decided to pull back completely on the proping, and rely on beautiful textures, subtle tones of white, sand & blue and organic, modern shapes. I think the texture of the fabric really comes to life this way, and especially the feel of the cover. I could’t be more pleased, and am looking forward to trying out all the recipes again.

Unfortunately the recipes are copyrighted, and we don’t want to give away too much, so head down to your local bookstore this labour weekend, and pick up Vanilla Table, the essence of exquisite cooking from the world’s best chefs, by Natasha MacAller. Published by Bateman.

Recipes pictured:

Vanilla Lacquer Duck Leg, recipe by Paul Jobin, food styling by Natasha MacAller, props: black slate tile borrowed from John Lewis at Kauri Cliffs, blue napkin by Fog Linen Work

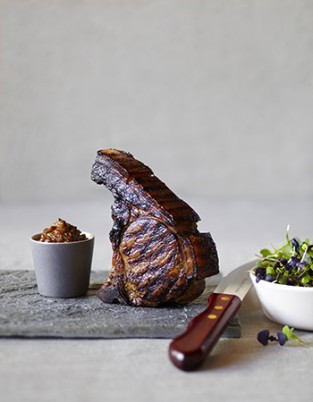
The Pork Chop, recipe and food styling by Natasha MacAller, props: gray slate photographers own, steak knife food stylists own, Alessi jar and bowl from Simon James Concept Store

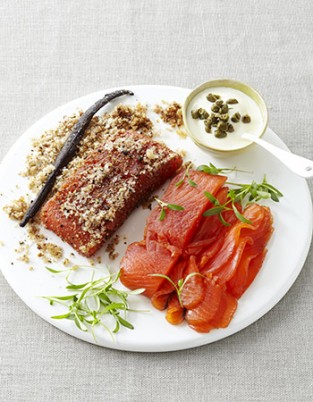
Rum & Vanilla Cured Salmon, recipe by Douglas Rodriguez, food styling by Natasha MacAller, props: vintage stilton plate from Flotsam & Jetsam, bowl from Wonki Ware, porcelain spoon from The Conran Shop

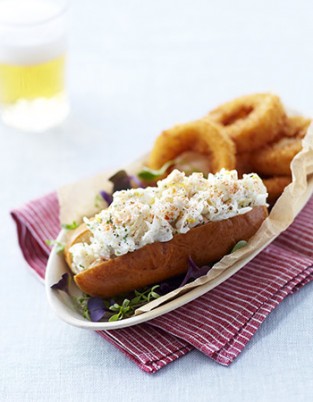
The Lobster Roll, recipe and food styling by Natasha MacAller, props: platter by Wonki Ware, napkin by Fog Linen Work

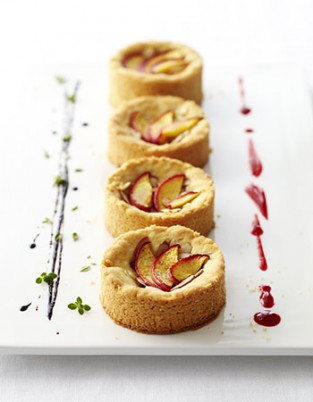
Peach, Cardamom & Vanilla Sable Breton, recipe by Jim Dodge, food styling by Natasha MacAller, props: platter from Freedom Furniture

Scottish Shortbread Sundae with Blueberry Ice Cream, recipe by Duff Goldman, food styling by Natasha MacAller, props: vintage stilton plate and antique chiffon from Flotsam & Jetsam, porcelain for from The Conran Shop

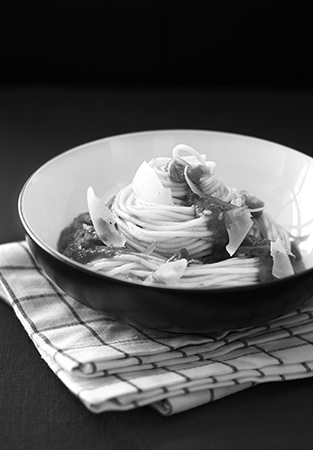
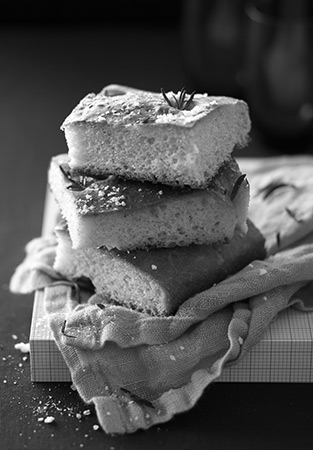
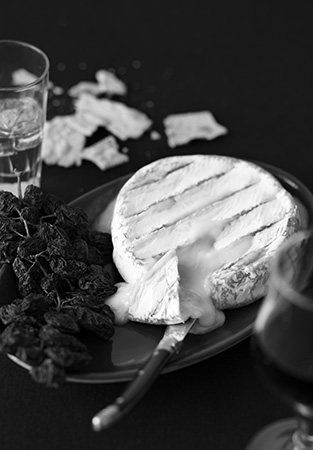
Black and White

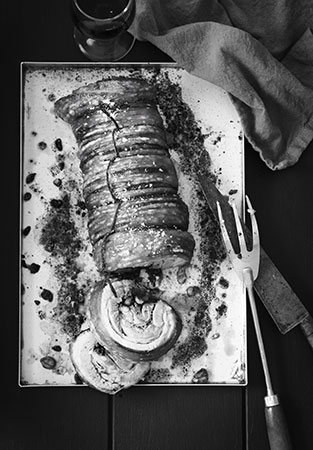
Spaghetti with Tomato Sauce Foccacia with RosemaryBaked Brie Peanut Stuffed Rolled Pork BellyHot Chocolate with Whipped Cream Chocolate Coffee Cupcakes

Welcome to the online launch of my new blog, the food photographers favourites. This opening entry is a personal project I’ve been working on for some years now, but as a busy food photographer, trying to set up a business in beautiful New Zealand, there’s not always time to get those projects finished. However, I have decided that it must begin, and end, somewhere, and what initially started as an idea, a concept for a portfolio project, has now developed into this blog.

So, here it begins with a black and white project, something that stems back to my early days in the dark room back in the early 90ties. I have always been fascinated with the contrasts of B/W photographs, and at times I really miss working with the lack of colours. Inspired by Irving Penn and fashion magazine after fashion magazine, I decided to try and translate some of that into my passion and speciality: Food photography. Keeping in mind, that most food does look the best in colours, as these are what makes us recognise whatever the subject, and appeal to our tastebuds. Paying attention to the textures and shape of the food, I decided to pick a selection of my favourite recipes I’ve photographed over time, and named the project “the food photographers favourites”.  Naturally not every dish was going to work well, but regardless, working with food styling in black and white is a fantastic exercise in studying how the light bounces of every subject, making sure that every important item in the dish shines. So by the end of this, it is really not so much about the recipe itself, but more about the basics of studying the light, as any great photographer would.

I send my respects to the queen of food styling Donna Hay, for picking this particular theme for her August/September 2013 issue of Donna Hay Magazine. From a photographic point of view, I think the idea is brilliant and beautiful, and I will certainly continue to explore the contrasts of food photography not only in black and white but definitely also in full colour, sharing some of my favourite recipes, shoots, recipes and other foodie related ventures. I declare the food photographers favourites blog for open!

Thanks to the wonderful people who helped make these images:

Spaghetti with Tomato Sauce, recipe by Jo Wilcox, food styling by Laura Faire • Foccacia with Rosemary, food styling by Laura Faire • Baked Brie, recipe by Penny Oliver, food styling by Laura Faire • Peanut stuffed Rolled Pork Belly, recipe by Peter Gordon, food styling by Laura Faire • Hot Chocolate with Whipped Cream, recipe and food styling by Carsten Kyster • Chocolate Coffee Cupcakes, food styling by Laura Faire