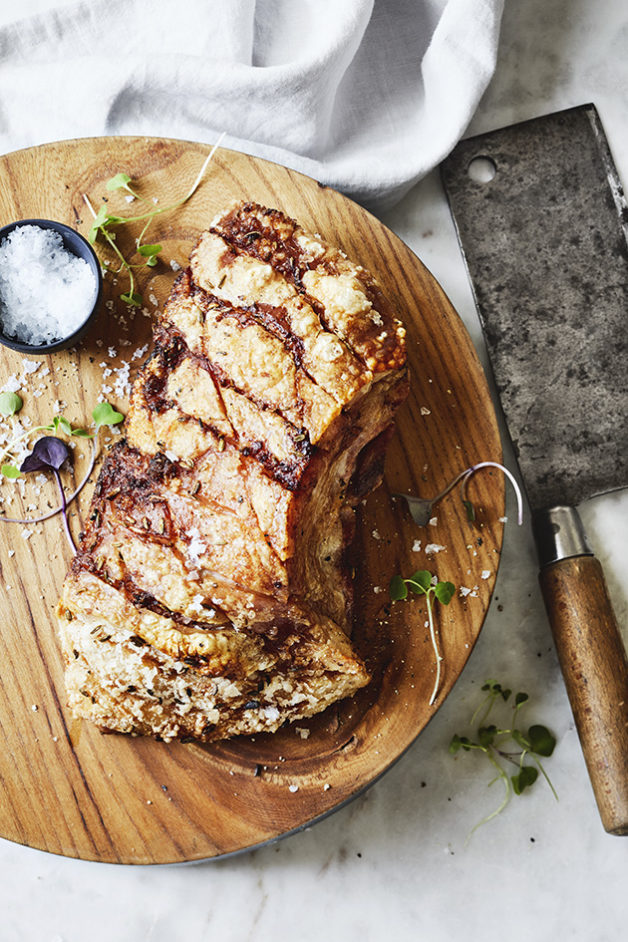
Bork Belly in Brine with Cripsy Crackling

Cooking with Salt. Pork Belly in Brine with Crispy Crackling. Recipes, foodstyling, styling & photography by Manja Wachsmuth

PORK BELLY IN BRINE WITH CRISPY CRACKLING
Serves 4, as part of a main course

Nothing beats a properly done pork belly. This recipe brines the meat, ensuring a really nice flavour and crispy crackling. You can either do this in the oven or try it on the BBQ for a delicious meal on those long, bright summer nights.

1 kg Pork Belly, skin on
30 g Sea Salt Flakes
1 tsp Fennel Seeds
250 ml Water

Method Oven:
Score the skin of the pork belly in slices or squares. Be careful not to cut into the meat.
Place the pork belly in a non-reactive, deep-sided roasting dish. Rub the salt into the meat on both sides and leave for 30 minutes. Turn the belly so the skin is facing down, and then cover in enough cold water to submerge the meat. Cover tightly and place in the fridge for 24-48 hours.

Preheat the oven to 250º C.

Drain the brine from the pork belly and pat it dry all over with a paper towel. Make sure that the skin is completely dry, otherwise it won’t crackle. Rub the skin with a little olive oil and sprinkle with flaky sea salt and fennel seeds. Place the pork skin side up on a rack that fits in a roasting dish and roast in the oven for 45 min, or until the skin starts to crackle. Remove from the oven and reduce temperature to 180ºC. Pour water into the roasting dish, ensuring that the skin remains dry. Return to oven and cook for 1 hour and 15 min, until tender.

Remove from the oven, and leave to rest in a warm place for 15 min, before cutting the meat into square bites, or slices. Serve while hot.

Method BBQ:
Note, this is a guideline only. Correct cooking on bbq is highly dependent on a number of factors such as the size of the bbq, the type of coal / briquettes, the placement of the roast, etc. The most important thing to remember is to check the roast often and to turn the meat to ensure even cooking.

We have used a medium-sized kettle bbq with lid.

Fill two coal trays with briquettes (it is advantageous to use briquettes and not charcoal as they hold the heat longer) and place on each side of the BBQ, leaveing a space in the middle that the roast can sit over. Place a foil tray between the coal trays (underneath the roast), to catch meat juice so that it doesn’t drip into the embers, and either causes flames or makes the BBQ difficult to clean. Light the briquettes and put a rack over to cover the entire grill. Wait for the briquettes to burn down until they are fiery red, very hot and with quite a low flame.

Place the roast on the rack, skin side up, over the drip tray between the coal trays, and roast for 45 minutes – 1 hour. Check often.
Rotate the roast occasionally to make sure it is cooking evenly on all sides, and always position with the skin side up.

For crispy crackling, turn the roast sideways, with the cracklling facing one of the coal trays, a little closer to one of the trays to expedite the process, keep an eye out, it burns easily! The crackling is done when it’s bubbled up and crispy all over. Total cooking time approx. 1-1.5 hours. Remove the roast from the heat and rest for 15 minutes. Carve and serve while hot.
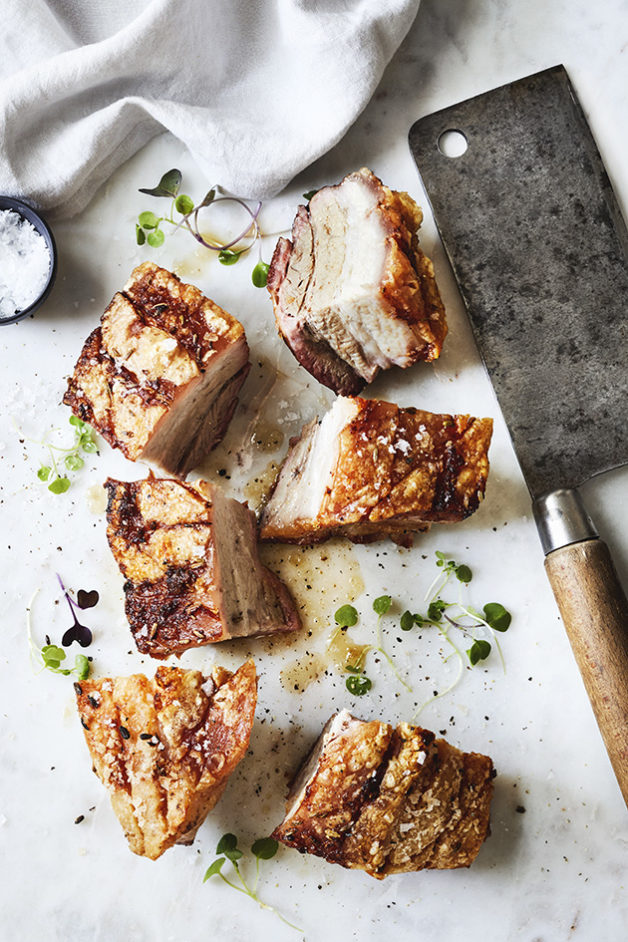
Cooking with Salt. Pork Belly in Brine with Crispy Crackling. Recipes, foodstyling, styling & photography by Manja Wachsmuth

This recipe is part of my salt story published in Matmagasinet Nord #23 2017, focusing on using salt as a main ingredient for cooking or flavouring. Try these recipes from this series too:
Blackberry Grav Lax
Salt & Vinegar Potato Skins
Salt Dough Baked Leg of Lamb
The Perfectly Salty Margarita
Oozy Salted Chocolate Caramel Tart
Salted Caramel Ice Cream
Golden Pavlova with Summer Berries and Salted Chocolate Sauce

© Manja Wachsmuth 2017

Pizza on the Weber BBQ

Pizza on the BBQ Pizza on the BBQ Pizza on the BBQ Pizza on the BBQ Pizza on the BBQ Pizza on the BBQ Pizza on the BBQ Pizza on the BBQ

Summer has officially arrived in New Zealand! One thing I love the most about summer is cooking on the BBQ. Last year I discovered cooking pizza on the BBQ, and when you’ve tried it once, it’ll be the only way you’ll ever want to cook pizza again. Pizza on the BBQ is the fool proof way of getting a moist and delishious filling and above all a super crispy base, which you can never seem to get in the oven, regardless of the temperature or quality of pizza stone.

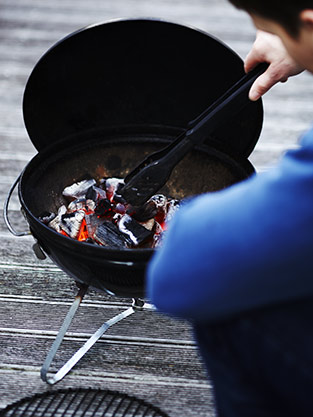
The majority of Kiwis (and probably Ozzies and Americans) swear by th gas BBQ’s and most pizza BBQ recipes will tell you to cook your pizza on a gas BBQ, where you can control the temperature and monitor it 100%, but there is another way. Personally I prefer a coal BBQ any day. This is how it was when I was a kid and the ritural of lighting a fire (or drinking a glass of ice cold chardonnay, while watching your husband lighting a fire) – you just can’t beat it. The smokey flavour of cooking over coals, just adds an extra element to the pizzas and everyone will be coming back for more.

The tricky thing is obviously getting the temperature right, so you don’t burn your base, so you gotta watch your pizza like a hawk. And also you MUST use a pizza stone. But once you’ve tried it a few times, you will master it, and be eating pizza’s with friends and family all summer!

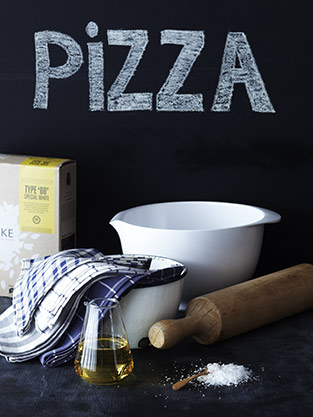
I’m providing you with the recipe for a great pizza dough, that’s my updated version of a pizza recipe I shot for Dish Magazine back in 2010, for their Italian issue. I’ve used wholemeal, stoneground flour for added nutritional benefits, and it is how I prefer my pizza base. Of course you can use plain flour or 00 flour if you like.

Pizza dough
Makes two pizzas, 4-6 serves

1 cup of plain flour or 00 flour
1 cup of stoneground, wholemeal flour
½ teaspoon of sugar
1 ½ teaspoons of instant dried yeast
1 teaspoon of sea salt
1 cup of lukewarm water
1 tablespoon of olive oil

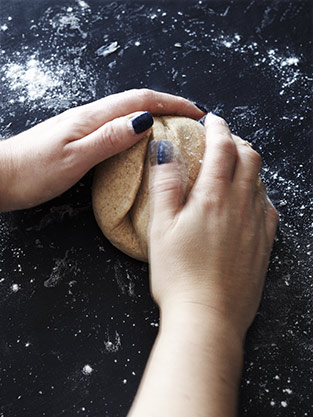
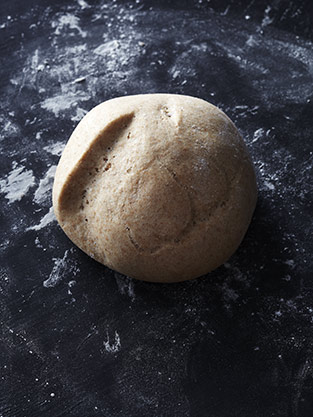
Place all dry ingredients in a large bowl and mix together. Mix the water and oil together in a separate bowl or jug. Gradually add the water to the dry ingredients, little by little, mixing the dough with your hands or a wooden spoon. Be careful not to make the dough too wet and sticky, nor too dry. Once roughly combined turn the dough out on a lightly floured benchtop and knead for 3-5 minutes, until the dough is smooth and slightly sticky and springy. Place it in a lightly floured bowl and cover with plastic wrap or a tea towel. Set aside in a warm place and let rise for 1 – 1½ hour.

Mastering the BBQ & making your pizza

About 10-15  minutes before your dough is ready, start up your BBQ using choal or briquettes. If using briquettes, you might want to get them started around half an hour before the dough is ready. The coal is quicker to start up, but also burns out faster. The briquettes take longer to get ready for cooking, but will hold the heat a lot longer. We usually use coals when it’s just the two of us, and briquettes when cooking for more people.

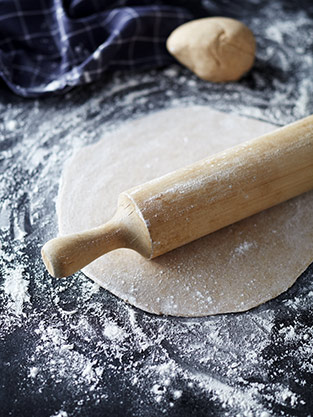
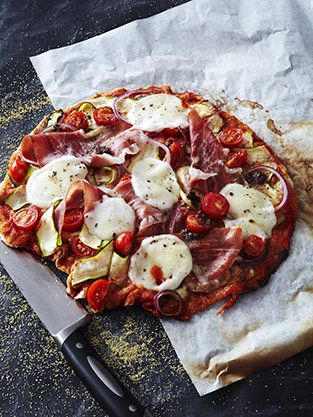
Once doubled in size, split the dough into two portions and roll out thinly on a lightly floured bench top. Place the pizza base on a piece of baking paper, and fill with your favorite filling. I’ve used:

Organic tomato paste
1 whole zucchini sliced sideways with a potato peeler
Red onion, thinly sliced
Cherry tomatoes (from the Curious Croppers)
Prosciutto
Buffalo mozzarella
Homemade pesto
Salt & pepper

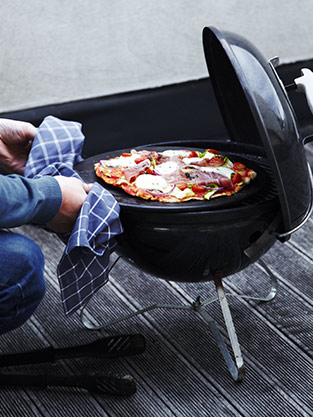
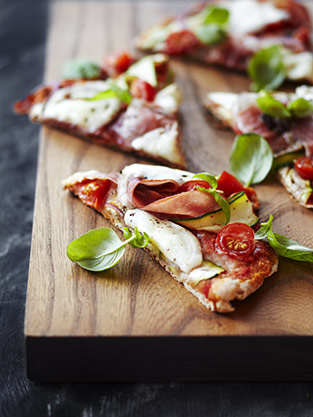
Once the coals or briquettes have settled down, and turned to embers, place your pizza stone on the BBQ about 5 minutes before you’re ready to cook it, to let the stone heat up properly. Then transfer your pizza, with the baking paper underneath, to the pizza stone, and cover your BBQ with the lid. Make sure to have the air vents open, to keep the air circulating around the pizza and ensure even cooking of the base and the top. Depending on the amount of heat in your BBQ, your pizza will cook in 15-20 min. Keep an eye on it every 5-10 minutes, making sure the base doesn’t burn. If the base colours too quickly the BBQ is too hot, and you should wait a little while longer, next time, to let the coal settle a bit more. Once the base has firmed up, you can remove the baking paper. When the base is crispy and the cheese on top slightly melted, garnish with fresh basil. Your pizza is ready to serve!

ENJOY!

Don’t drink and fry!