Golden Pavlova with Summer Berries and Salted Chocolate Sauce

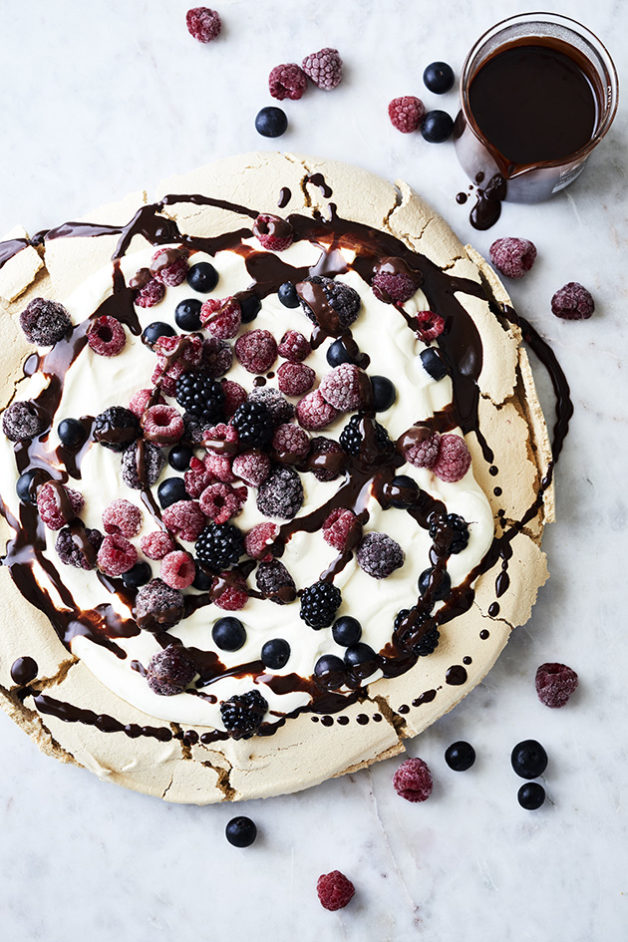
Golden Pavlova with summer berries and salted chocolate sauce. Cooking with Salt. Recipes, foodstyling, styling & photography by Manja Wachsmuth

GOLDEN PAVOVA WITH SUMMER BERRIES AND SALTED CHOCOLATE SAUCE
Server 6-8

A Pavlova recipe with a golden twist and a salty chocolate sauce that breaks with the sweet pav and the tart summerberries.

Pavlova:
6 egg whites, at room temperature
380g brown sugar
4 tsp. cornflour
2 tsp. cider vinegar
1 tsp. vanilla extract

Salted Chocolate Sauce:
100g dark chocolate of good quality
150 ml single cream
1 tbsp. syrup
2 tsp. sea ​​salt flakes

Garnish:
200 ml single cream, whipped to peaks
100g Blueberries (fresh or frozen)
100g Blackberry (fresh or frozen)
100g Raspberries (fresh or frozen)

Golden Pavlova:
Preheat the oven to 140 ° C. Place baking paper on a baking tray. Whip egg whites until they stiff and then gradually add brown sugar until the meringue forms soft peaks and is shiny. Be patient, it may take up to 10 minutes. Then add corn flour, vinegar and vanilla and whip on low setting until the meringue is even. Arange the meringue on baking paper on a baking tray and shape it in a large circle, about 5-6 cm high using a rubber spatula. Smooth the edges with the spatula and then bake approx. 1 hour until it is firm and light golden. Turn off the oven and leave to cool completely before serving. The Pavlova can be made a few days in advance and stored in an airtight container.

Salted Chocolate Sauce:
Heat water in a large sauce pan on the stove and place a heatproof bowl that fits into the pan so that the water touches the bottom of the bowl. Then slowly melt the chocolate into the water bath while stirring occasionally with a silicone / rubber spatula. When the chocolate is melted add the syrup and mix thoroughly. Then add whipped cream into small portions and stir continuosly until the sauce is smooth. Finally, taste with sea salt.

Gather the pavlova by distributing whipped cream over it in a smooth layer and decorate with berries and salted chocolate sauce. If you are using frozen berries, leave the pavlova for 10-15 minutes before serving so they can thaw a bit. Serve with extra chocolate sauce.

This recipe is part of my salt story published in Matmagasinet Nord #23 2017, focusing on using salt as a main ingredient for cooking or flavouring. Try these recipes from this series too:
Blackberry Grav Lax
Salt & Vinegar Potato Skins
Bork Belly in Brine with Cripsy Crackling
Salt Dough Baked Leg of Lamb
The Perfectly Salty Margaria
Oozy Salted Chocolate Caramel Tart
Salted Caramel Ice Cream

© Manja Wachsmuth 2017. This recipe is a modification of a Delaney Mes‘ recipe for NZ House & Garden Magazine published earlier this year.

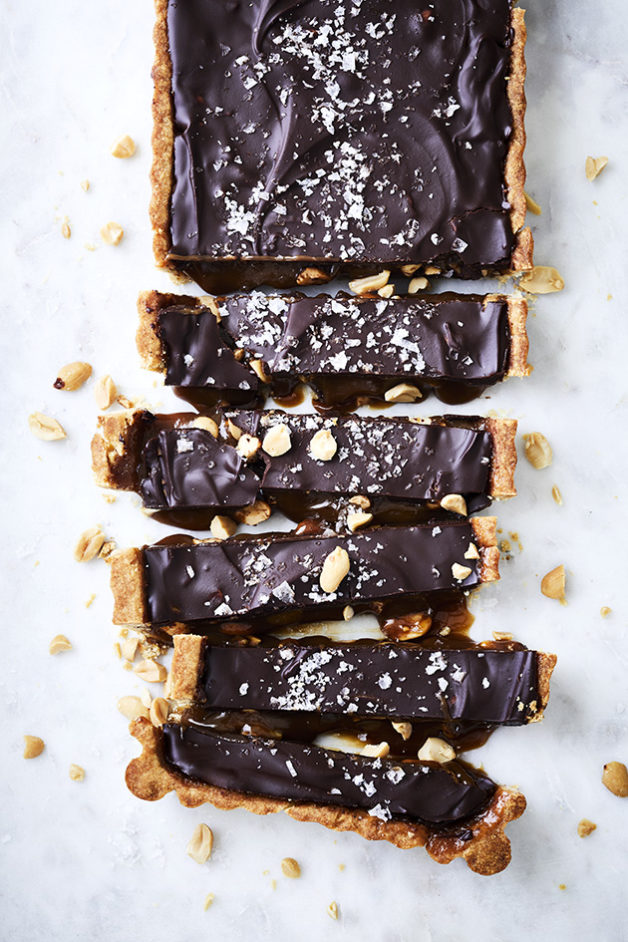
Oozy Salted Chocolate Caramel Tart

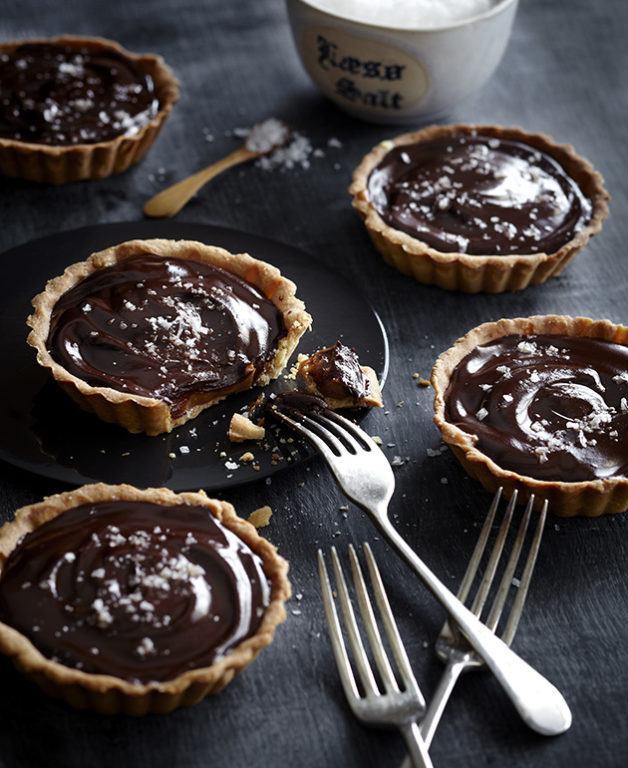
Salted Chocolate, Caramel Tarts. Cooking with Salt. Recipes, foodstyling, styling & photography by Manja Wachsmuth

OOZY SALTED CHOCOLATE CARAMEL TART
Serves 12

This delicious oozy salted chocolate, caramel tart has a surprising layer of crunch, and will satisfy any chocolate and salted caramel craving.

Tart shells:
Makes 1 tart of 12 cm x 35 cm or 12 small tart shells of 10 cm diameter.
Half the dough can be frozen for later use.

140g unsalted butter, softened
85g vanilla sugar
1 large egg
225g plain flour, sifted

Caramel filling:
450g glass Dulce de Leche
1 tsp. sea ​​salt
100g butter, melted
100g golden or rice malted syrup
80g peanuts, roughly chopped

Chocolate layer:

200 g dark chocolate, finely chopped
25 ml of whipped cream
2 tsp. golden or rice malted syrup
2 tsp. sea ​​salt

Method tart shells:

In a stand mixer, beat butter on medium speed until smooth but not whipped. With mixer on low, stream sugar into butter until well combined. Add the egg until incorporated. Add flour in 3 stages just until incorporated. Don’t overwork the dough. Turn out onto a board and work with a dough scraper until smooth. It should feel like “play dough”. Shape into 2 discs, wrap tightly in double plastic and chill until ready to shape into the tart pan.

Preheat the oven to 175ºC.

When ready to bake, remove from plastic and pat out into pan smoothing the dough with your hands. If it gets too soft place in fridge and chill until firm and then rework the dough. You may also roll chilled dough into rounds between layers of plastic wrap. Peel off bottom layer and place in tart pan shaping sides to fit snugly. Cover and chill until firm. Place a sheet of parchment inside tart shell and fill with pie weights.

Bake at 175ºC for about 15 minutes until edges are browned. Carefully remove parchment and pie weights. Return to oven and bake until just lightly browned, about 12 min. Remove from oven when done, and set aside to cool completely, before removing tart tins.

Method chocolate ganache:

Put chopped chocolate in a small bowl and place inside a medium sized bowl. Boil 500ml of water, and pour into the medium sized bowl, to melt the chocolate over a water bath. Heat cream until steamy in a small saucepan. Pour heated cream over chocolate and let stand for 1 minute then slowly stir until chocolate is melted. Do not refrigerate but set aside until ready to assemble.

Method caramel filling and assembly:

Place the Dulche de Leche in a small pot, and heat on the stove on low-medium heat to smoothen it up, mix in melted butter, syrup and sea salt. Mix till well combined and smooth. Fill tart shell 2/3 and add a layer of chopped peanuts. Cover with a layer of chocolate ganache and sprinkle with sea salt. Serve immediately.

This recipe is part of my salt story published in MAD&venner #129 2015 & Matmagasinet Nord #23 2017, focusing on using salt as a main ingredient for cooking or flavouring. Try these recipes from this series too:
Blackberry Grav Lax
Salt & Vinegar Potato Skins
Bork Belly in Brine with Cripsy Crackling
Salt Dough Baked Leg of Lamb
The Perfectly Salty Margaria
Salted Caramel Ice Cream
Golden Pavlova with Summer Berries and Salted Chocolate Sauce

© Manja Wachsmuth 2017. The recipe for the tart dough is kindly supplied by the fabulous Natasha MacAller – for more of her recipes; check out her books Vanilla Table and Spice Health Heroes.

Salted Chocolate, Caramel Tarts. Cooking with Salt. Recipes, foodstyling, styling & photography by Manja Wachsmuth

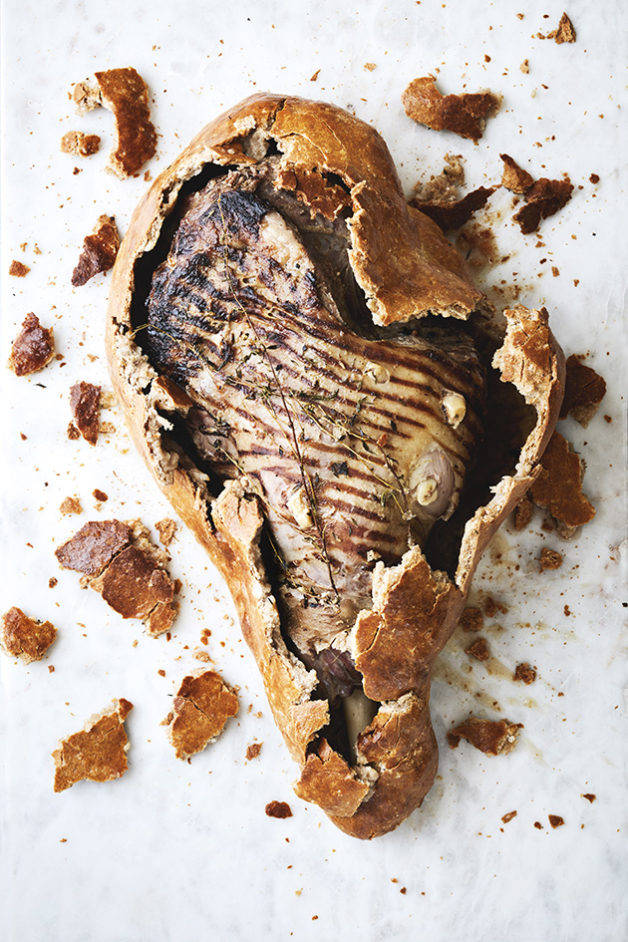
Salt Dough Baked Leg of Lamb

Salt Dough Leg of Lamb. Cooking with Salt. Recipes, foodstyling, styling & photography by Manja Wachsmuth

SALT DOUGH BAKED LEG OF LAMB
serves 8-10

Baking a Leg of Lamb in salt dough takes a bit of patience and concentration, but slow cooking your meat like this, ensures great flavor and moisture and it will be worth all your efforts. Furthermore cracking the crust open at the dinner table is a bit of a showstopper!

2 kg leg of lamb, French trimmed
1 tbsp finely chopped thyme
6 cloves garlic, halved lengthways
1 tbsp Dijon mustard
Extra thyme leaves on stem

Salt dough:

700g/ 6 cups plain flour
300 g / 2 ½ cup sea salt
1 ½ tbsp freshly ground pepper
3 egg whites, lightly beaten
1 ½ cup/ 375 ml water
2 egg yolks mixed with a little cold water

Method leg of lamb:

Pre heat the oven to 180ºC

Combine the thyme and the mustard in a small bowl. Cut 12 deep slits in the leg of lamb and push in the garlic cloves. Rub the mustard paste over both sides of the lamb. If you have a large flat grill plate, the leg of lamb can be browned and cooled before rubbing with the mustard mixture. This doesn’t change the flavour, but does make the lamb look more attractive when the crust is broken.

Method salt dough:

Mix flour, salt and pepper in a bowl to combine. Slowly add the combined egg whites and water to make dough, stirring with a spoon, adding a little more water if necessary to bring the dough together. Tip onto a lightly floured bench and knead for a couple of minutes until well combined. Don’t let the dough rest, as this will make it dry out.

Roll the dough to a large 40 cm x 45 cm rectangle.

Place extra thyme leaves on stem on the dough and the leg of lamb on top, presentation side down, and bring the sides of the dough up, over the lamb. Wet the edges of the pastry and press firmly to make sure the lamb is completely sealed. Turn the lamb right side up and place on a lined baking tray. Wet the pastry where necessary and smooth with your fingers to seal any cracks, making sure the dough is sealed tightly. Brush the dough with egg wash.

Roast for 1 ½ hours, then remove from the oven and rest the leg of lamb for 15 minutes.

To serve:

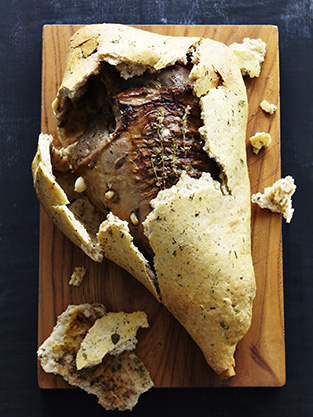
Carefully break the crust open and pour the cooking liquids into a jug (or discard). The cooking liquids can be used as a stock for making gravy to accompany the lamb. Lift the lamb out of the crust, then carve against the grain and serve.

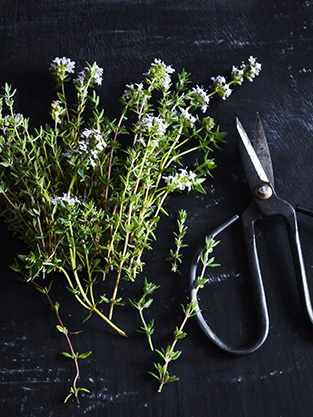
Thyme. Cooking with Salt. Recipes, foodstyling, styling & photography by Manja Wachsmuth. Recipes for MAD&venner. Salt Dough Leg of Lamb. Cooking with Salt. Recipes, foodstyling, styling & photography by Manja Wachsmuth. Recipes for MAD&venner.

This recipe is part of my salt story published in MAD&venner #129 2015 & Matmagasinet Nord #23 2017, focusing on using salt as a main ingredient for cooking or flavouring. Try these recipes from this series too:
Blackberry Grav Lax
Salt & Vinegar Potato Skins
Bork Belly in Brine with Cripsy Crackling
The Perfectly Salty Margarita
Oozy Salted Chocolate Caramel Tart
Salted Caramel Ice Cream
Golden Pavlova with Summer Berries and Salted Chocolate Sauce

© Manja Wachsmuth 2017

Pizza on the Weber BBQ

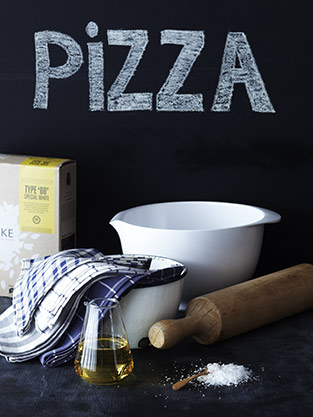
Pizza on the BBQ Pizza on the BBQ Pizza on the BBQ Pizza on the BBQ Pizza on the BBQ Pizza on the BBQ Pizza on the BBQ Pizza on the BBQ

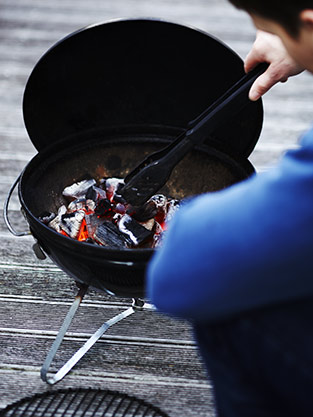
Summer has officially arrived in New Zealand! One thing I love the most about summer is cooking on the BBQ. Last year I discovered cooking pizza on the BBQ, and when you’ve tried it once, it’ll be the only way you’ll ever want to cook pizza again. Pizza on the BBQ is the fool proof way of getting a moist and delishious filling and above all a super crispy base, which you can never seem to get in the oven, regardless of the temperature or quality of pizza stone.

The majority of Kiwis (and probably Ozzies and Americans) swear by th gas BBQ’s and most pizza BBQ recipes will tell you to cook your pizza on a gas BBQ, where you can control the temperature and monitor it 100%, but there is another way. Personally I prefer a coal BBQ any day. This is how it was when I was a kid and the ritural of lighting a fire (or drinking a glass of ice cold chardonnay, while watching your husband lighting a fire) – you just can’t beat it. The smokey flavour of cooking over coals, just adds an extra element to the pizzas and everyone will be coming back for more.

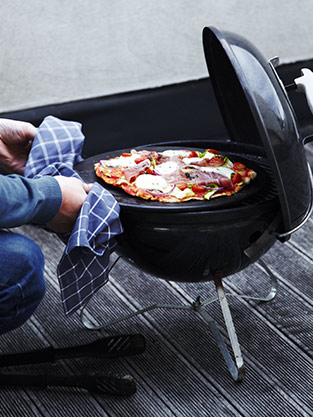
The tricky thing is obviously getting the temperature right, so you don’t burn your base, so you gotta watch your pizza like a hawk. And also you MUST use a pizza stone. But once you’ve tried it a few times, you will master it, and be eating pizza’s with friends and family all summer!

I’m providing you with the recipe for a great pizza dough, that’s my updated version of a pizza recipe I shot for Dish Magazine back in 2010, for their Italian issue. I’ve used wholemeal, stoneground flour for added nutritional benefits, and it is how I prefer my pizza base. Of course you can use plain flour or 00 flour if you like.

Pizza dough
Makes two pizzas, 4-6 serves

1 cup of plain flour or 00 flour
1 cup of stoneground, wholemeal flour
½ teaspoon of sugar
1 ½ teaspoons of instant dried yeast
1 teaspoon of sea salt
1 cup of lukewarm water
1 tablespoon of olive oil

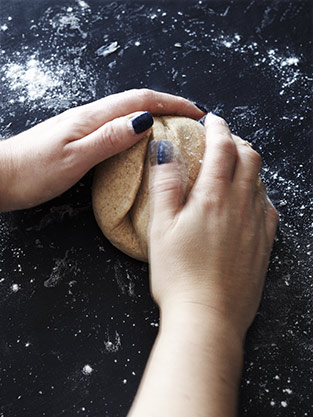
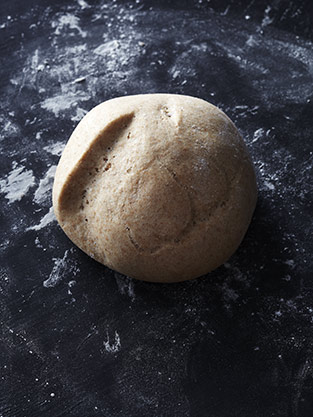
Place all dry ingredients in a large bowl and mix together. Mix the water and oil together in a separate bowl or jug. Gradually add the water to the dry ingredients, little by little, mixing the dough with your hands or a wooden spoon. Be careful not to make the dough too wet and sticky, nor too dry. Once roughly combined turn the dough out on a lightly floured benchtop and knead for 3-5 minutes, until the dough is smooth and slightly sticky and springy. Place it in a lightly floured bowl and cover with plastic wrap or a tea towel. Set aside in a warm place and let rise for 1 – 1½ hour.

Mastering the BBQ & making your pizza

About 10-15  minutes before your dough is ready, start up your BBQ using choal or briquettes. If using briquettes, you might want to get them started around half an hour before the dough is ready. The coal is quicker to start up, but also burns out faster. The briquettes take longer to get ready for cooking, but will hold the heat a lot longer. We usually use coals when it’s just the two of us, and briquettes when cooking for more people.

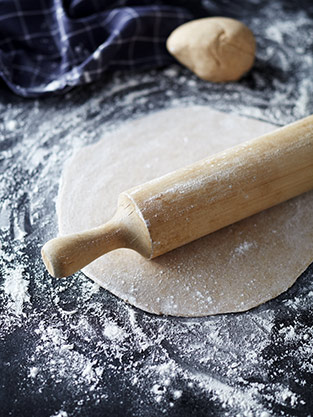
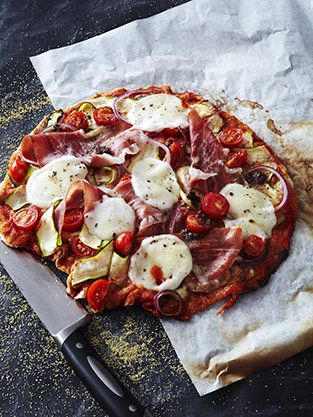
Once doubled in size, split the dough into two portions and roll out thinly on a lightly floured bench top. Place the pizza base on a piece of baking paper, and fill with your favorite filling. I’ve used:

Organic tomato paste
1 whole zucchini sliced sideways with a potato peeler
Red onion, thinly sliced
Cherry tomatoes (from the Curious Croppers)
Prosciutto
Buffalo mozzarella
Homemade pesto
Salt & pepper

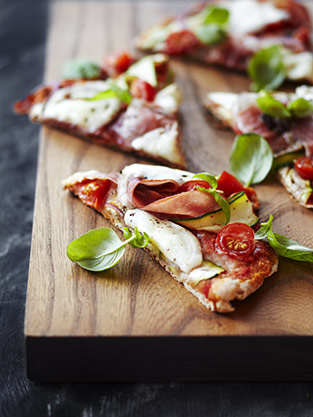
Once the coals or briquettes have settled down, and turned to embers, place your pizza stone on the BBQ about 5 minutes before you’re ready to cook it, to let the stone heat up properly. Then transfer your pizza, with the baking paper underneath, to the pizza stone, and cover your BBQ with the lid. Make sure to have the air vents open, to keep the air circulating around the pizza and ensure even cooking of the base and the top. Depending on the amount of heat in your BBQ, your pizza will cook in 15-20 min. Keep an eye on it every 5-10 minutes, making sure the base doesn’t burn. If the base colours too quickly the BBQ is too hot, and you should wait a little while longer, next time, to let the coal settle a bit more. Once the base has firmed up, you can remove the baking paper. When the base is crispy and the cheese on top slightly melted, garnish with fresh basil. Your pizza is ready to serve!

ENJOY!

Don’t drink and fry!

Semi Dried Tomatoes

Baked Tomatoes Baked TomatoesBaked Tomatoes Baked Tomatoes

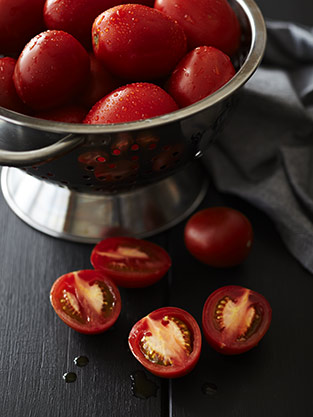
All this talk about tomatoes, I thought maybe a recipe was in order. Just at the end of the season, if you aren’t growing tomatoes yourself, it should be easy to get loads of them for cheap. Use this easy recipe to intesify and store their beautiful flavour.

Semi Dried Tomatoes
Makes 2 jars

3 kg small tomatoes, preferably plum tomatoes or cherry tomatoes
Olive oil, for cooking
Salt and pepper
1 tablespoon sugar
5 cups of olive oil
Fresh basil (or any other preferred herb)
5 cloves of garlic

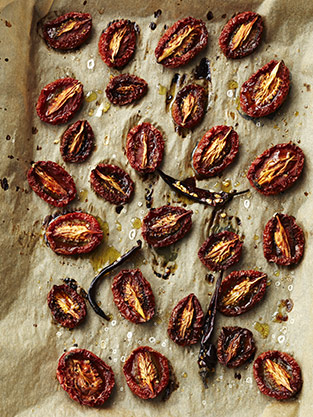
Half the tomatoes, spread them on a roasting pan, and drizzle with olive oil. Sprinkle with salt, pepper and sugar, and then put them in the oven and bake for 10-12 hours at 100 degrees – preferably overnight. Keep an eye on them towards the end of the cooking time. You don’t want them to be completely dried, but still soft and plump.

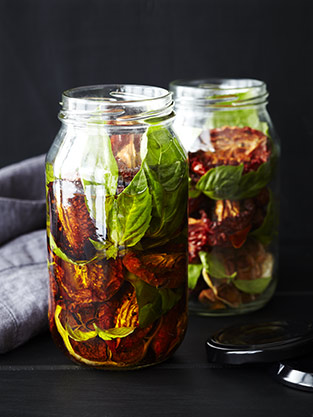
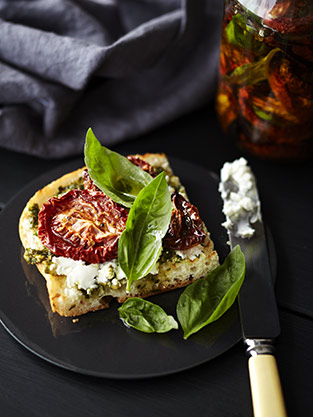
Once done to your liking, leave to cool. Place the semi dried tomatoes in glass jars with basil (or any other preferred herb), whole garlic and cover with olive oil.  Seal and place them in the refrigerator. They will keep in the fridge for a couple of months. You can also bake capsicums and chilli to mix in with the tomatoes. Great on toast with goats cheese and basil pesto.

Black and White

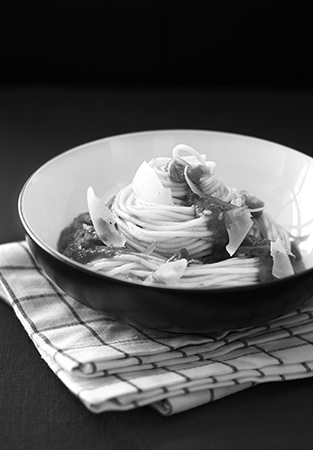
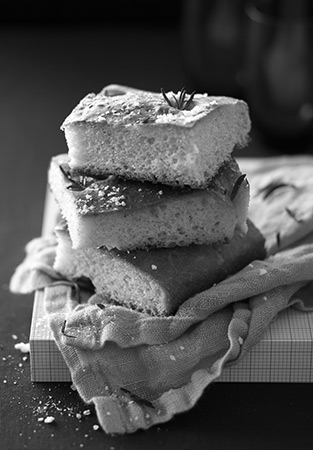
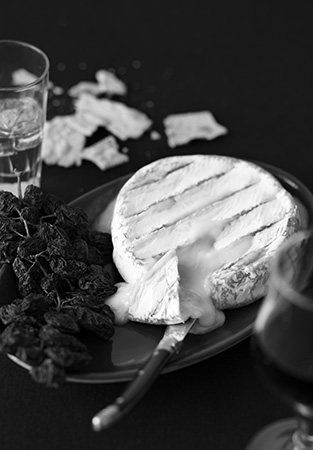
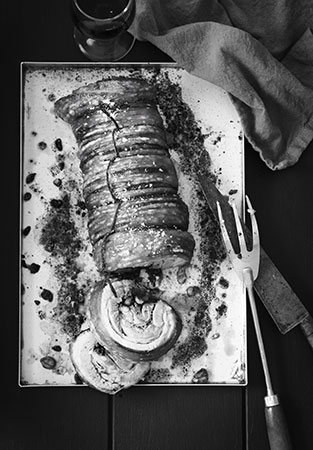
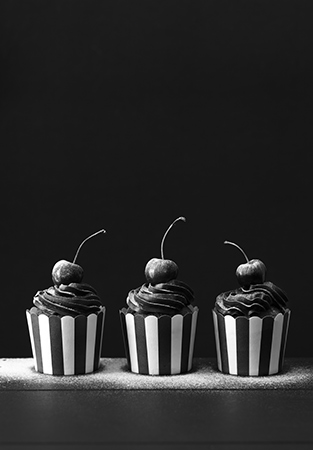
Spaghetti with Tomato Sauce Foccacia with RosemaryBaked Brie Peanut Stuffed Rolled Pork BellyHot Chocolate with Whipped Cream Chocolate Coffee Cupcakes

Welcome to the online launch of my new blog, the food photographers favourites. This opening entry is a personal project I’ve been working on for some years now, but as a busy food photographer, trying to set up a business in beautiful New Zealand, there’s not always time to get those projects finished. However, I have decided that it must begin, and end, somewhere, and what initially started as an idea, a concept for a portfolio project, has now developed into this blog.

So, here it begins with a black and white project, something that stems back to my early days in the dark room back in the early 90ties. I have always been fascinated with the contrasts of B/W photographs, and at times I really miss working with the lack of colours. Inspired by Irving Penn and fashion magazine after fashion magazine, I decided to try and translate some of that into my passion and speciality: Food photography. Keeping in mind, that most food does look the best in colours, as these are what makes us recognise whatever the subject, and appeal to our tastebuds. Paying attention to the textures and shape of the food, I decided to pick a selection of my favourite recipes I’ve photographed over time, and named the project “the food photographers favourites”.  Naturally not every dish was going to work well, but regardless, working with food styling in black and white is a fantastic exercise in studying how the light bounces of every subject, making sure that every important item in the dish shines. So by the end of this, it is really not so much about the recipe itself, but more about the basics of studying the light, as any great photographer would.

I send my respects to the queen of food styling Donna Hay, for picking this particular theme for her August/September 2013 issue of Donna Hay Magazine. From a photographic point of view, I think the idea is brilliant and beautiful, and I will certainly continue to explore the contrasts of food photography not only in black and white but definitely also in full colour, sharing some of my favourite recipes, shoots, recipes and other foodie related ventures. I declare the food photographers favourites blog for open!

Thanks to the wonderful people who helped make these images:

Spaghetti with Tomato Sauce, recipe by Jo Wilcox, food styling by Laura Faire • Foccacia with Rosemary, food styling by Laura Faire • Baked Brie, recipe by Penny Oliver, food styling by Laura Faire • Peanut stuffed Rolled Pork Belly, recipe by Peter Gordon, food styling by Laura Faire • Hot Chocolate with Whipped Cream, recipe and food styling by Carsten Kyster • Chocolate Coffee Cupcakes, food styling by Laura Faire